
Shingle
Perfect for: Educational buildings, Commercial buildings, Flat to pitch, Community centres and many other types of buildings and projects
Features & Benefits
- Manufactured in Britain
- Hidden-fix interlocking design
- Suitable for roof pitches down to 15°
- BROOF(t4) fire certification (BS EN 13501-5)
- 50-year weather-seal warranty

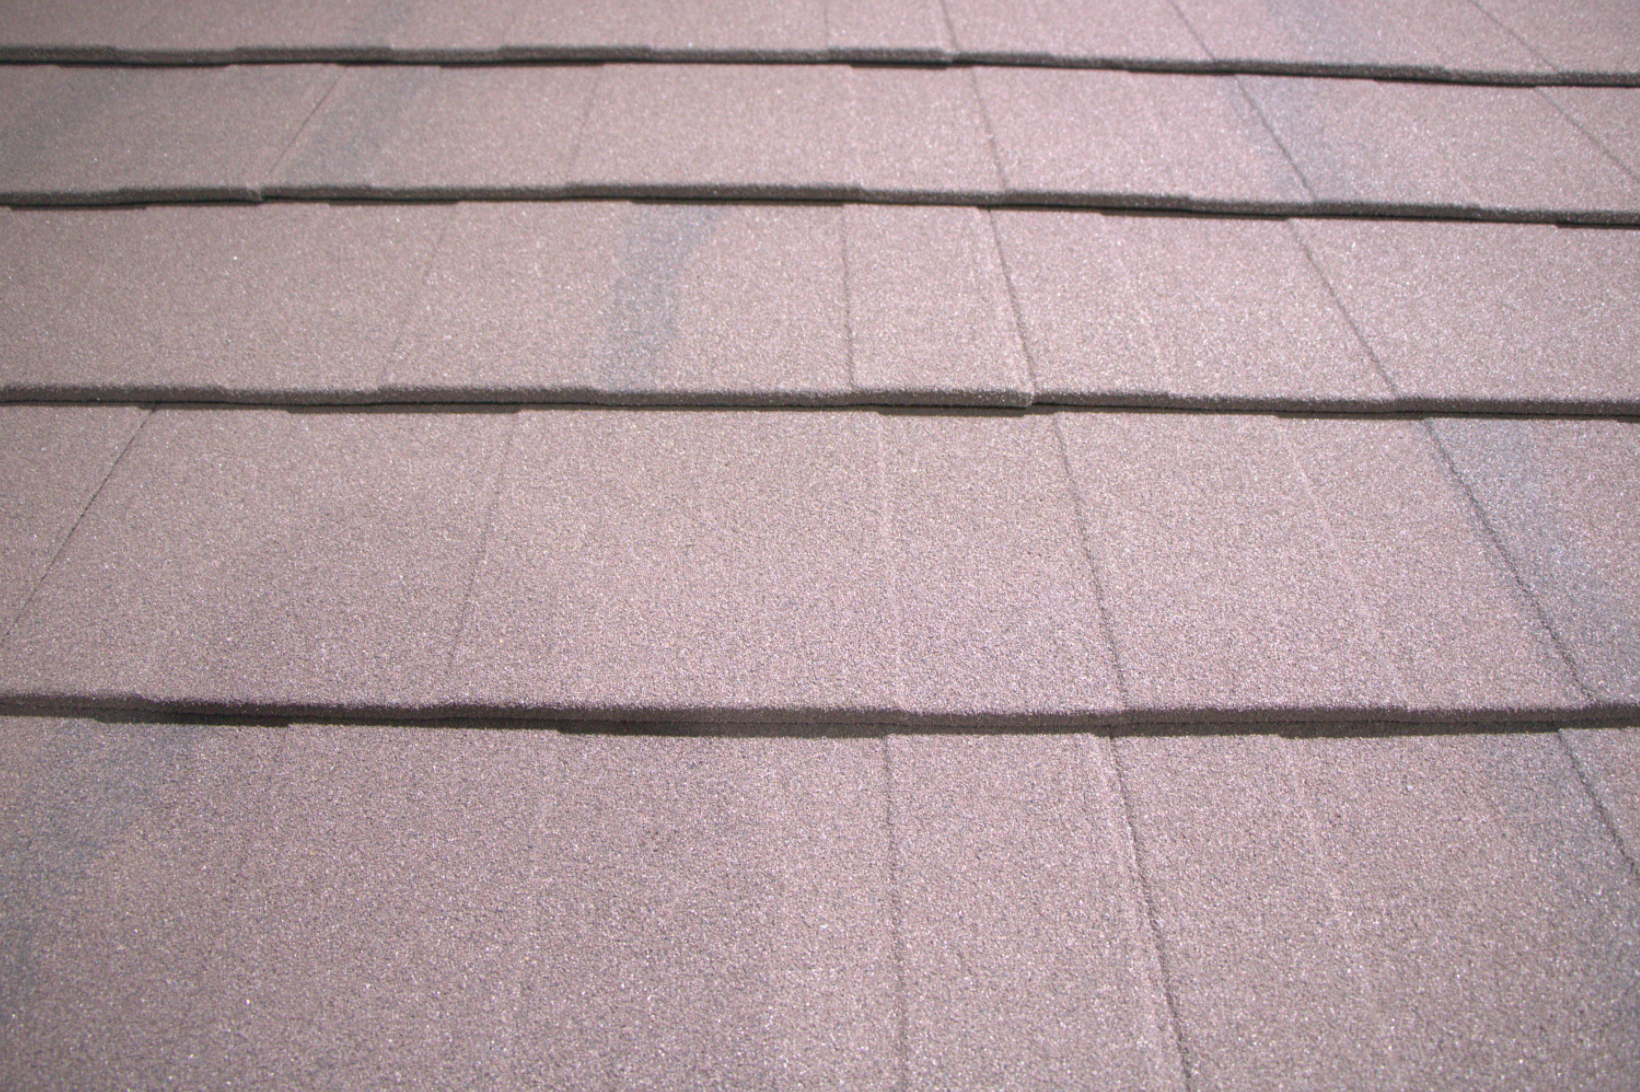
Shingle Overview
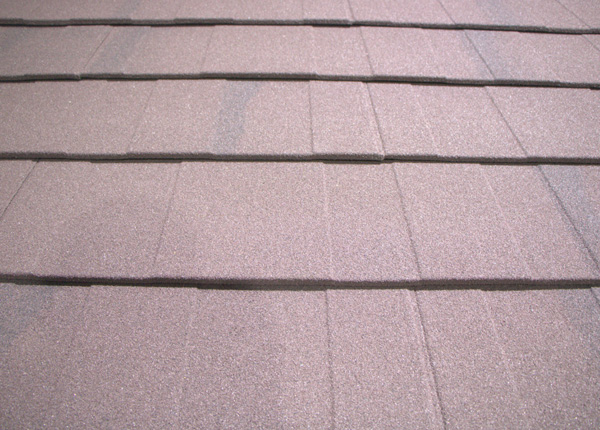
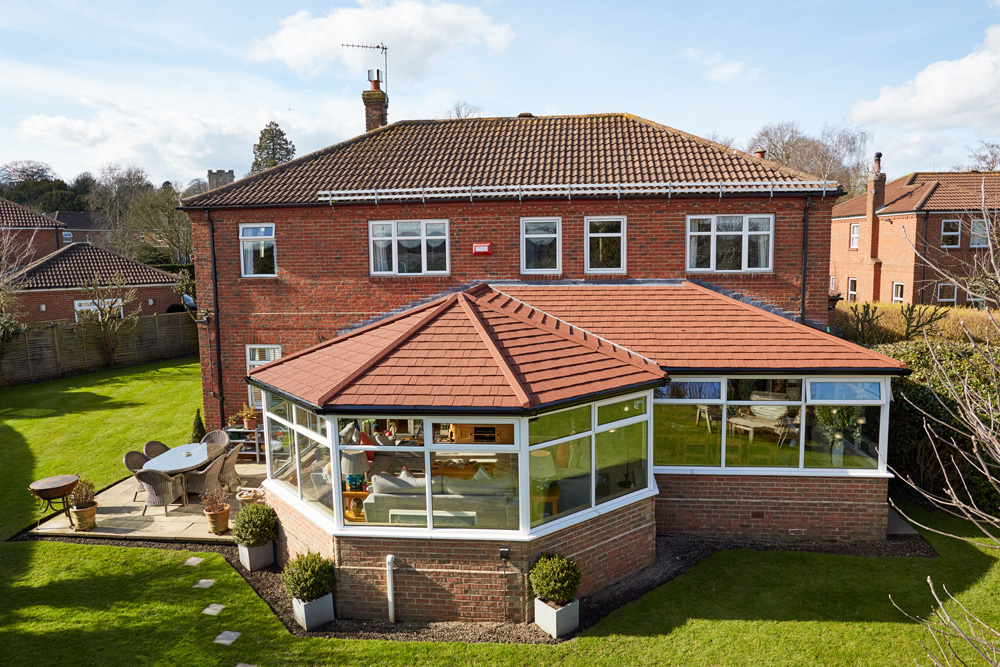
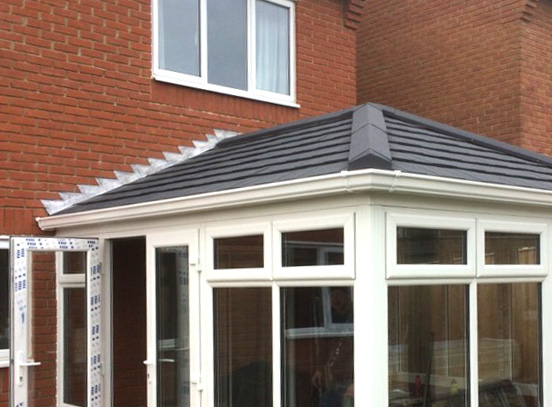
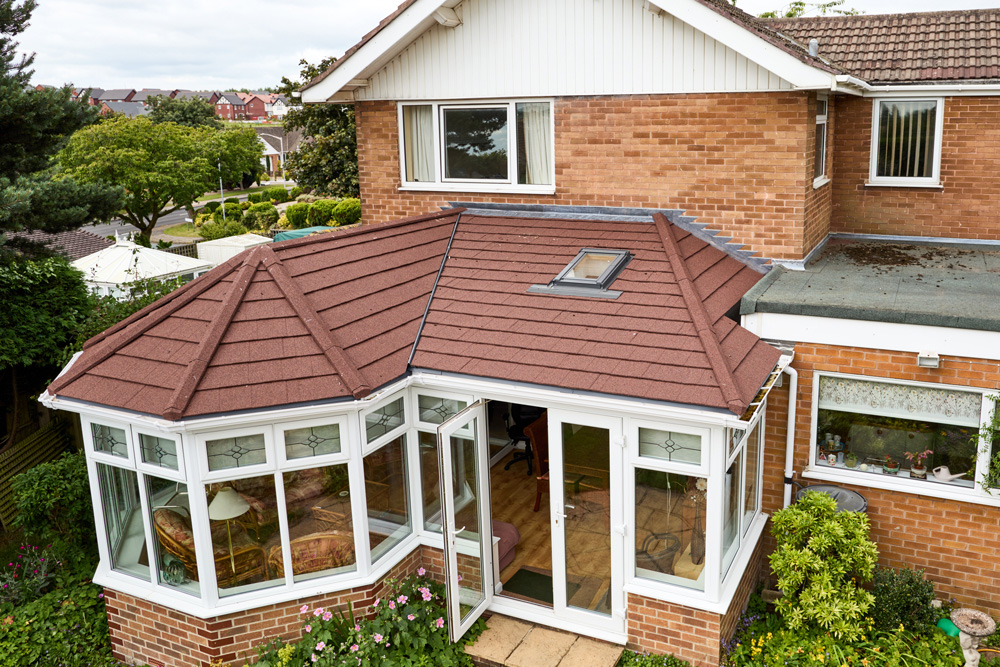
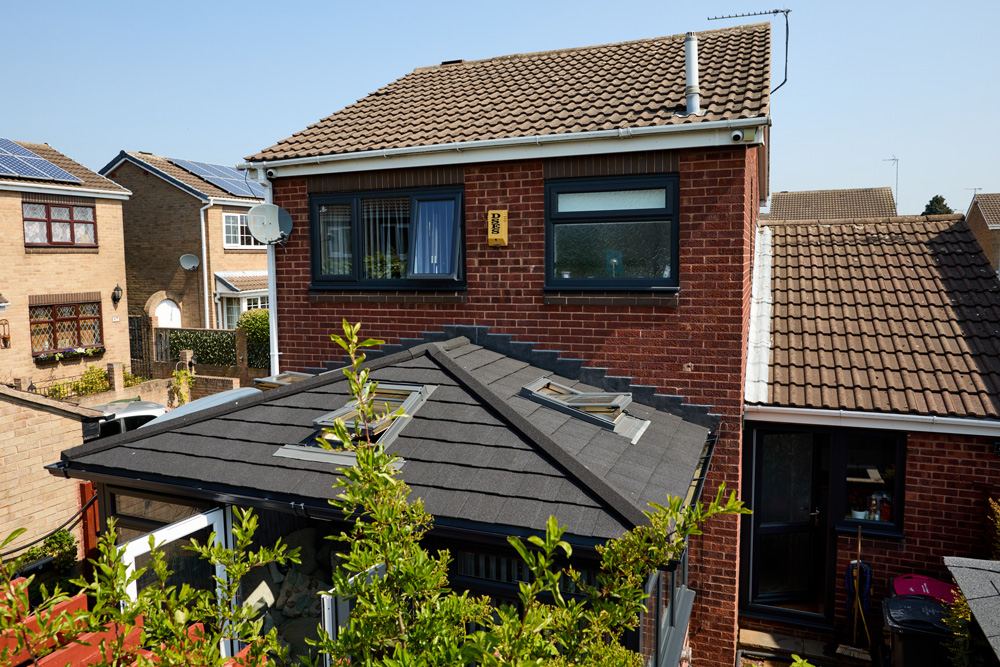
The Britmet Shingle tile is designed to give an authentic shingle effect available in the largest standard colour range in the UK. Shingle is designed for roof pitches from 15° to 90°. Britmet Shingle is 1231mm (width) x 250mm (height). This lightweight roofing panel is designed to emulate natural slates and must be fixed with a broken bond finish, in a right to left fashion. Shingle is manufactured using the highest grade Aluzinc steel, coated with a stone granule finish and a clear, acrylic overglaze.
With all the characteristics you could expect from traditional American shingle, the Britmet Shingle is unique with a fully dry-fix, interlocking hidden-fix design to keep your roof flush from fixings. Unlike traditional shingle, our lightweight tile design offers the perfect solution to any project. Despite having a steel base, the Britmet shingle weighs just under 7kg per sqm!
Most importantly, you can have a sound piece of mind using the Britmet Shingle as we are proud owners of an AA fire classification (BS476-3) (equal to traditional roof tiles and slates) and we are proud to offer a 50-year guarantee against weather penetration.
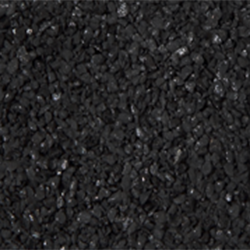
Raven
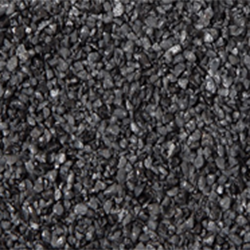
Titanium Grey
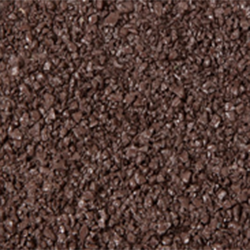
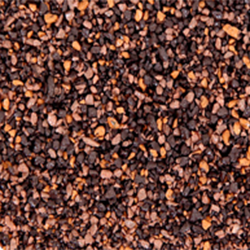
Bramble Brown
Rustic Brown
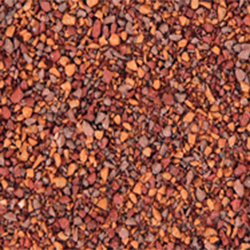
Rustic Terracotta
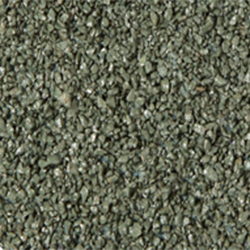
Tartan Green

Rustic Red
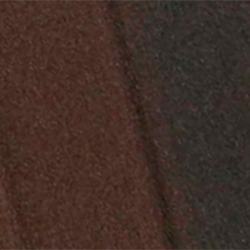
Smoked Oak
Shingle Brochure
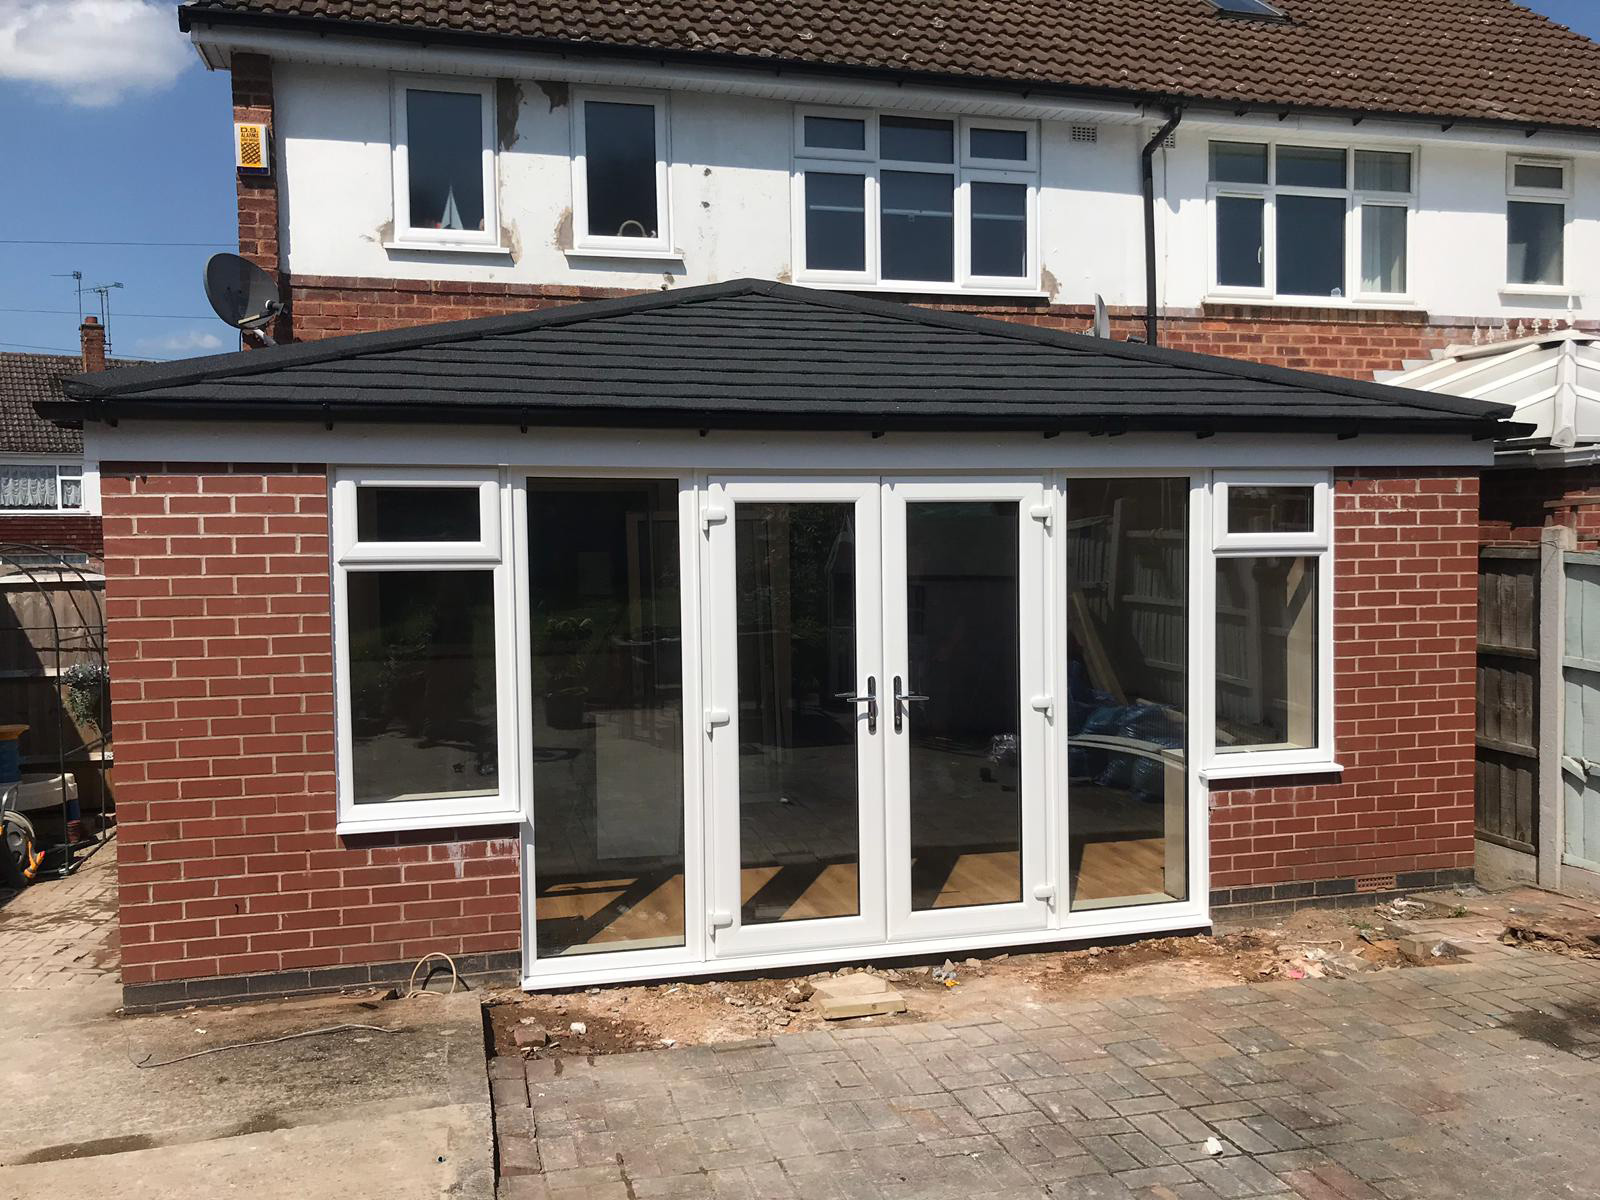
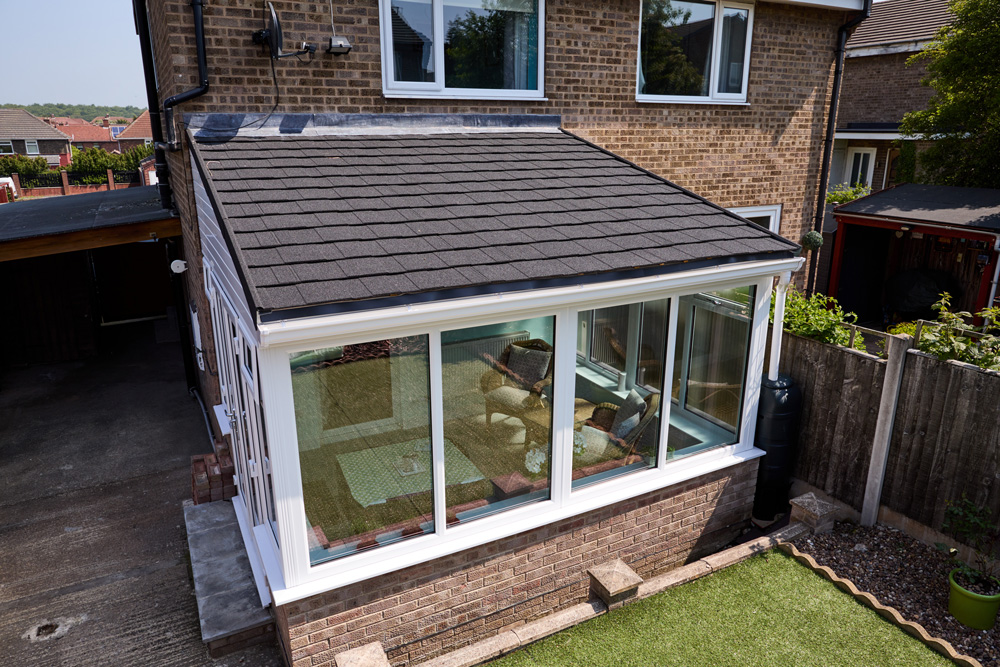
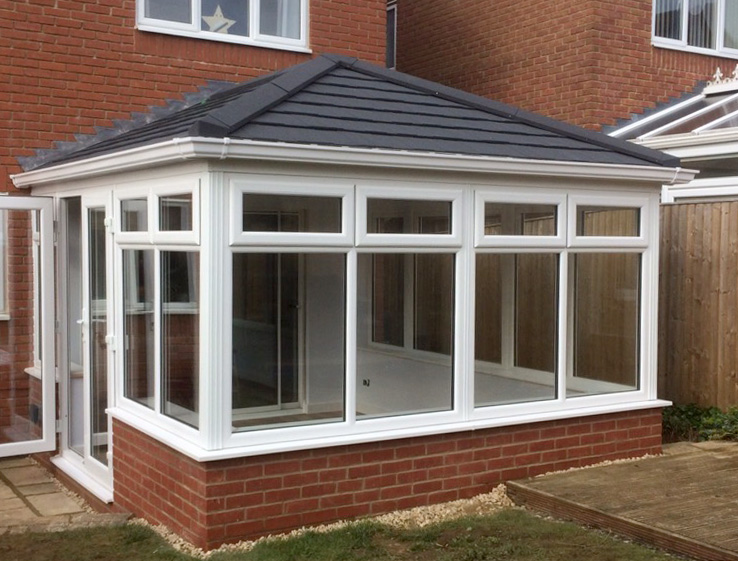
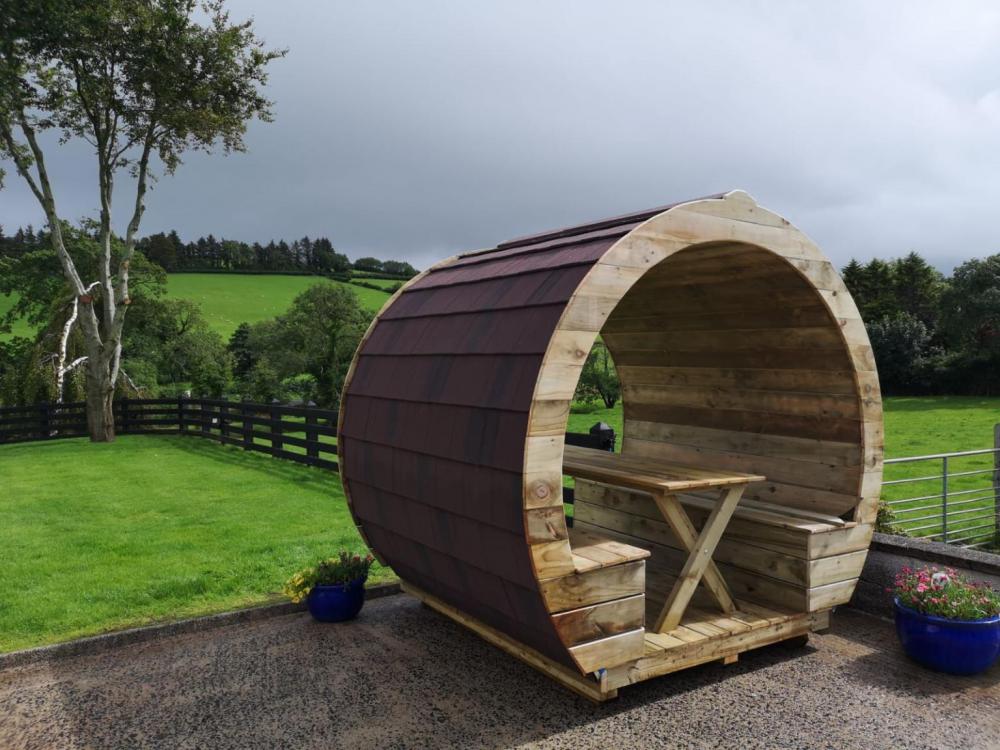
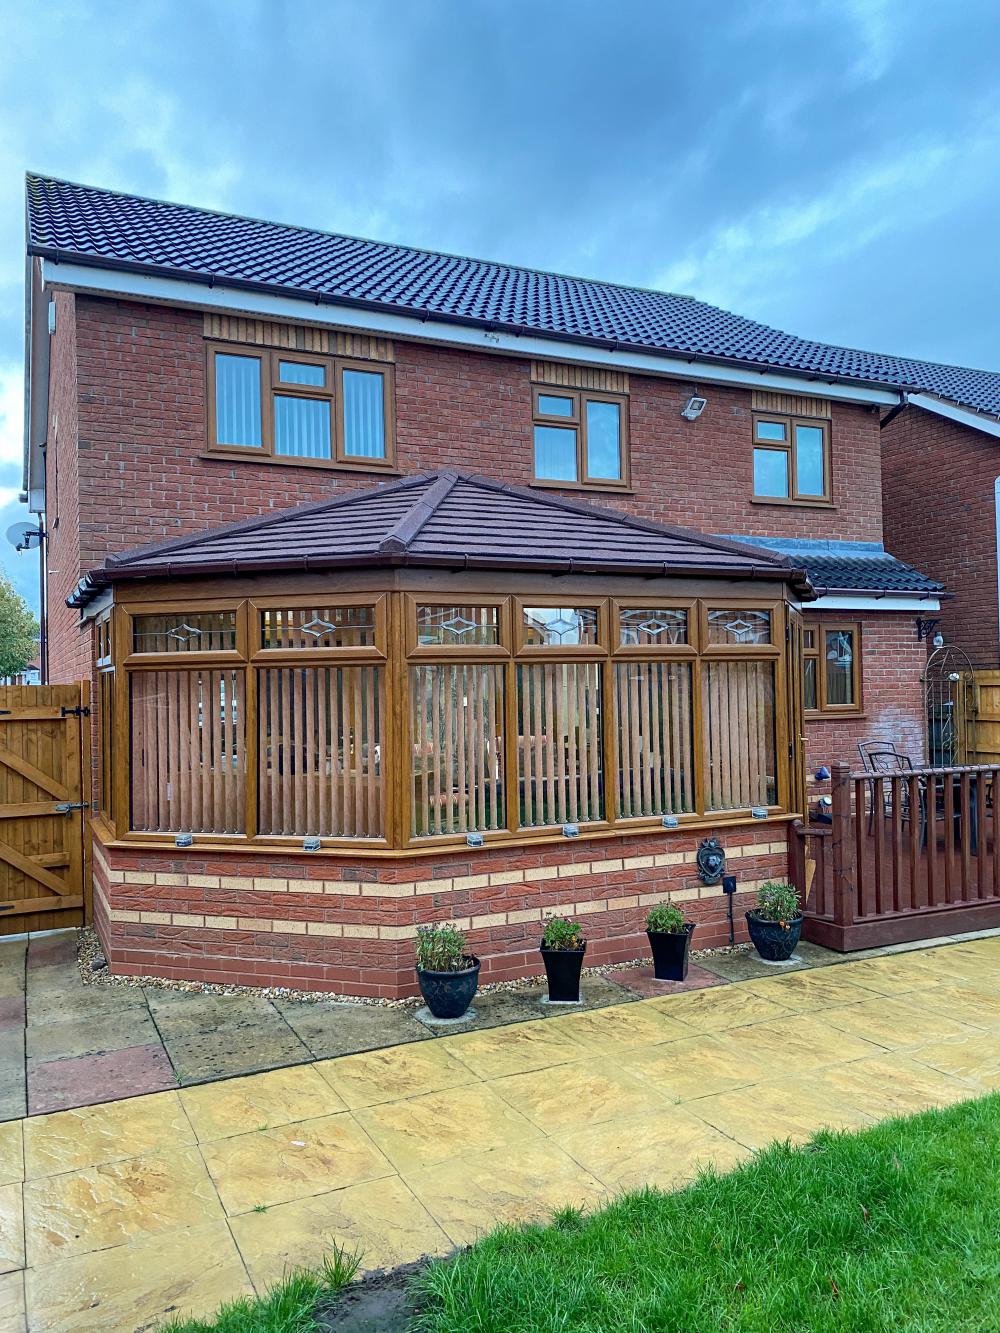
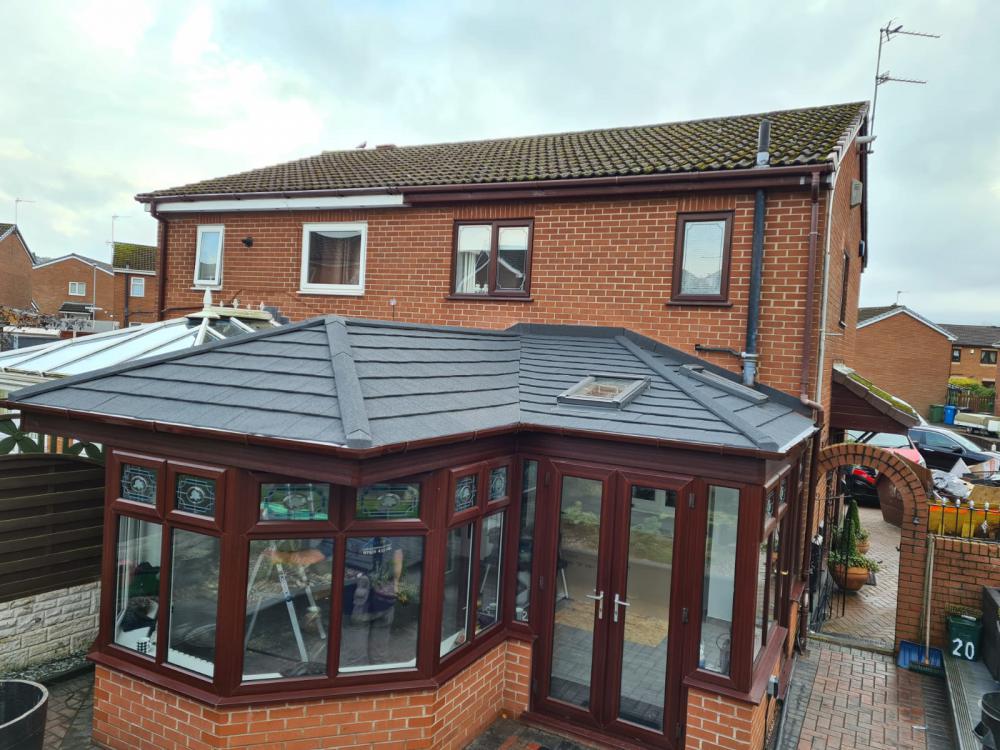
Shingle Photo Gallery

Shingle Product Range
.png)

Shingle Technical Spec
| Min. pitch: | 15° |
| Max. pitch: | 90° |
| Overall width: | 1340mm |
| Cover width: | 1245mm |
| Side lap: | 95mm |
| Step: | 20mm |
| Batten gauge: | 258mm |
| Roof cover per slate: | 0.308m2 |
| Slates per m2: | 3.1 |
| Steel base: | 0.40mm |
| Weight as laid per sqm: | 7kg |
| Fire resistance: | AA classification equal to traditional roof tiles and slates |
Shingle General Specification
Shingle is designed for roof pitches from 15° to 90°.
Britmet Shingle is 1231mm(width) x 250mm(height). This
lightweight roofing slate panel is designed to emulate
natural slates and must be fixed with a broken bond
finish, fixed in a right to left fashion.
Fascia Boards:
Fix timber or UPVC fascia boards with the top edge to be
approximately a batten thickness above rafters (if the
fascia is used as eaves batten).
Battens:
Fix the tiling battens to rafter at 250mm centres (front of batten) up from the eaves which will be 250mm less overhang of the tile into the gutter, usually 40mm.
Please note: It is the responsibility of the installer to
ensure correct batten usage.
Underlay / Breather Membrane:
Approved roofing underlay is to be laid over rafters,
lapped and secured to the rafters with galvanised clout
nails and carried well into the gutters. All to comply with
current regulations.
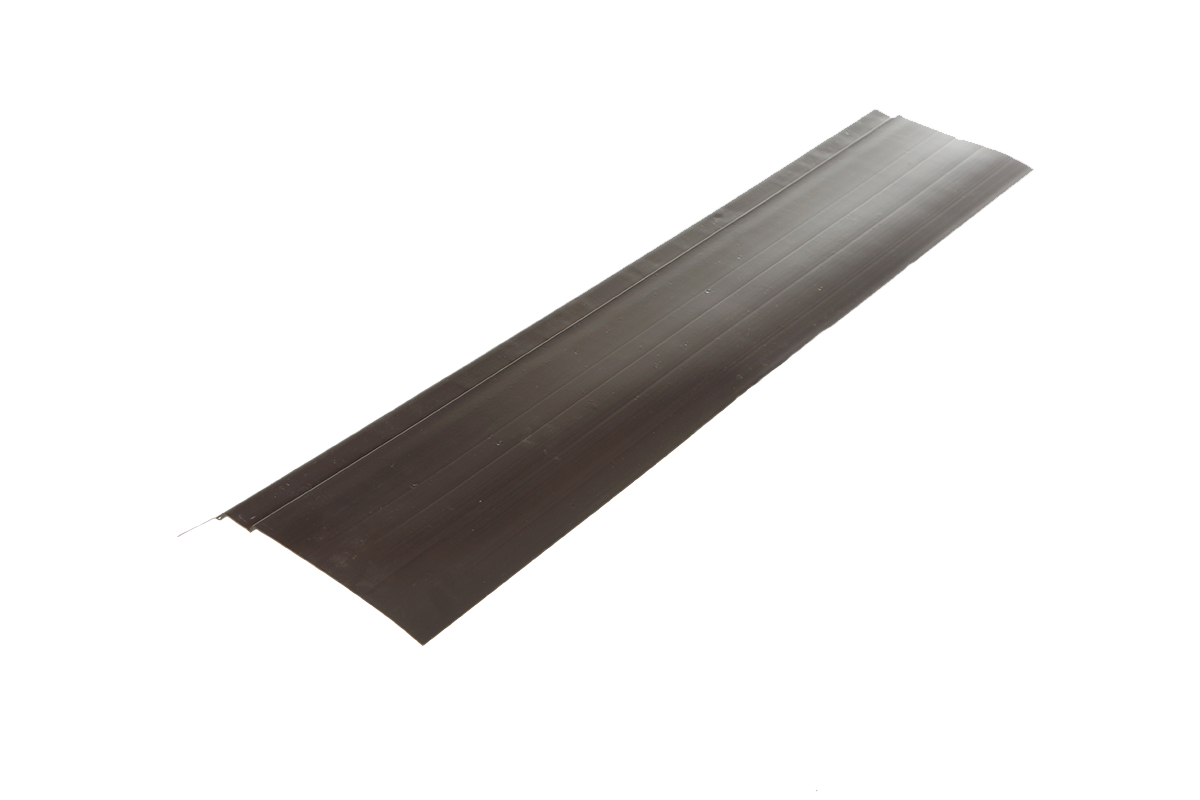
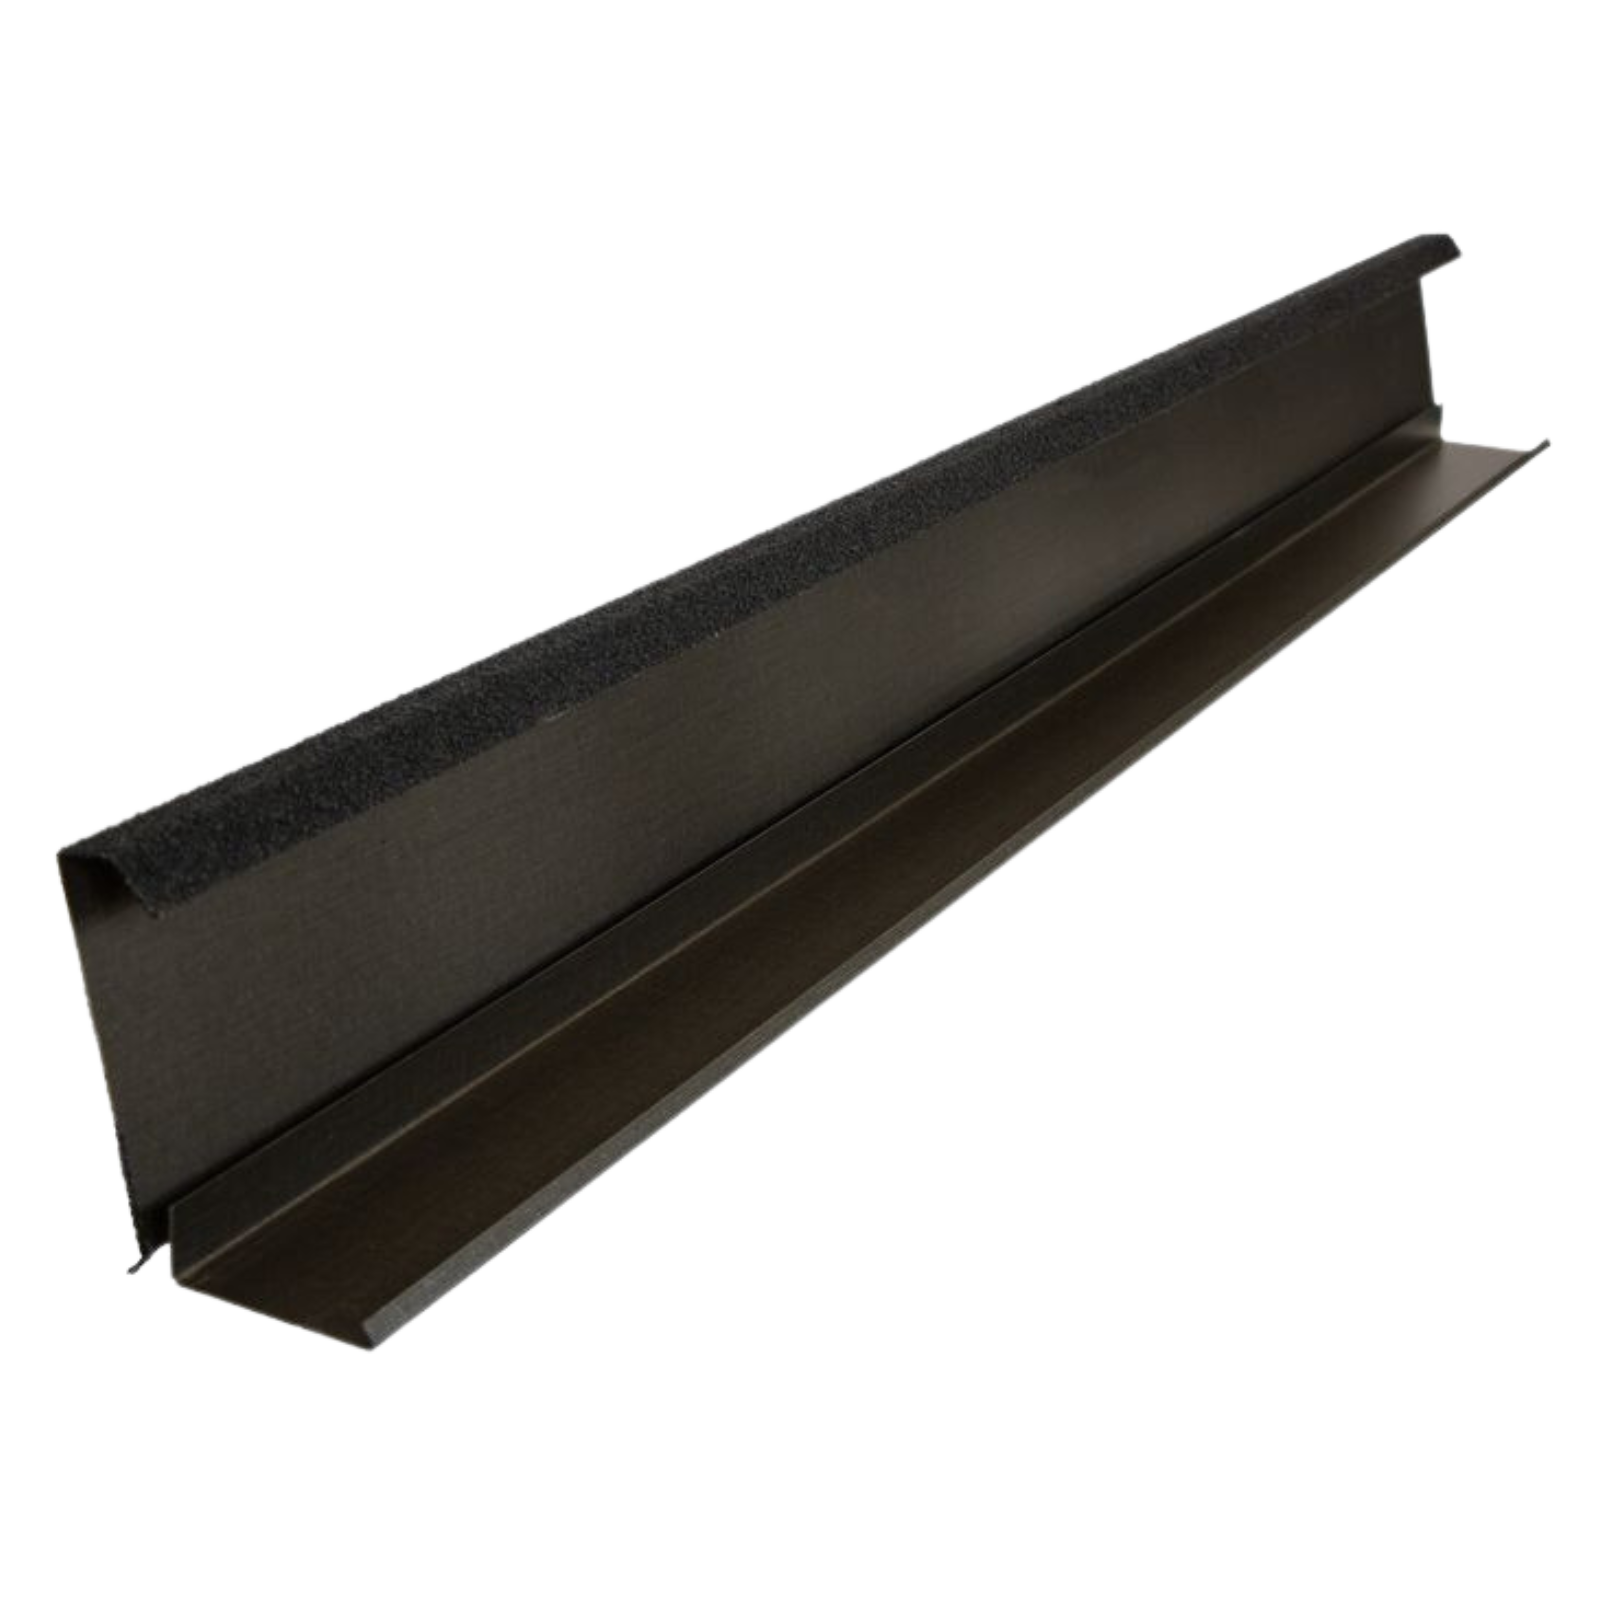
Two-Part Barge Soaker:
Fix the timber or UPVC barge boards with their top
approximately 25mm above the top of tiling battens to
allow for the side of the watercourse to be supported.
Fix the soaker section of the two-part barge soaker on
the top of the battens at the gable ends and against
the inside of the barge boards. Grip the nails over to
hold and fix them into the battens. Then, screw fix on
sides into barge board if necessary. Overlap sections
by around 25mm. Fix the outer section of the twopart
barge soaker by nailing into the top and sides of
the barge board at evenly spaced intervals. Overlap
sections by approximately 25mm. Bend the inner flange
resting on top of tiles as required. Cut and bend to dress
the end of the bottom section as required. One part
covers 5 courses of tiles.
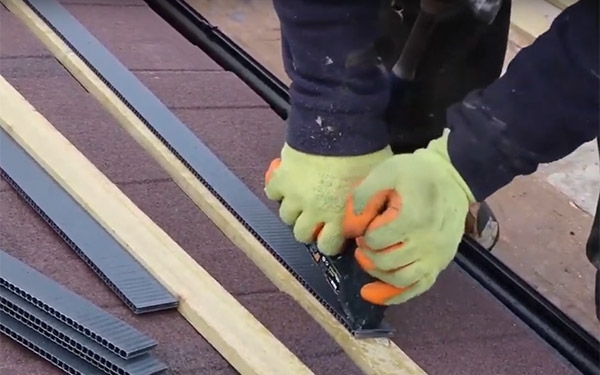
Tiling on Felt and Battens:
Starting at the bottom right-hand side of the roof, fix
the first shingle using 4 nails or screws evenly. Then,
working from right to left, continue laying each shingle
in the same way making sure that the side and end
laps interlock correctly. At the eaves, nail each tile at its
lowest possible point into the eaves batten/fascia. At
this point, you can use the touch-up kit to paint over the
heads of the nails. Always try to use cut-offs from the
previous course to start the next course or use a half
tile to ‘break the bond’. Again, working from right to left,
fix the next subsequent shingle ensuring side/end/nose
laps interlock correctly. Use half tiles or cut-offs to start
the next course. Hook the nose of your upper tile into the
lip of the tile below ensuring a tight fit (the heel of your
hand or a block of wood can be used to gently knock the
tiles together) Continue with each successive course.
Tiling on Board:
For a warm boarded roof is critical that you have a 25mm
air gap between the boarding and the underside of the
tiles/felt. Securely fix through the boarding and into the
rafters below, a 50mmx25mm counter rafter running from
eaves to the ridge at approx. 900mm centres. Fix your
battens to the top of these counter rafters at 250mm
centres, apart from the first batten from the eaves which
will be 250mm less the overhang of the tile into the gutter,
which is usually around 40mm.
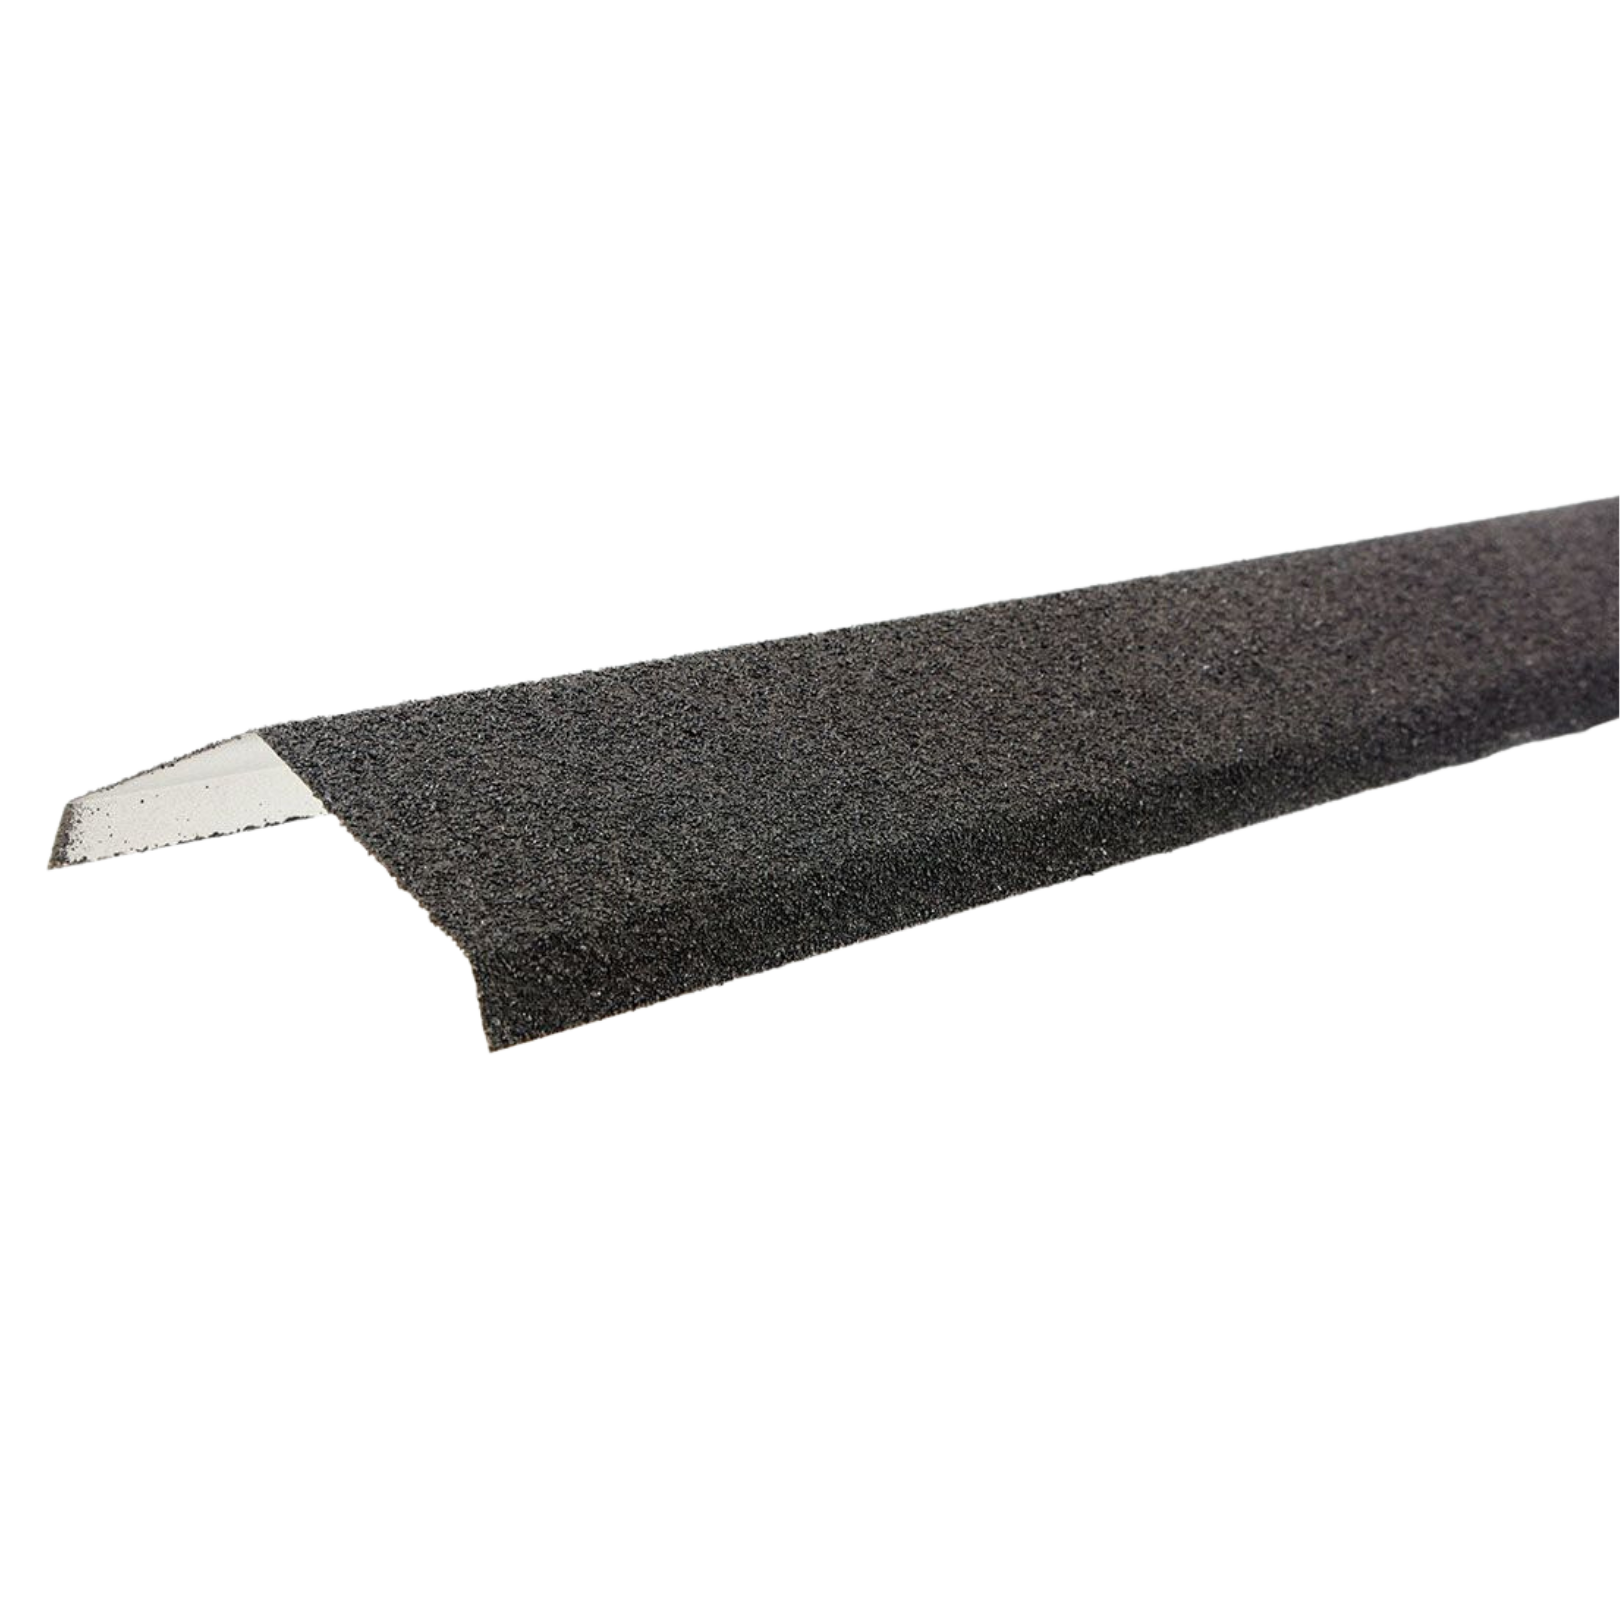
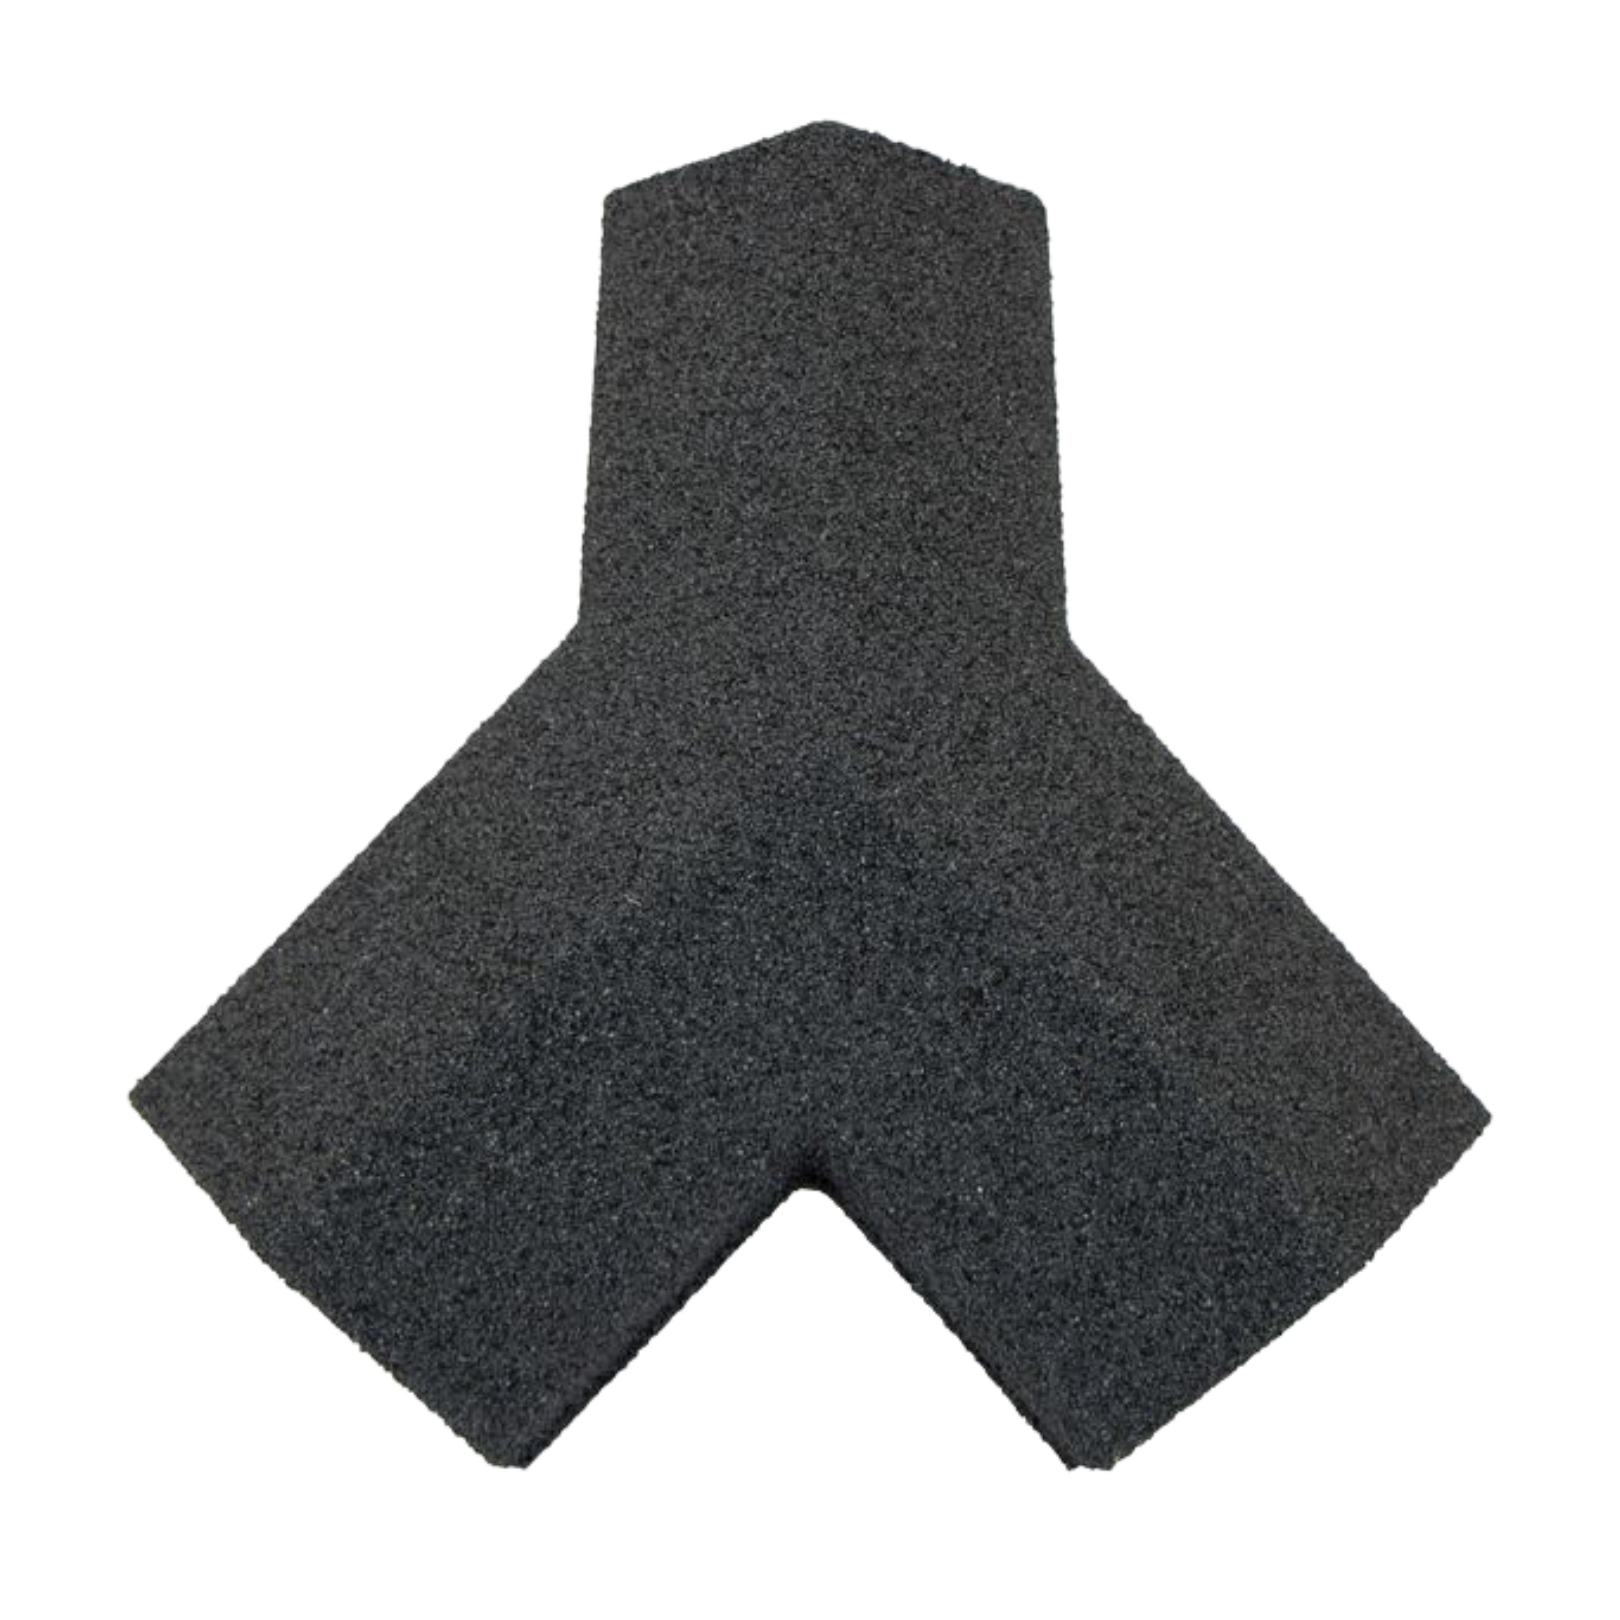
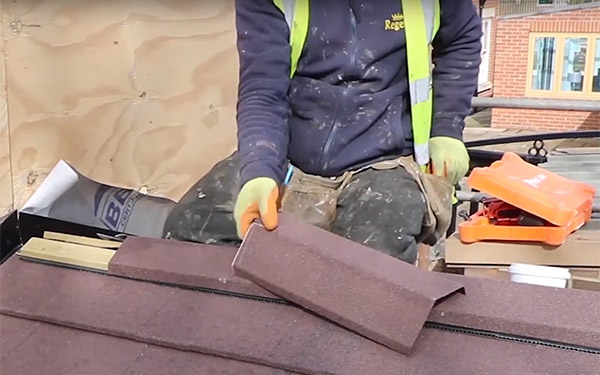
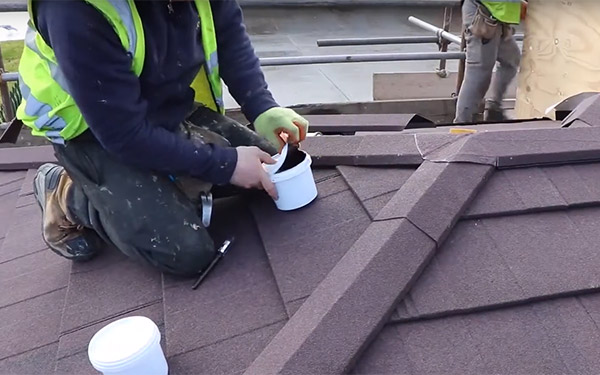
Angle ridge flashing:
At the ridge course of the tiles, trim to suit if required using
the apex line of the roof as the cut line. Attach a timber
batten on top of the shingle of the ridge using a ridge cap
as a guide. Secure the ridge caps to battens using four
nails per side. Take ridge cap to the full length of ridge and
notch to overlap onto the two-part barge soaker.
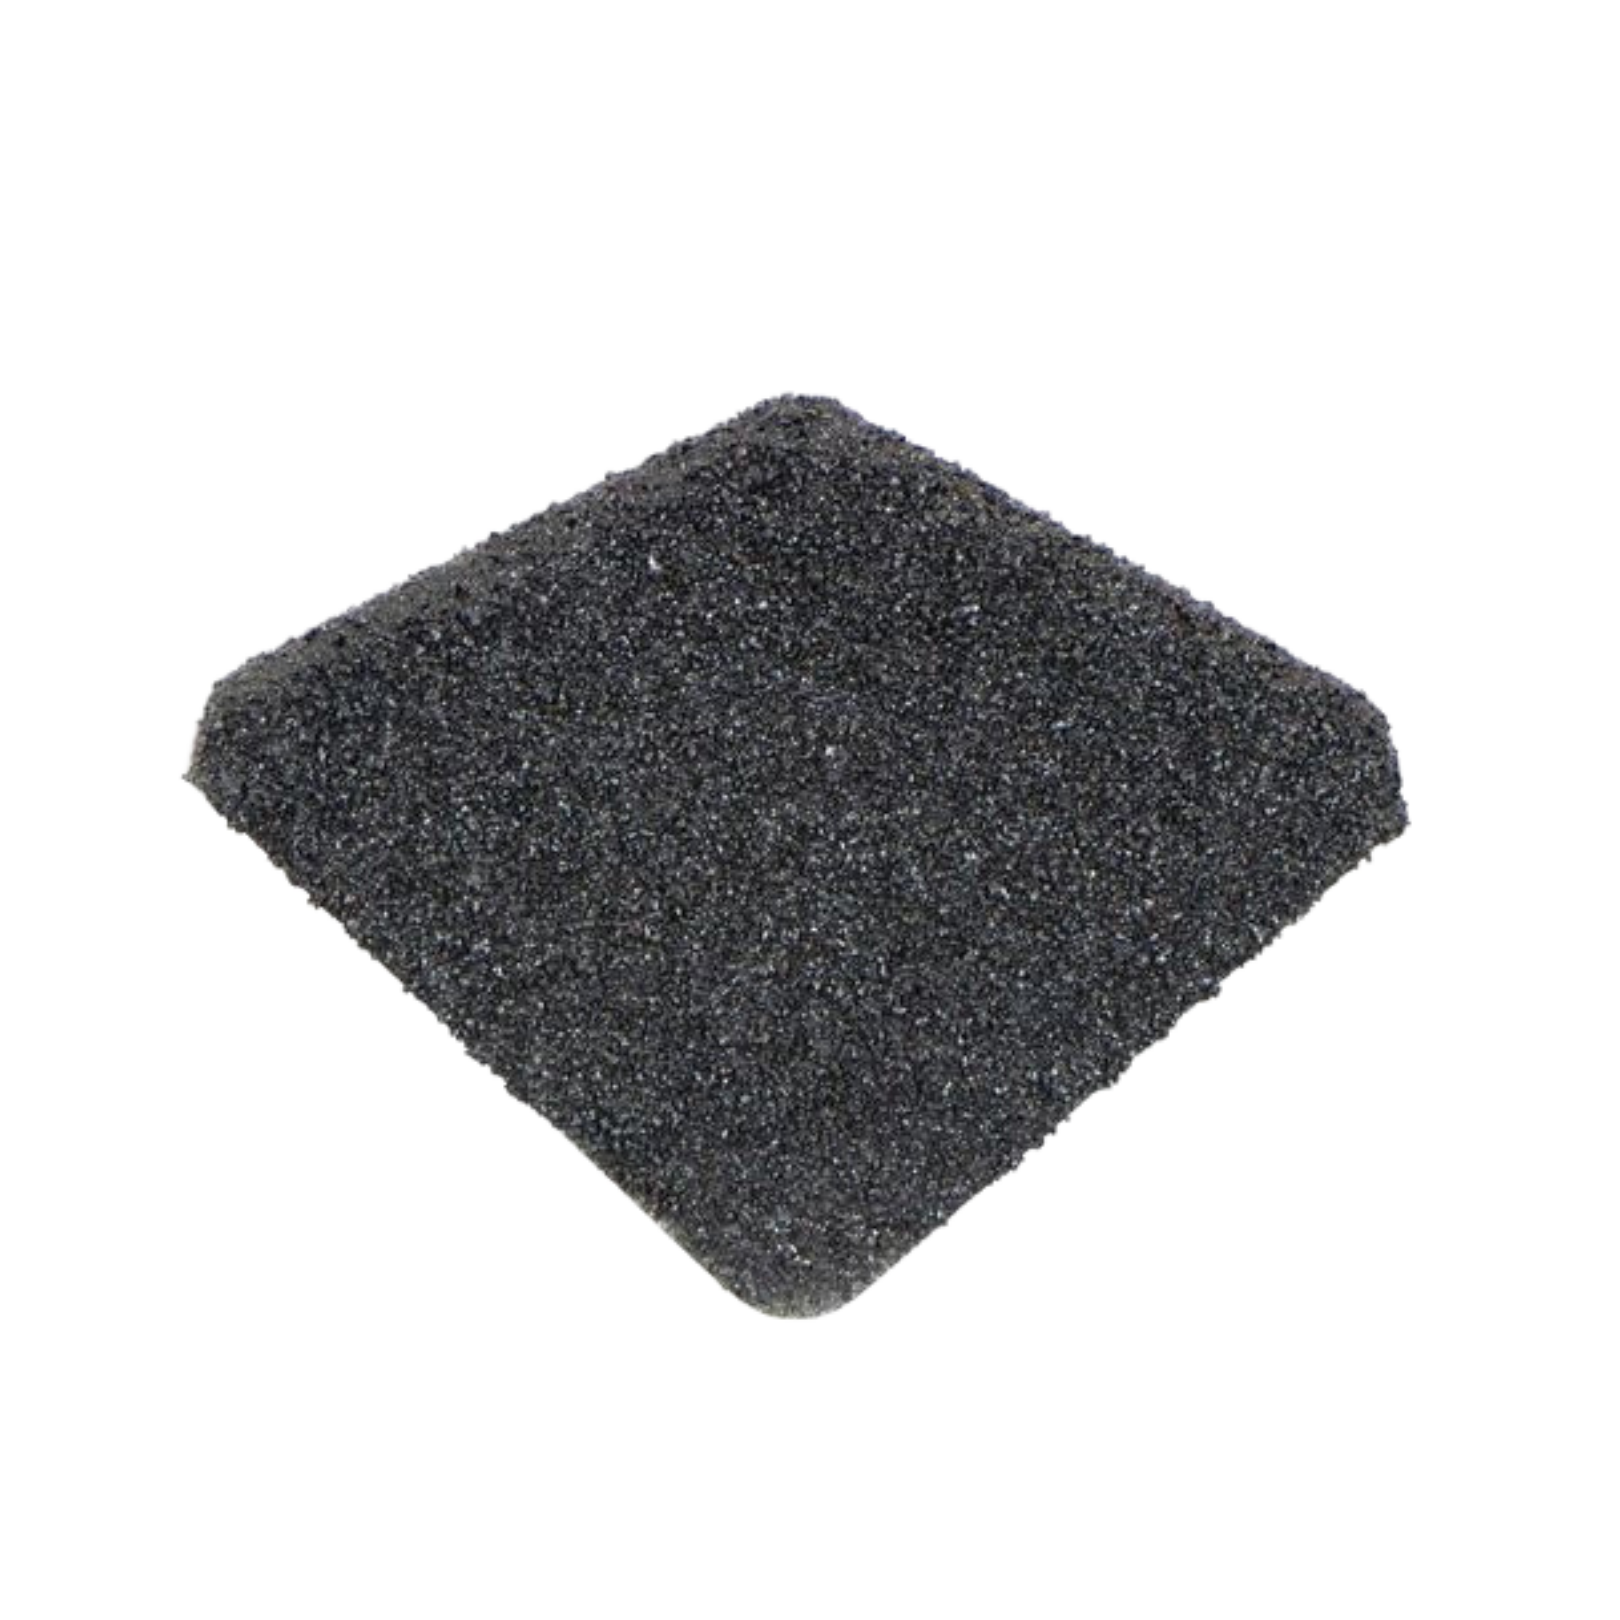
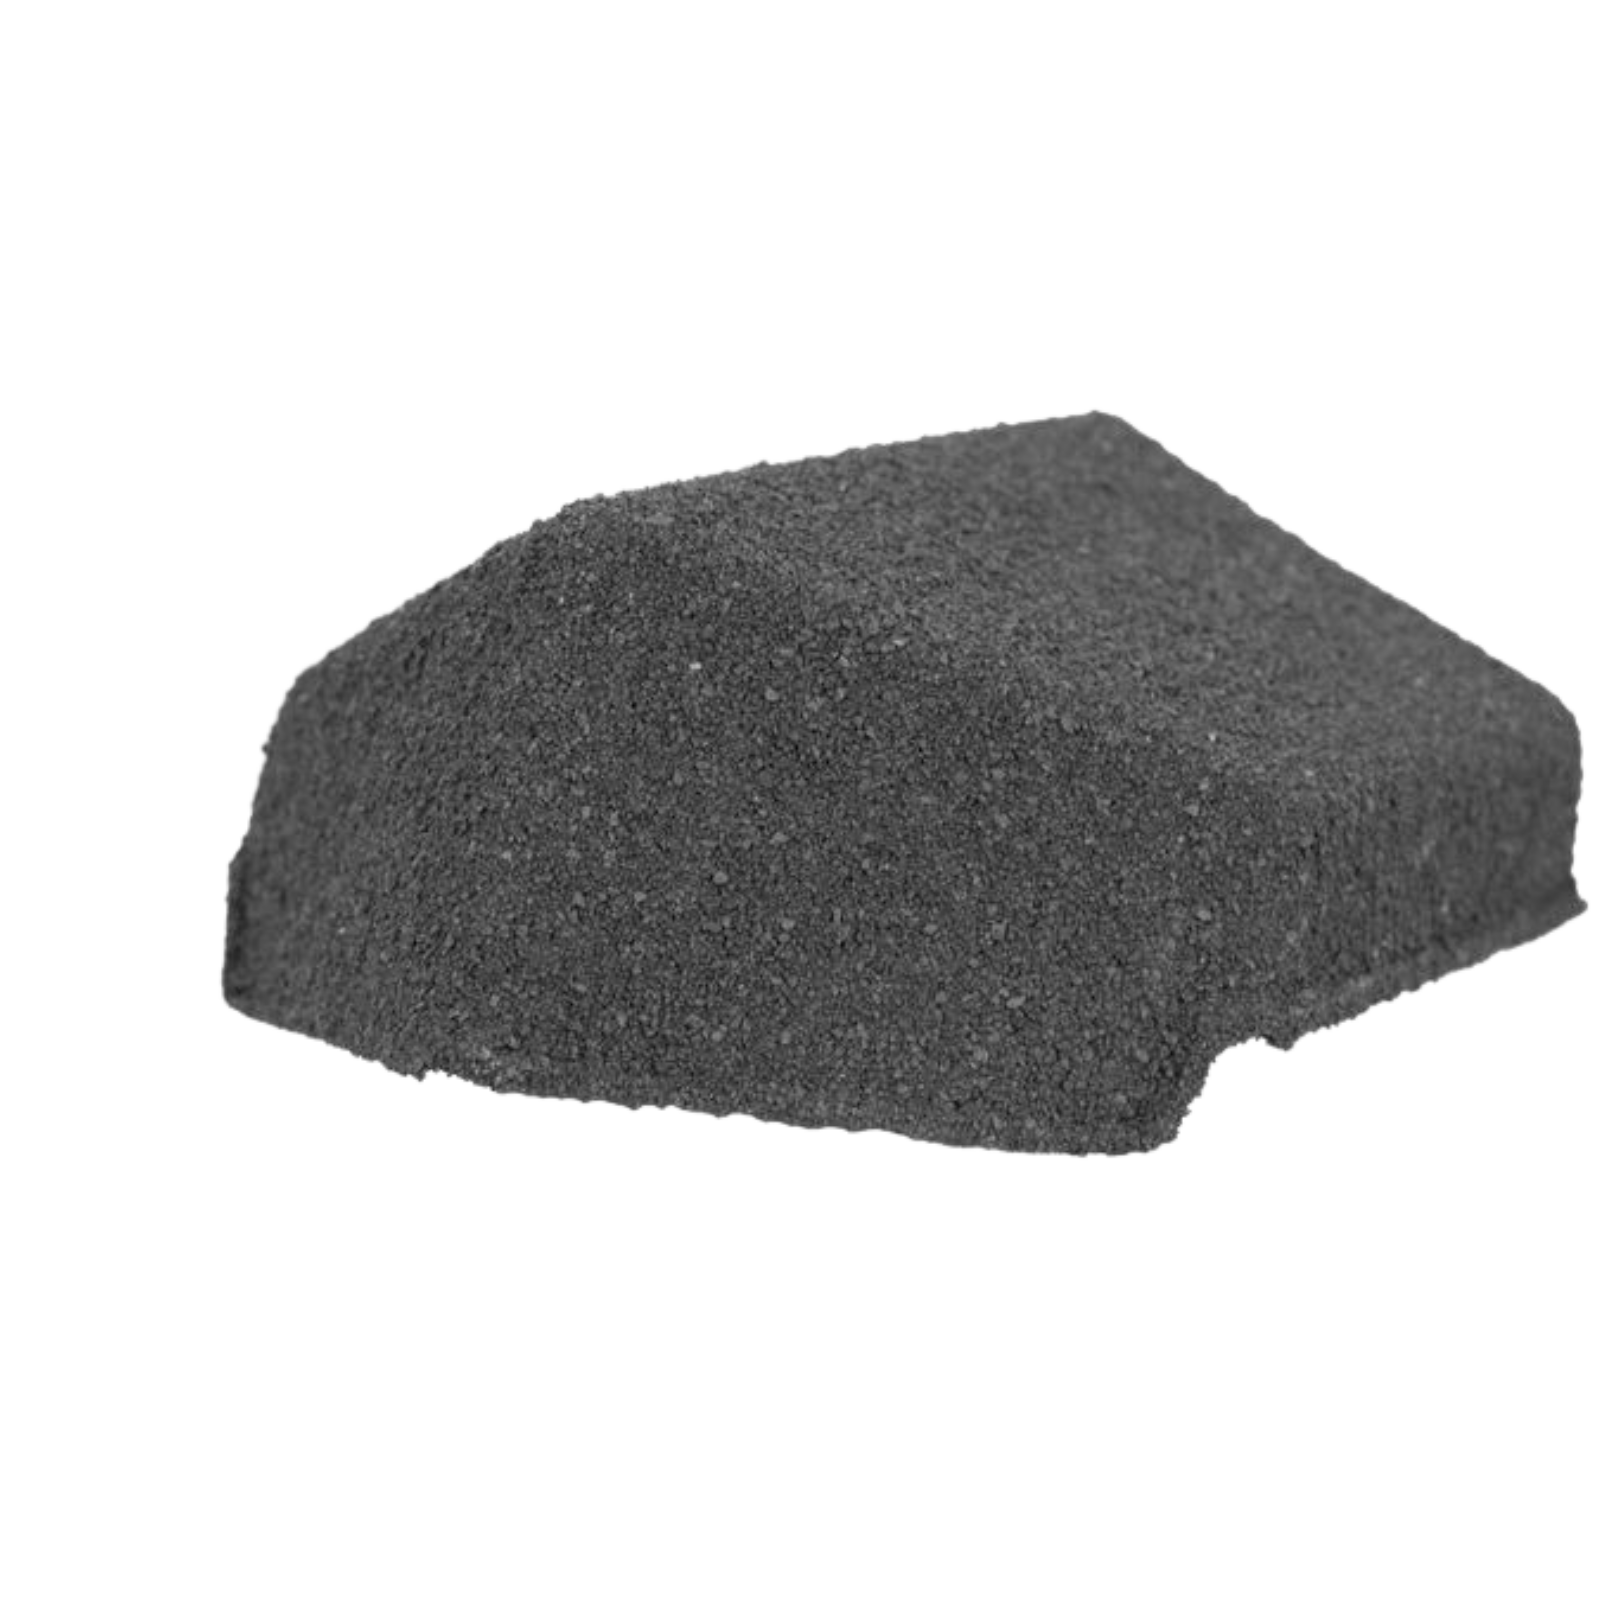
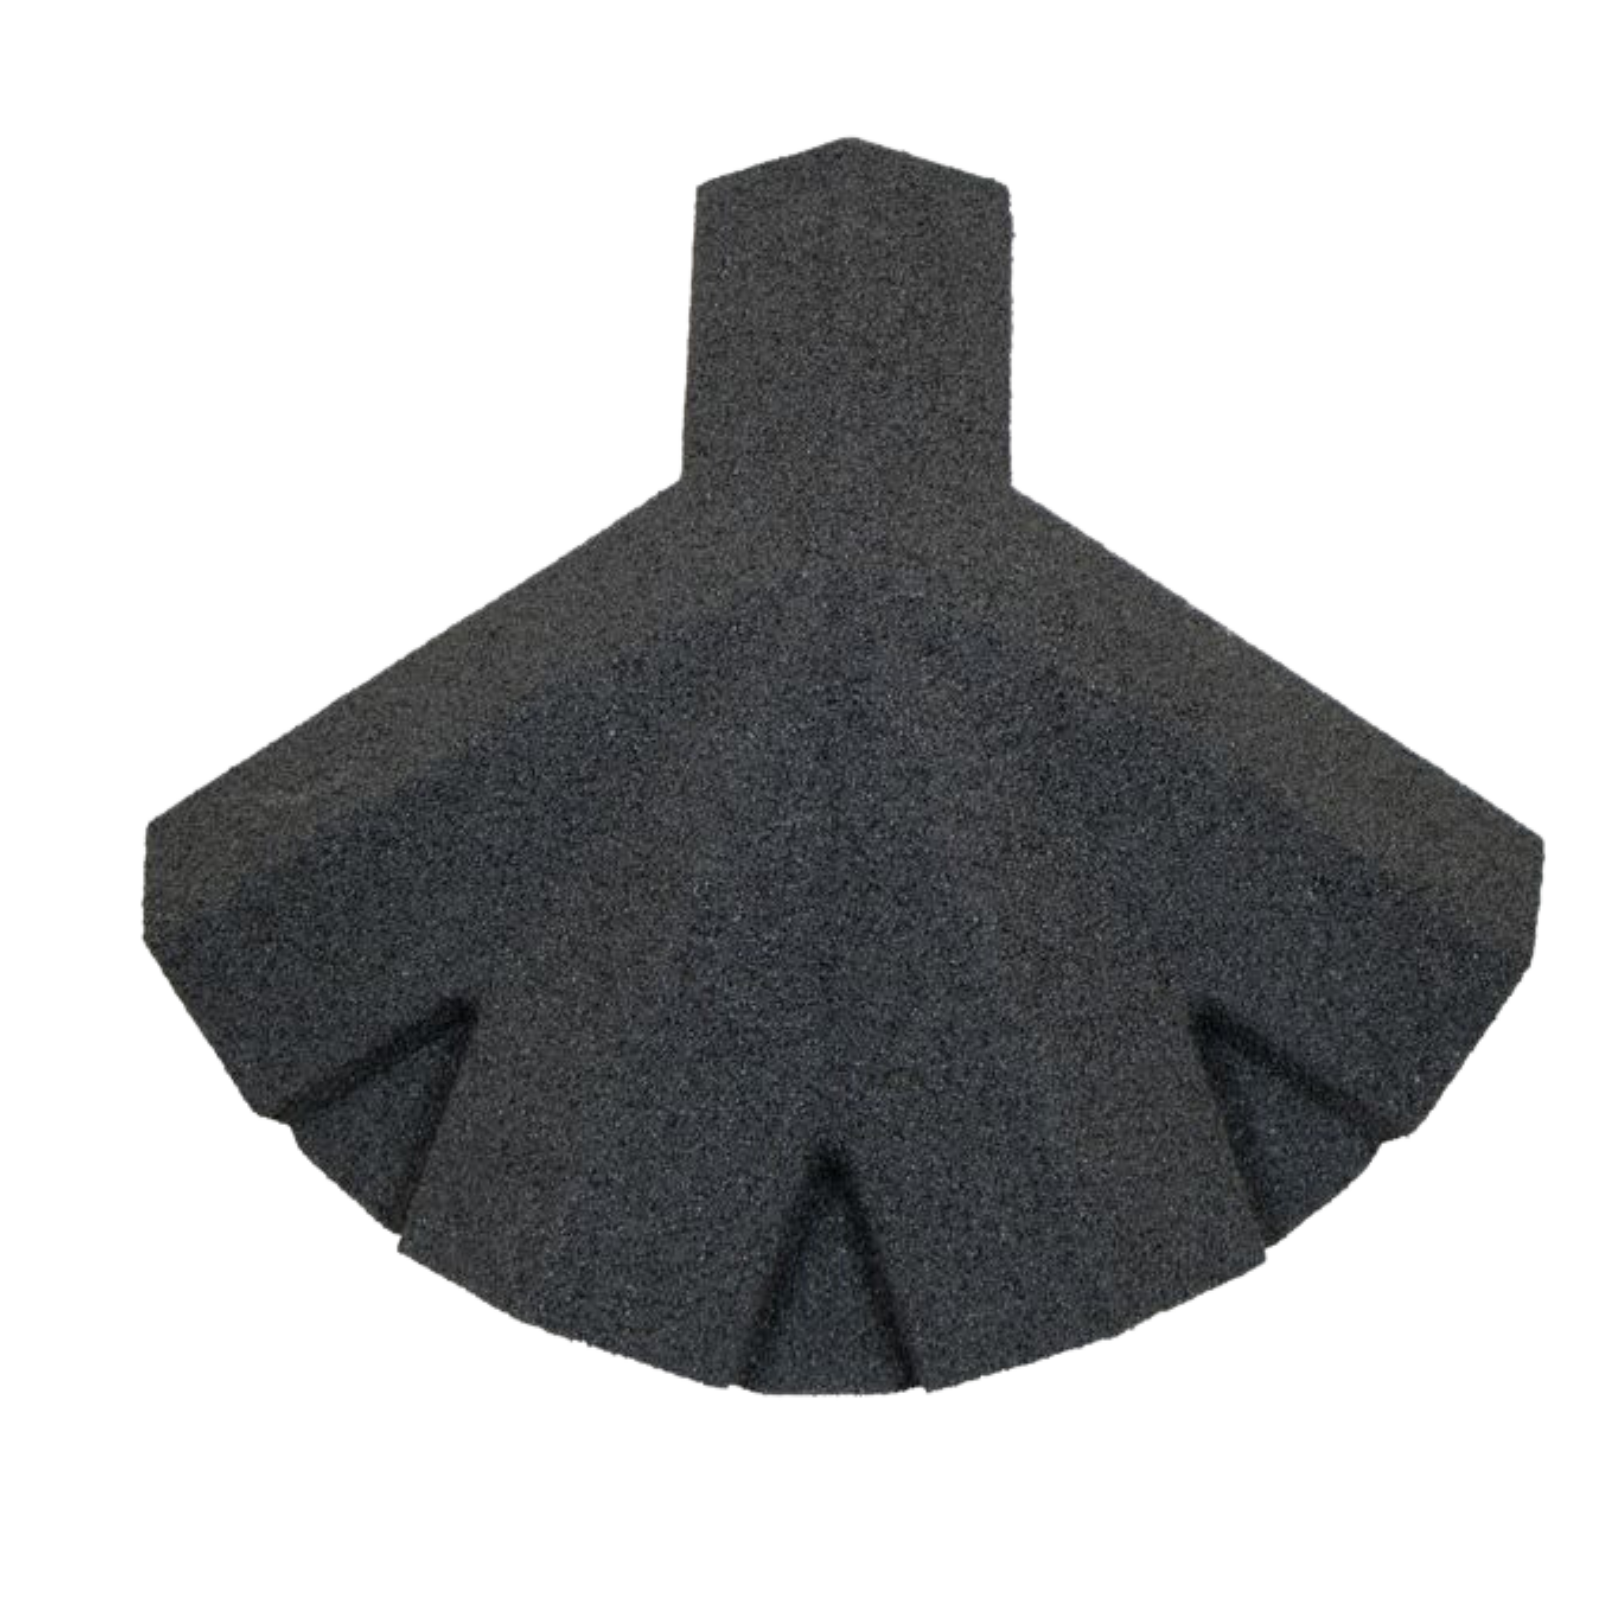
Ridge End Cap:
Fix the Ridge End Cap by sliding into the ridge as shown in the image above.
Note: You may need to notch the sides of the
End Cap to allow it to slide in freely.
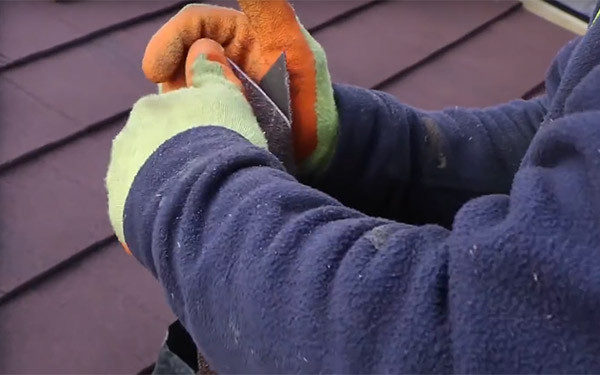
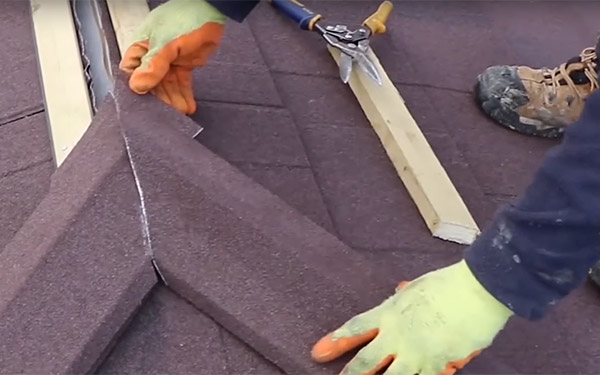
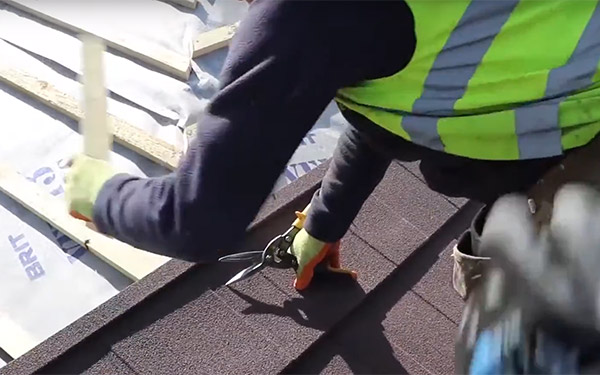
Angle hip flashing:
A 38mm x 38mm batten should be nailed to the slate
battens on each side of the hip using galvanised nails.
Shingle panels can be cut and bent up against the
battens, using a guillotine and bender (available to hire
from Britmet). The hip caps should be fitted over the
battens and nailed through the downturn into the face of
the battens, using 5 nails on each side.
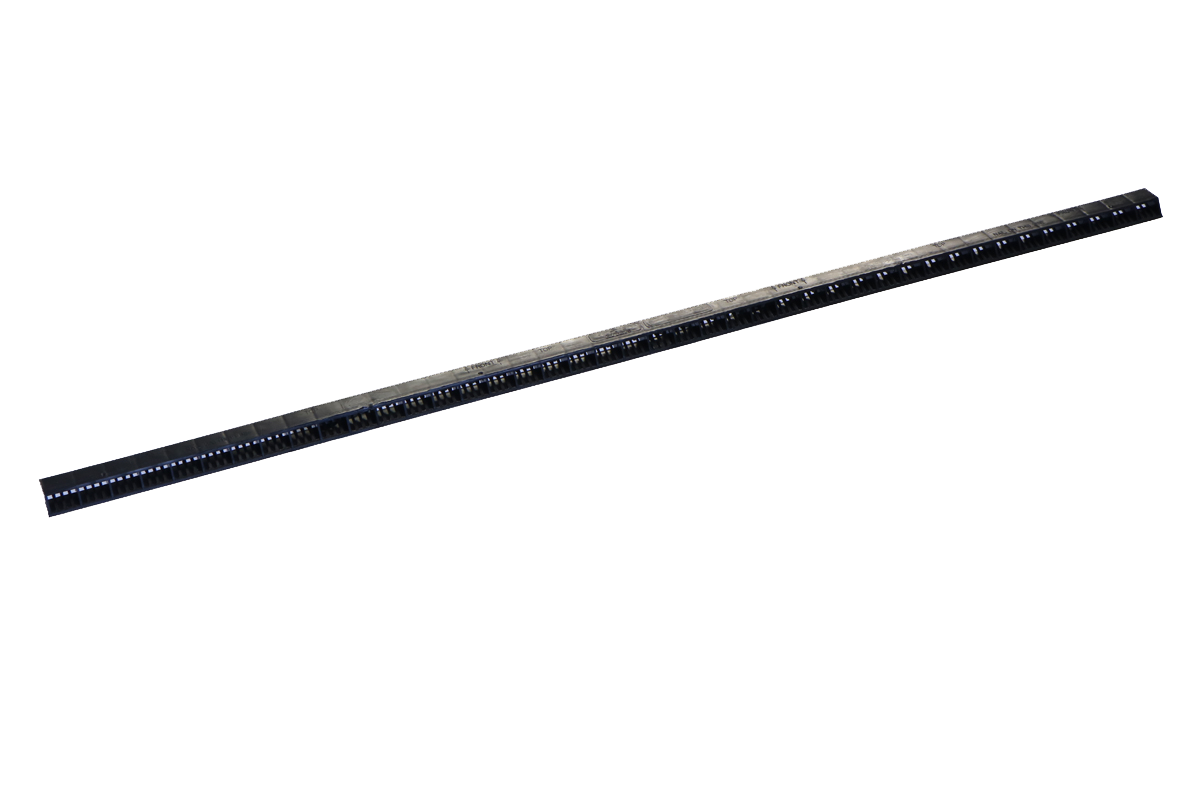
Eaves:
The bottom course of shingle panels is to be secured
with 4 coloured galvanised 2.6mm x 50mm nails driven
vertically through the high point of the slate panel profile,
into the fascia board, or through the eaves batten. The
Eaves batten is to be placed approximately 20mm behind
the fascia board if the Britmet eaves ventilation system
is used. The nail heads need to be sealed using Britmet
touch-up kit The top of the fascia board or eaves vent is
used, to be in line with the top of the battens. Fit lay board,
or tilting fillet, at the eaves, if appropriate, to ensure any
moisture on the underlay drains into the gutter.
Valley:
Valley can be formed from a metal sheet (lead) or
moulded glass fibre or similar approved lining, supported
on valley boarding. Adjacent Shingle panels should be
measured and cut, allowing a sufficient downturn, as
detailed in the manufacturer’s instructions. Battens to
project over the valley to provide fixing for slate panels.
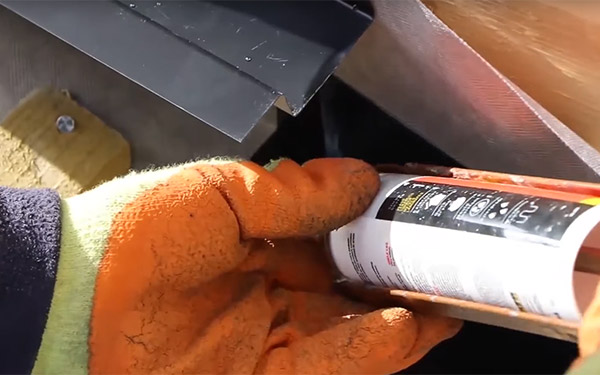
Sidewall flashing:
Britmet sidewall flashing must be secured with fixing nails,
one driven vertically into each batten (these nails need
to be covered, using Britmet touch-up kit). Britmet cover
flashing should be dressed over the edge of side flashing
abutting the wall and let into the brickwork.
Shingle Installer Guide
Shingle Videos

Shingle Technical Drawings
| Ref | Description | Files |
| Shingle | DWG | PDF | |
| SH-Abut-01-A | Shingle Top Abutment Detail | DWG | PDF |
| SH-Barge-01-A | Shingle Barge Detail | DWG | PDF |
| SH-Eave-01-A | Shingle Eaves Detail | DWG | PDF |
| SH-Hip-01-A | Shingle Hip Roof | DWG | PDF |
| SH-Mridge-01-A | Shingle Ventilated Typ. mono ridge detail | DWG | PDF |
| SH-Ridge-01-A | Shingle Ridge Detail | DWG | PDF |
| SH-Swall-01-A | Shingle Side Abutment Detail | DWG | PDF |
| SH-Vall-01-A | Shingle Typical valley detail | DWG | PDF |