
Slate 2000
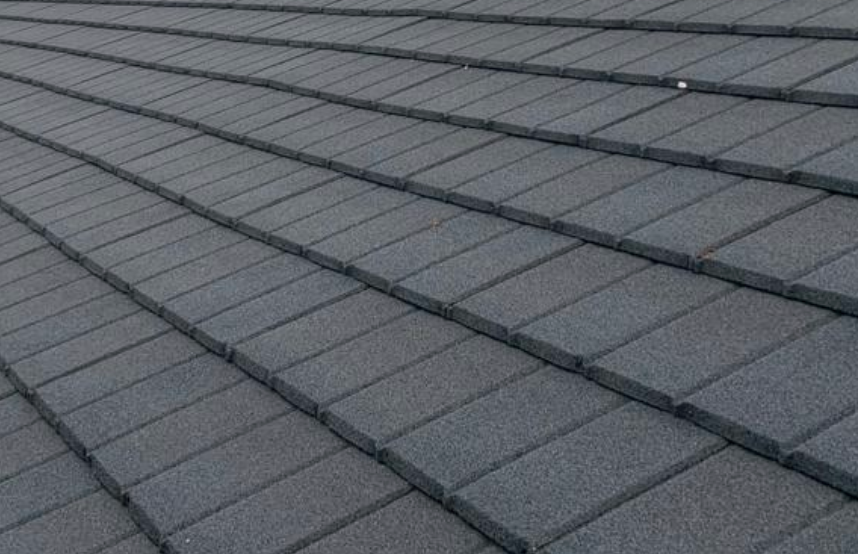
The Britmet Lightweight Roofing slate 2000 lightweight roofing slates are designed to give you the true characteristics of a slate appearance, with its broken bond finish.
Features & Benefits
- Manufactured in Britain
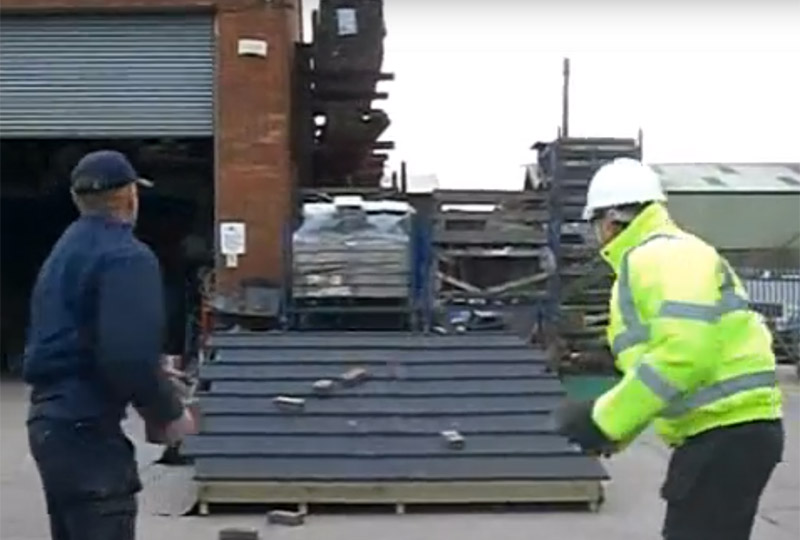
- Lightweight - from 7kg per m²
- Suitable for roof pitches down to 12°
- Available in 0.45mm or 0.9mm gauge
- BROOF(t4) fire certification (BS EN 13501-5)
- 50-year weather-seal warranty


Slate 2000 Overview
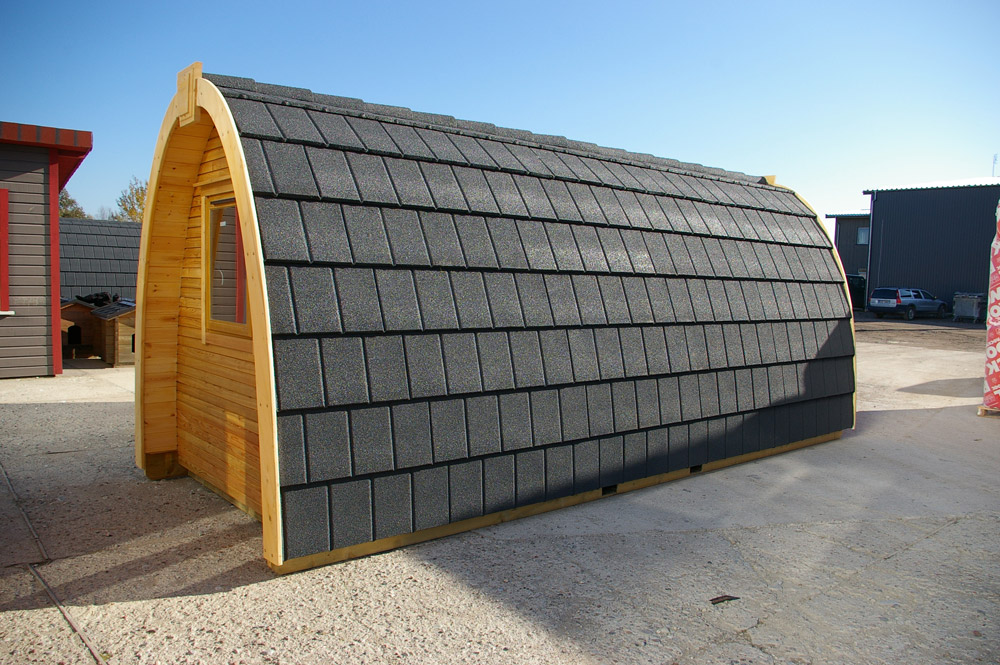
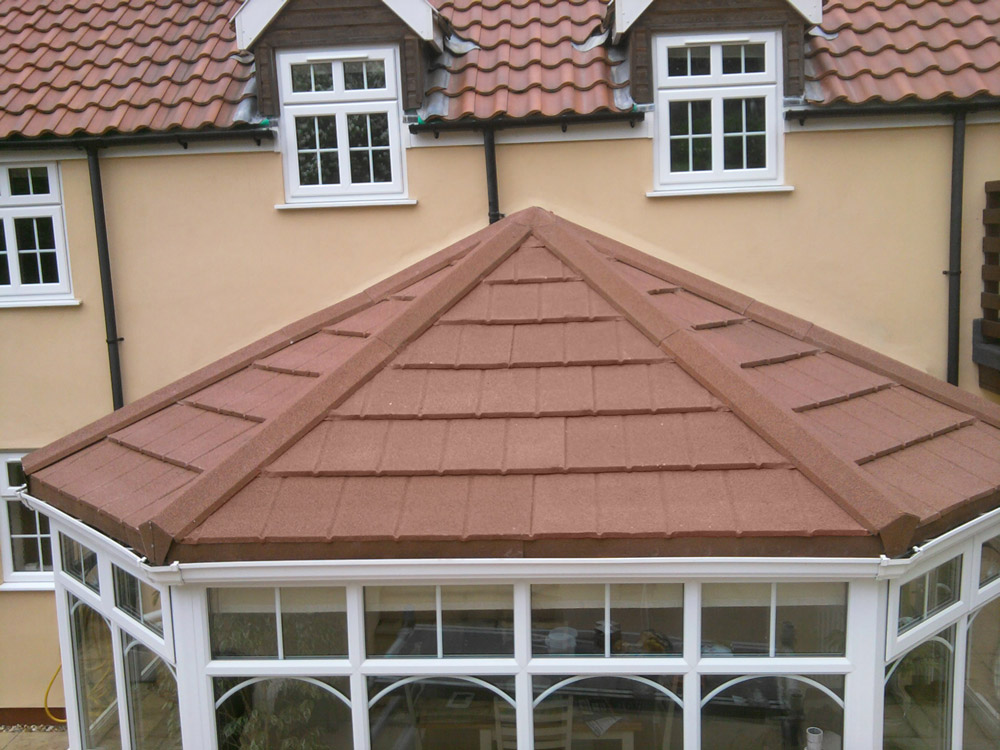
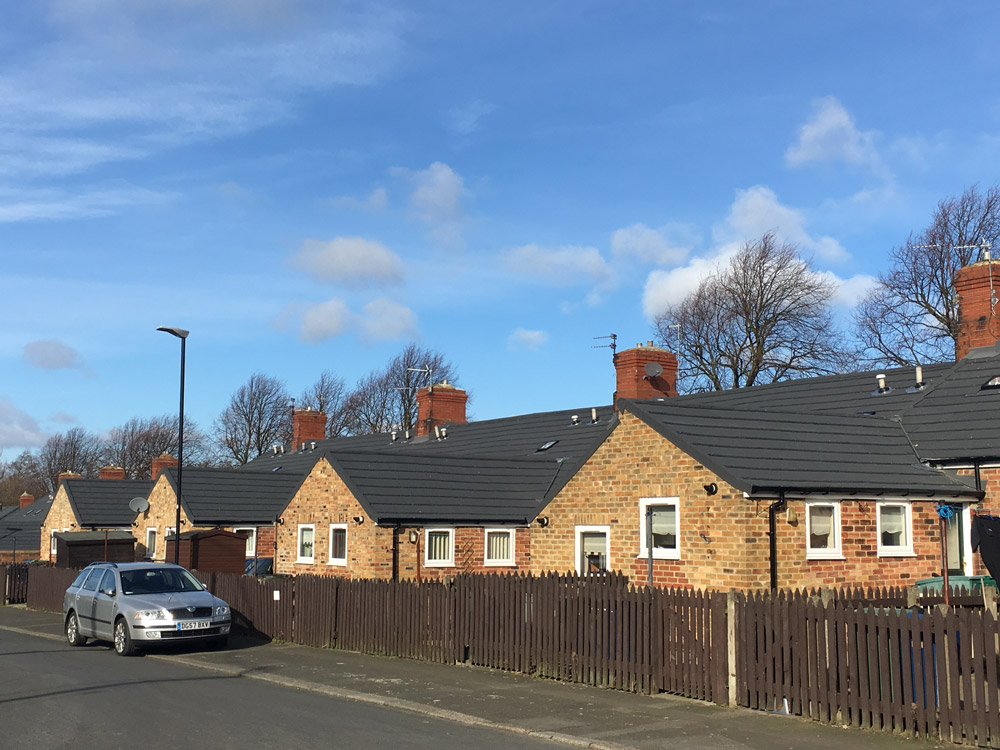
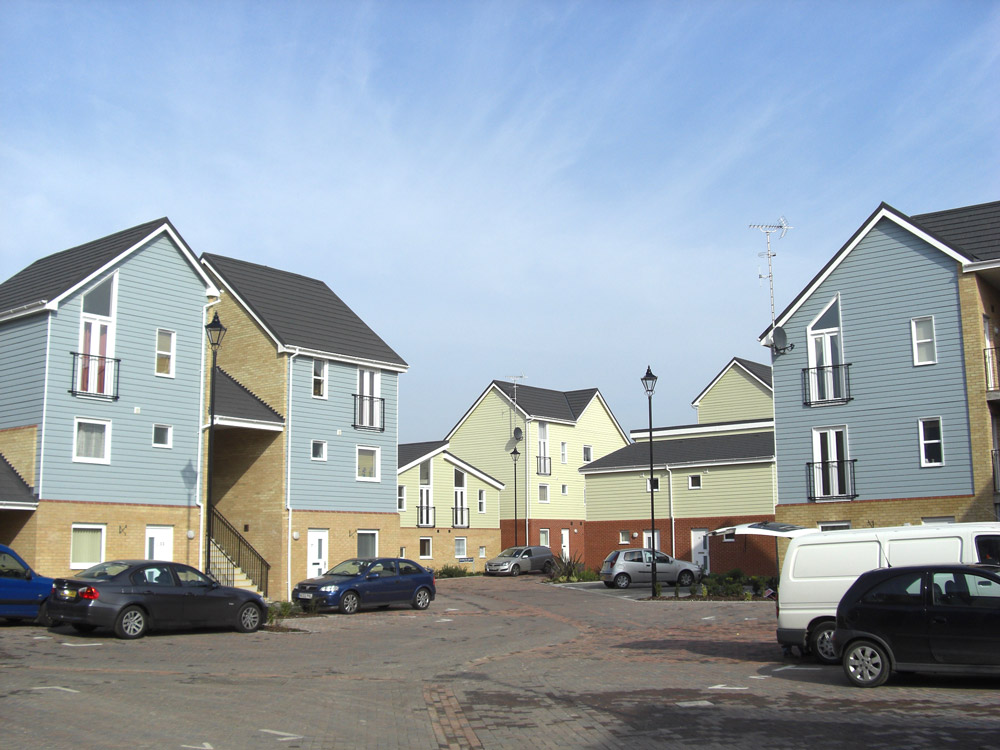
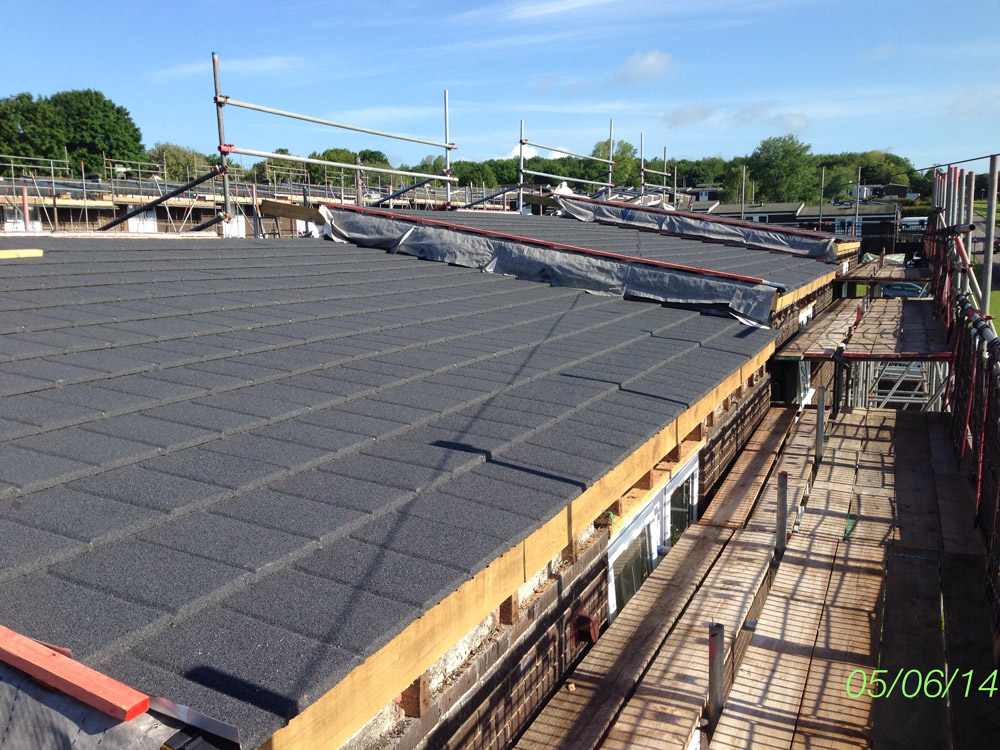
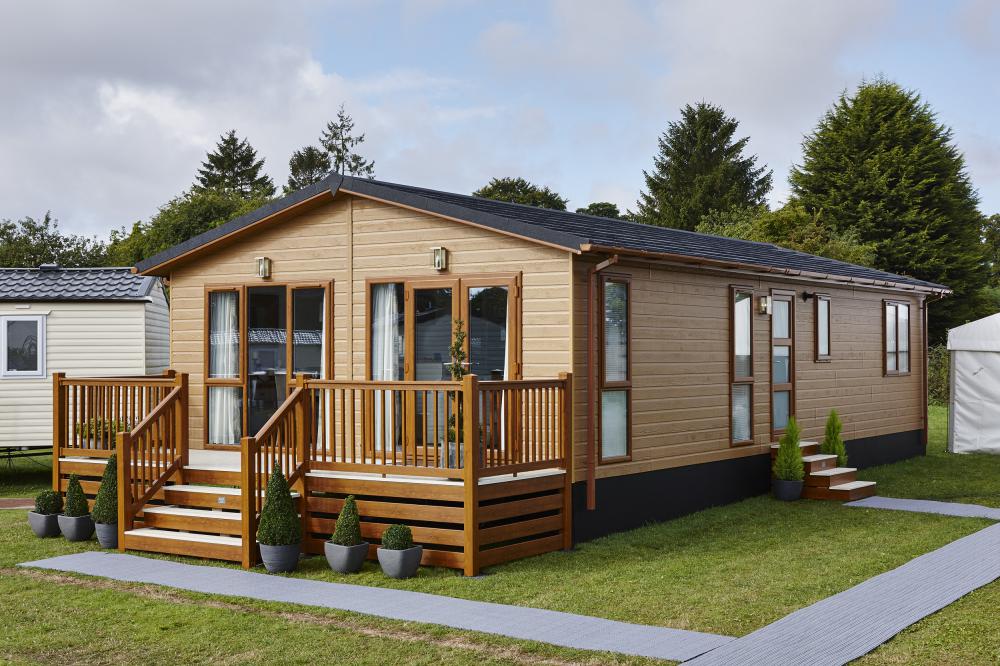
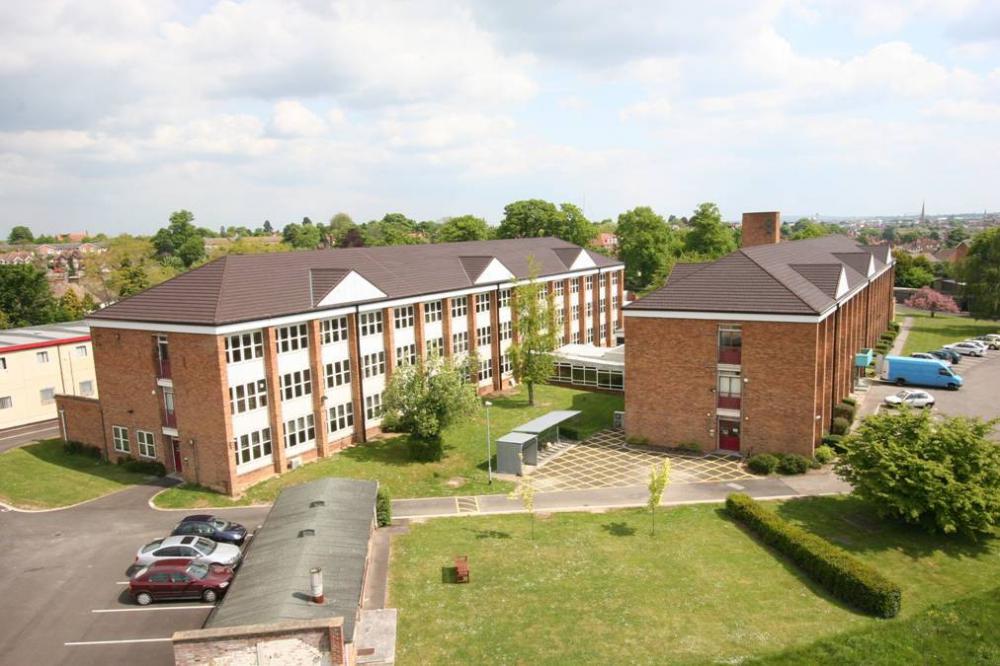
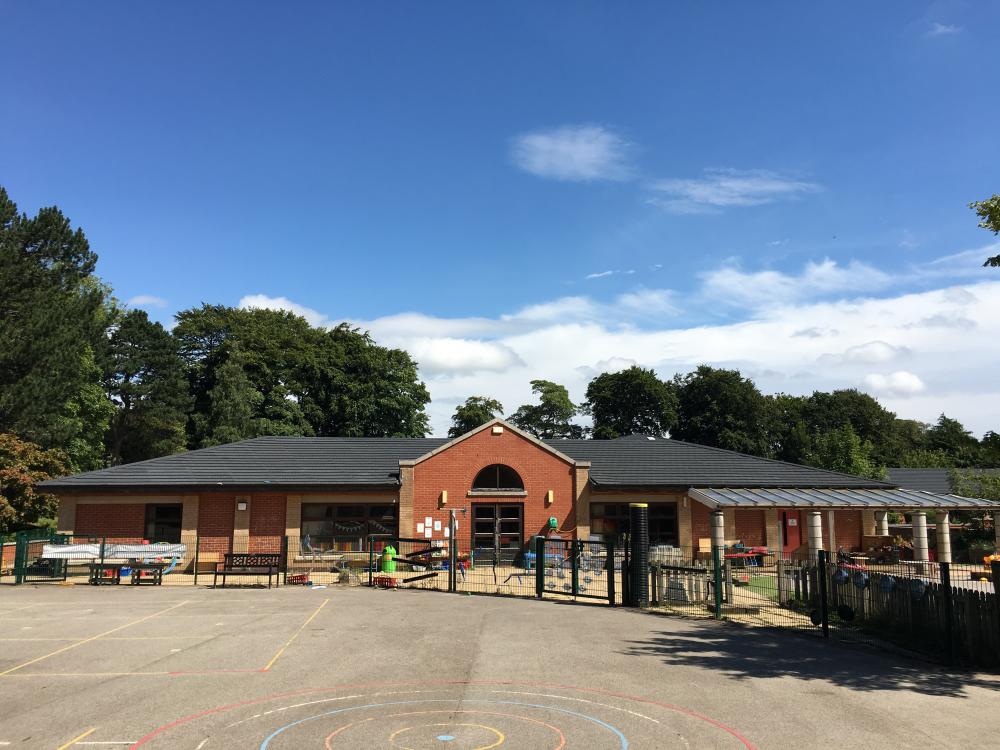
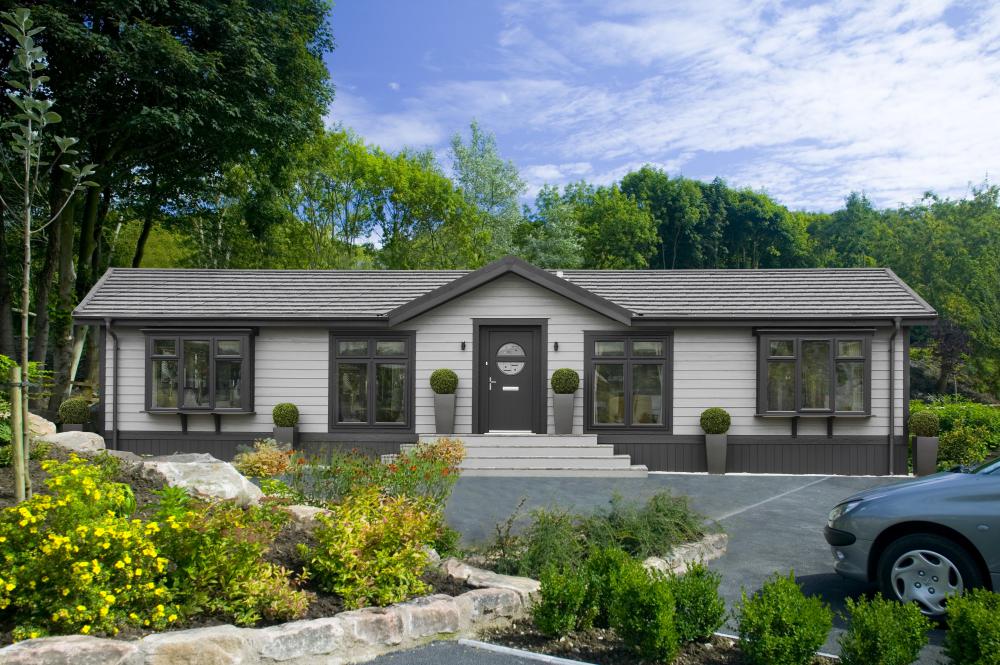
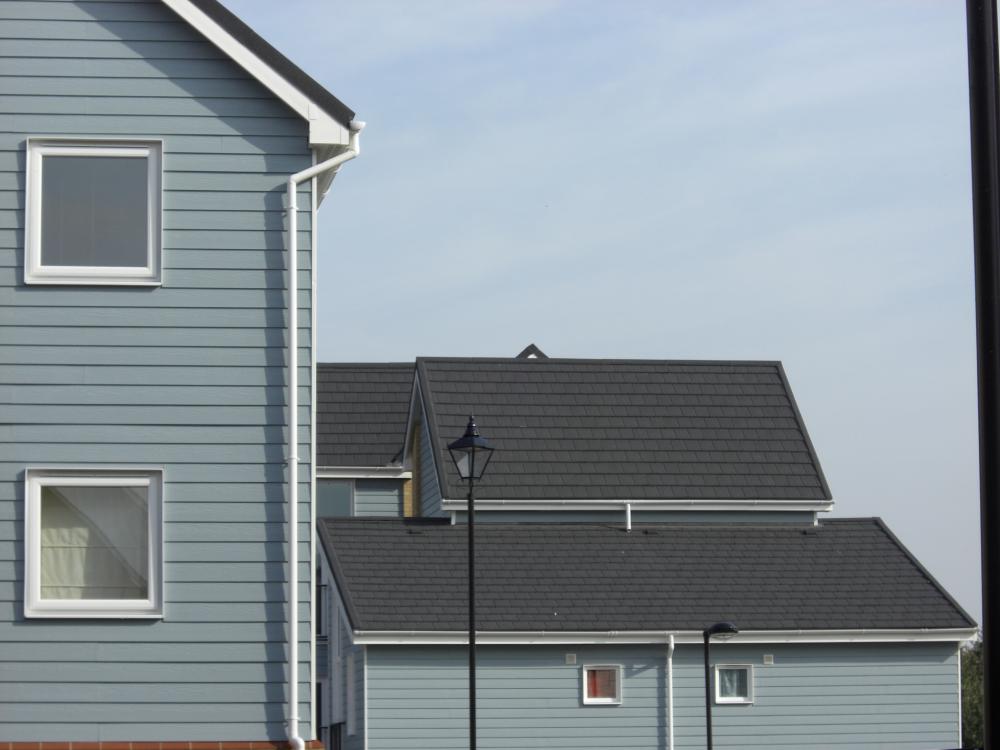
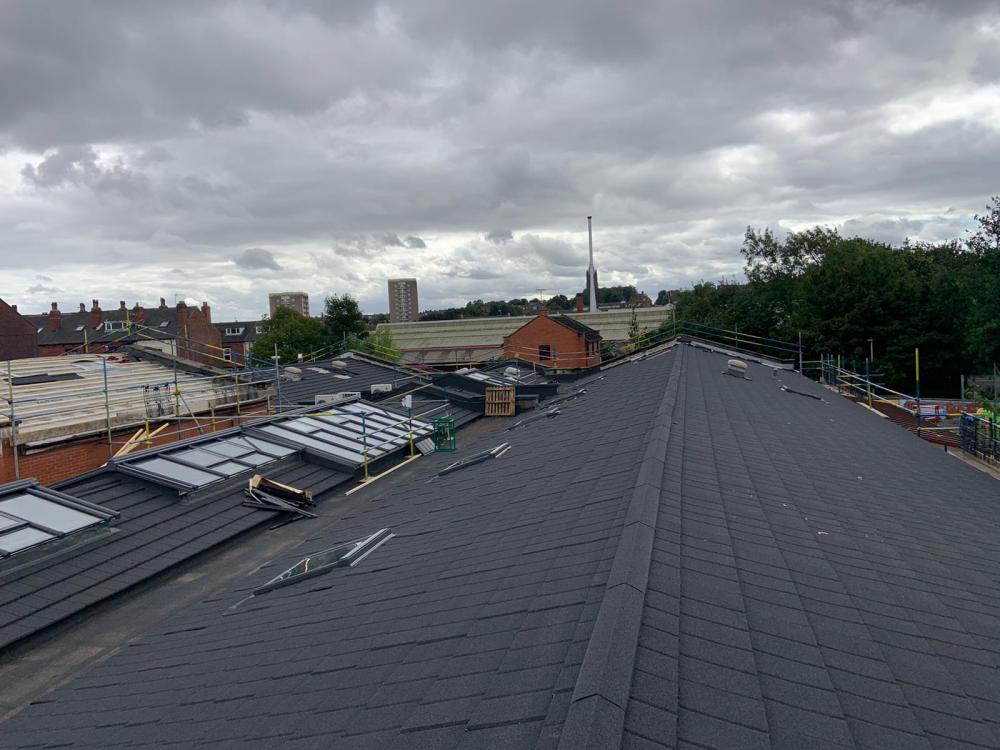
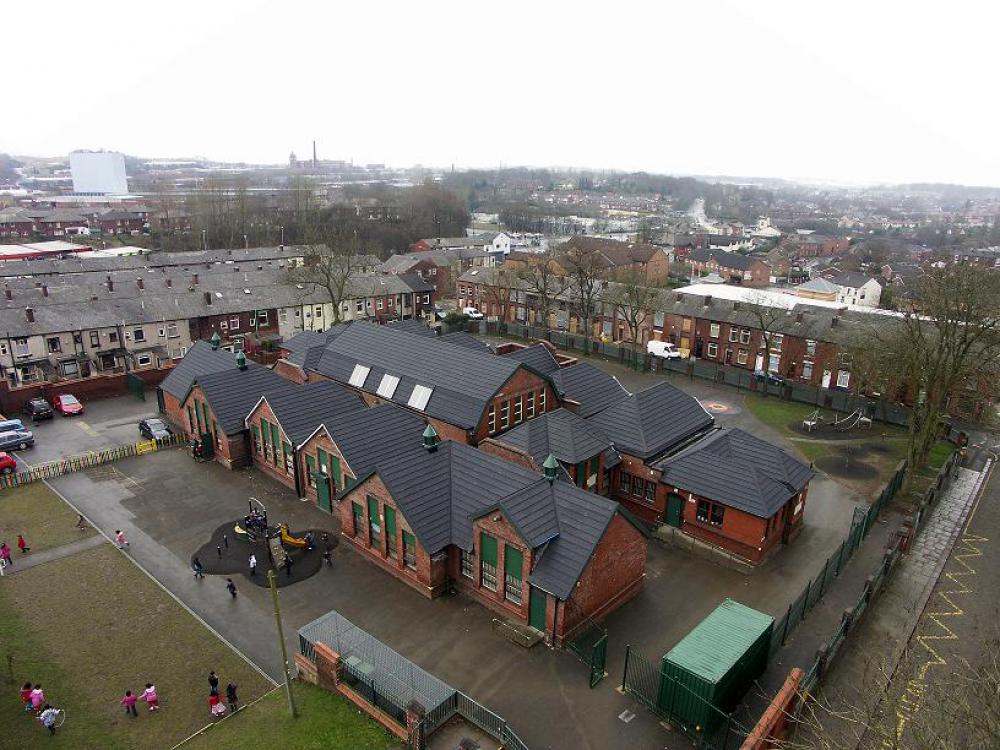
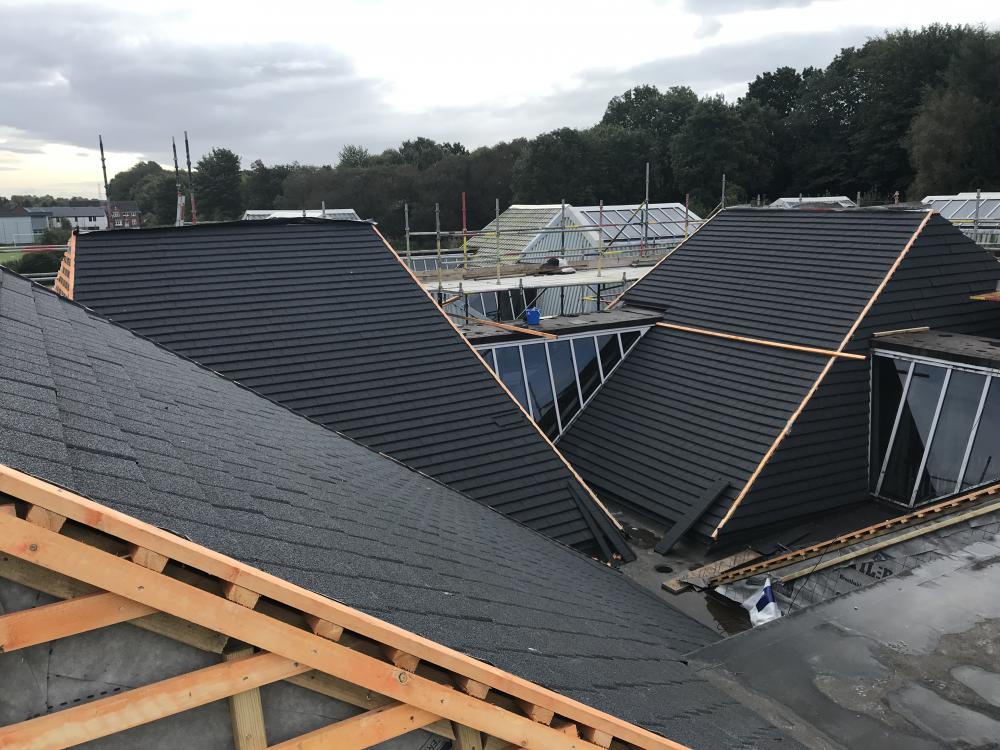
Our Slate 2000 lightweight tile panel is designed to give you the true characteristics of a slate appearance, with a broken bond finish and half the installation time when compared with traditional tiles.
The Britmet slate 2000 is available in 5 stunning colours and manufactured using the highest-grade Aluzinc steel, coated in a granulated finish and sealed using an acrylic glaze. For projects that might require increased security, Britmet Slate 2000 is available in 0.45mm and 0.9mm thickness while only weighing 1/7th the weight of traditional concreate tiles and installed to pitches as low as 12 degrees.
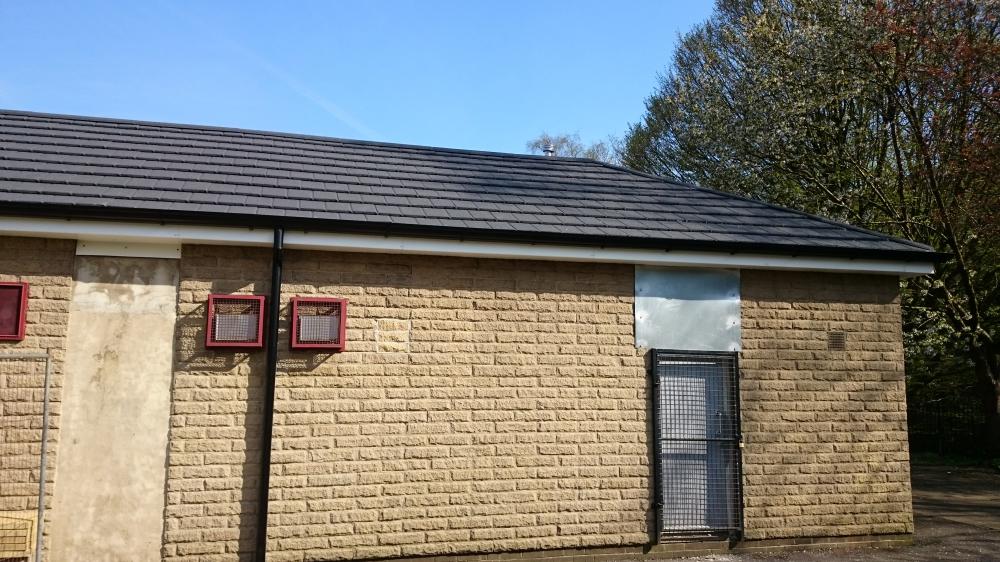
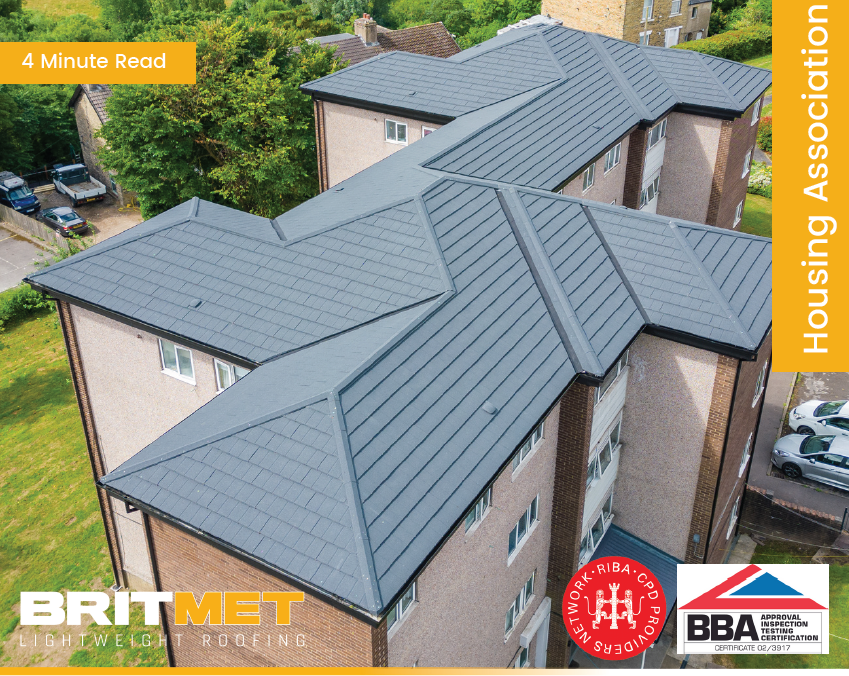
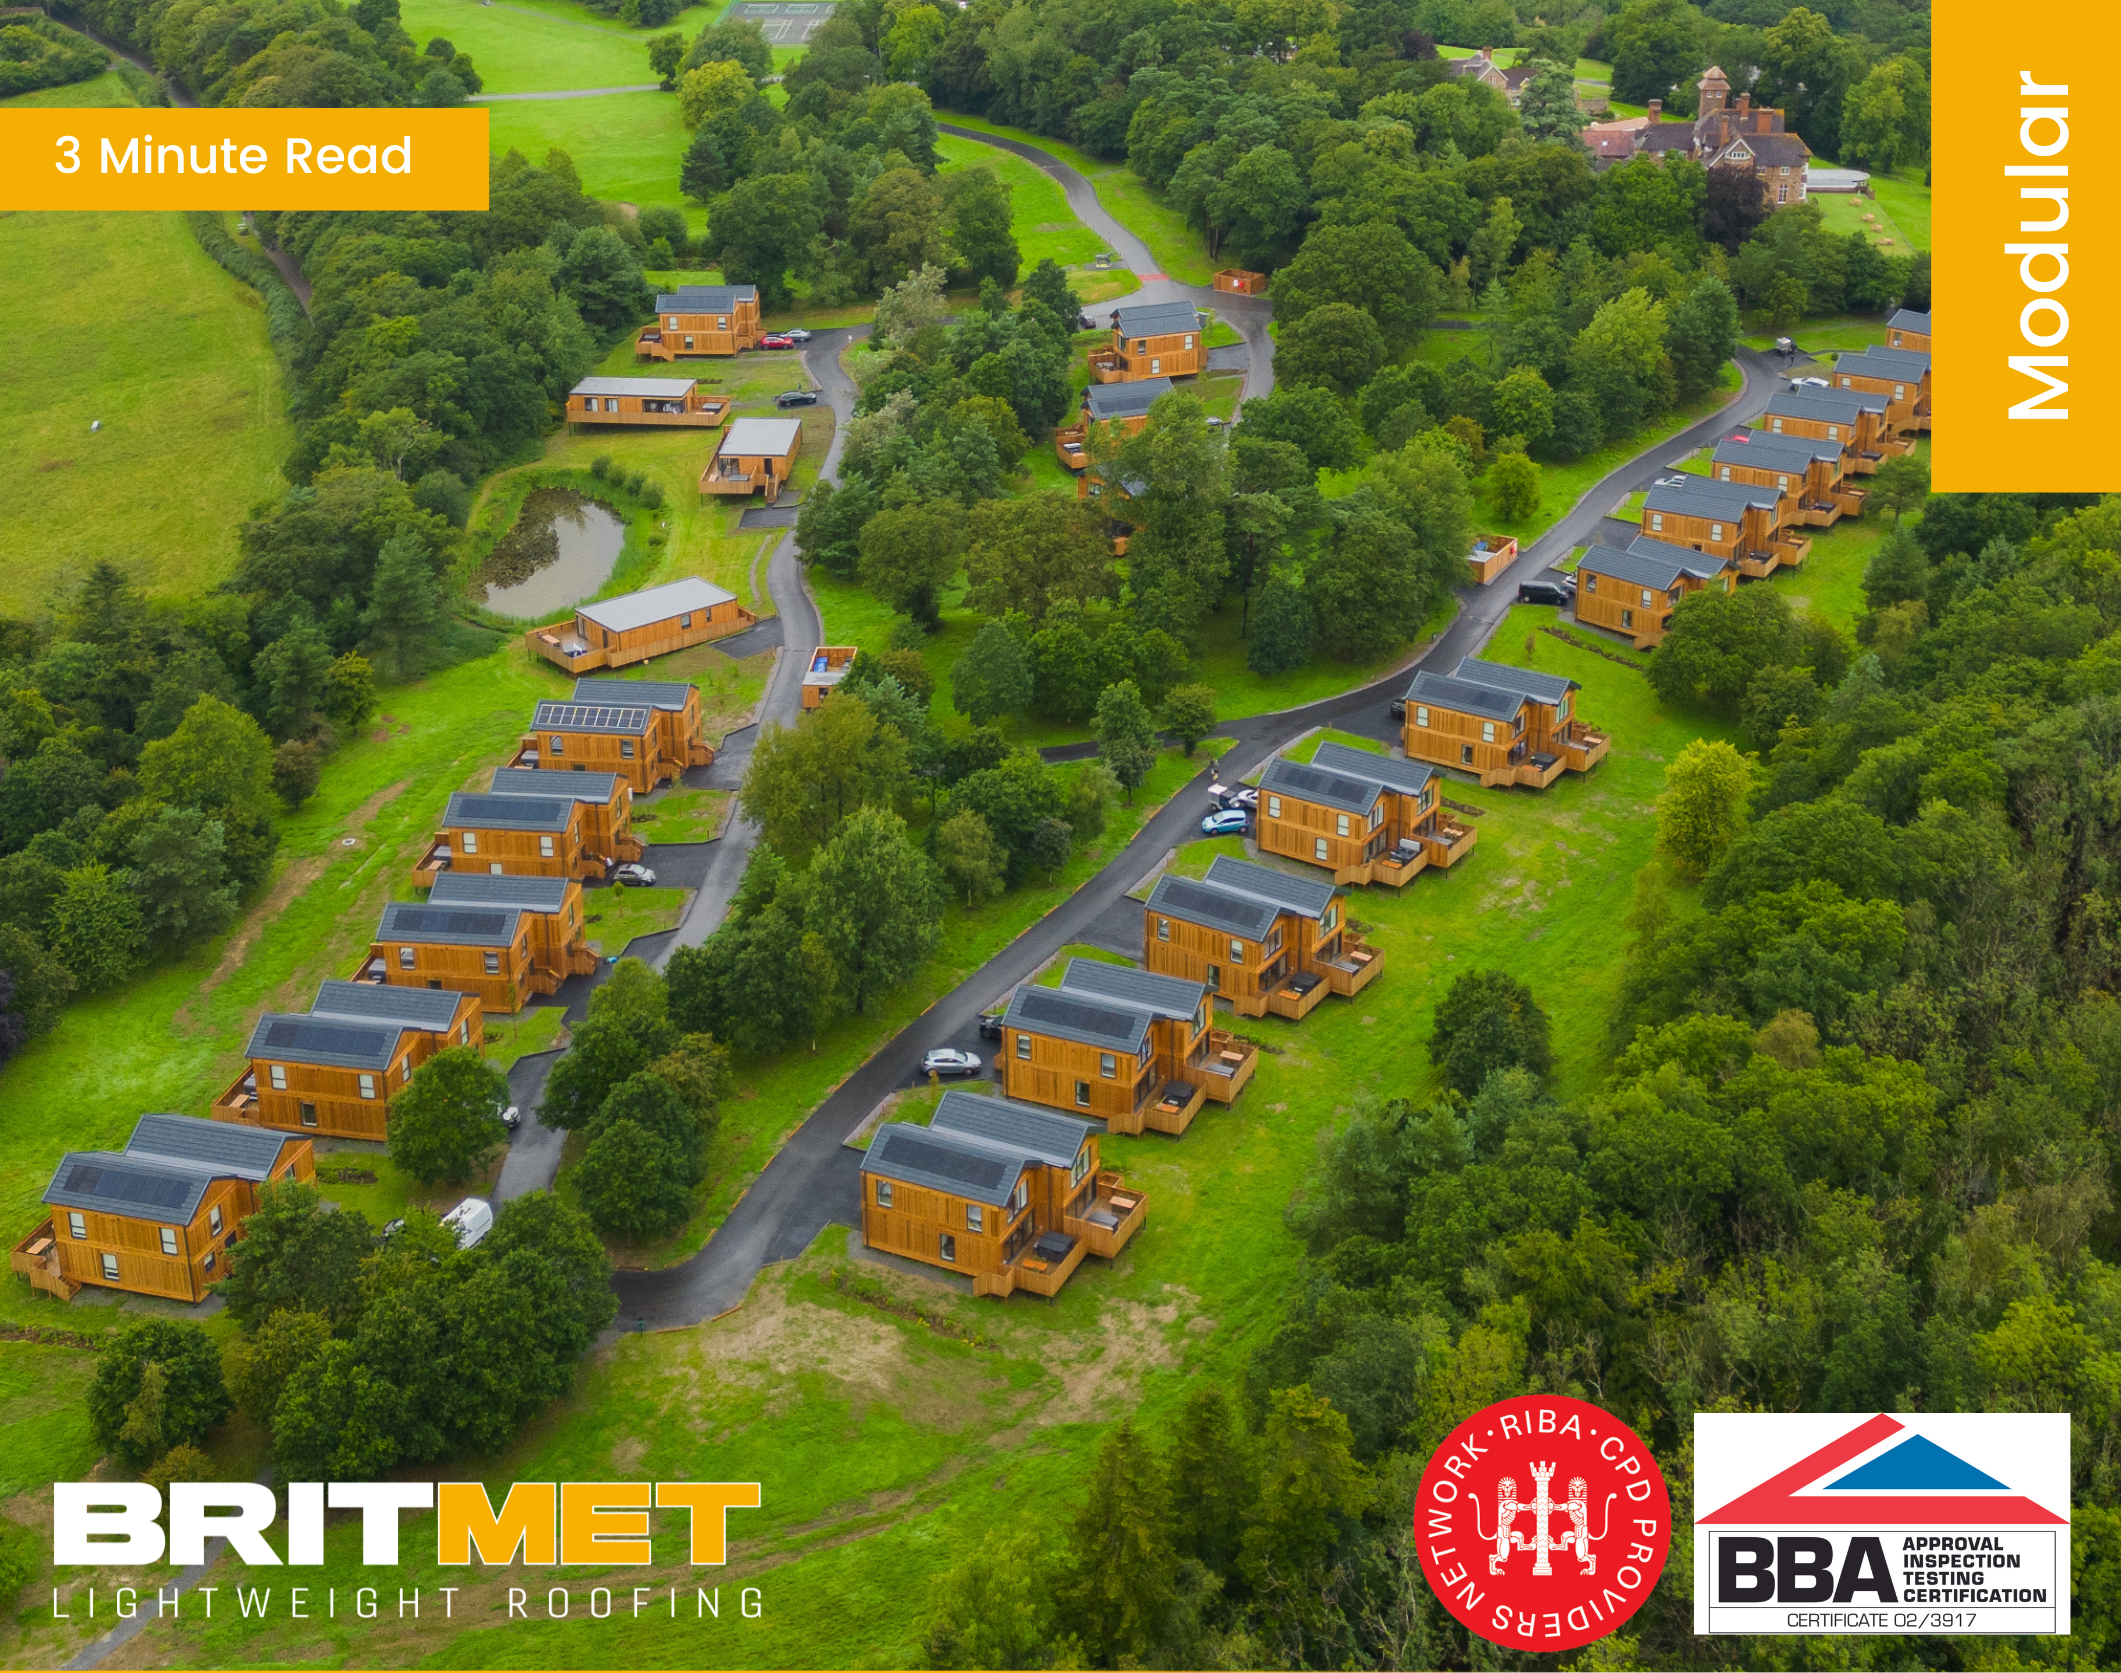
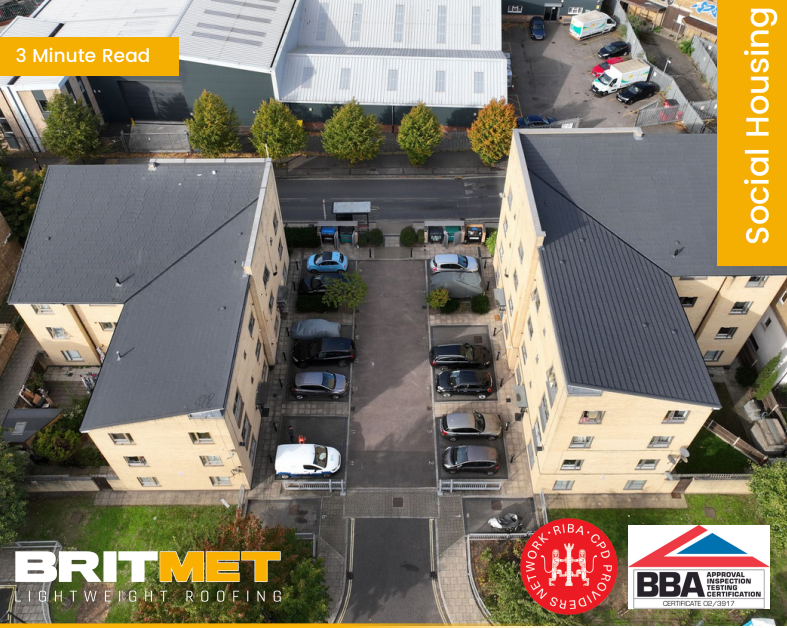
Our stunning traditional slate duplicate offers superior performance and durability with unparalleled strength and aesthetics making it a first choice for any lightweight roofing project. The Britmet slate 2000 tile is featured on the famous Alton Towers Star Gazing pods, BISF homes, hospitals and many more.
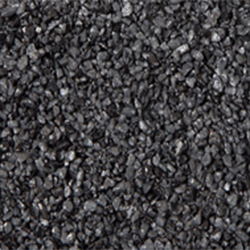
Titanium Grey
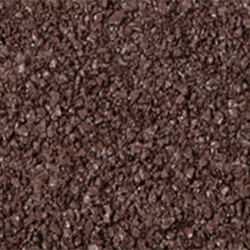
Bramble Brown
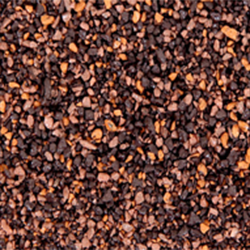
Rustic Brown

Rustic Terracotta
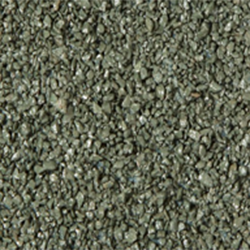
Tartan Green
Slate 2000 Brochure
Slate 2000 Photo Gallery


Slate 2000 Product Range


.png)
Slate 2000 Case Studies
Slate 2000 Technical Spec
| Minimum pitch: | 12° |
| Maximum pitch: | 90° |
| Overall width: | 1310mm |
| Cover width: | 1250mm |
| Side lap: | 60mm |
| Step: | 22mm |
| Batten gauge: | 369mm |
| Batten gauge (0.9mm): | 367mm |
| Roof cover per slate: | 0.46m2 |
| Individual slate width: | 250mm |
| Slate panels per sqm: | 2.17 |
| Steel base: | 0.45mm & 0.9mm |
| Weight as laid per sqm: | 7kg & 11kg |
| Base coat: | Acrylic Resin |
| Top coat: | Stone granules with clear acrylic overglaze |
| Chemical resistance: | Non toxic fungicide incorporated |
| Biological resistance: | Unaffected by normal air pollution |
| Fire resistance: | AA classification equal to traditional roof tiles and slates |
| Fixings: | The contractor shall utilise the roofing manufacturers recommended fixings and sealant |
| Ventilation: | The recommendations of Building Regulations 1991 (amended 1992 and 1994). Approved document F2 1995 ‘Condensation in roofs’, BS5250: 1989 ‘control of condensation’. |
Slate 2000 General Specification
Slate 2000 is designed for roof pitches from 12° to 90°.
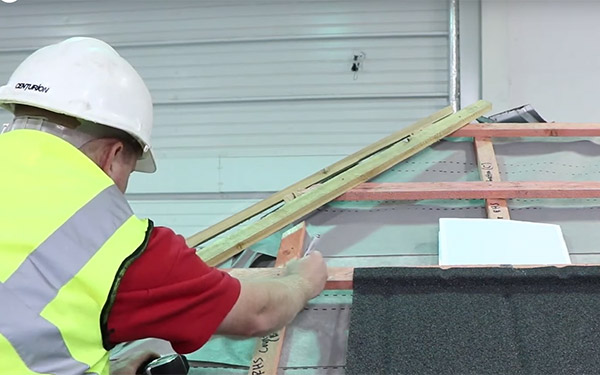
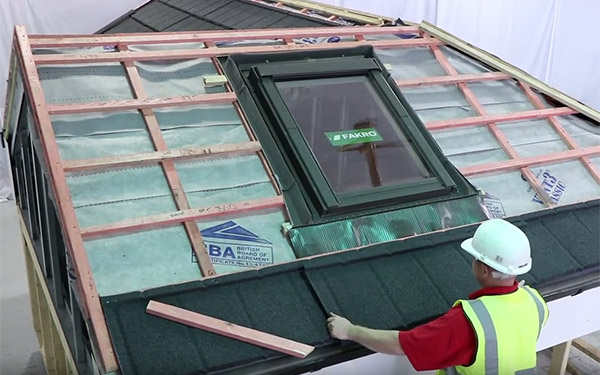
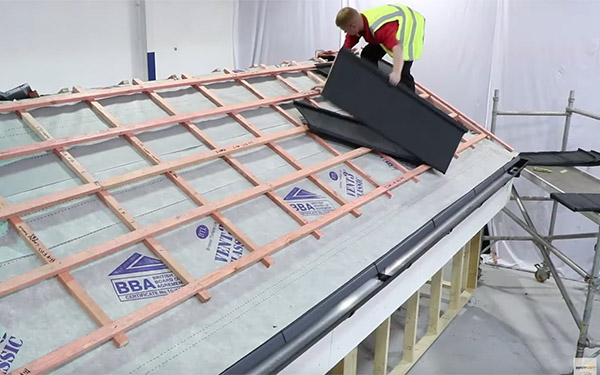
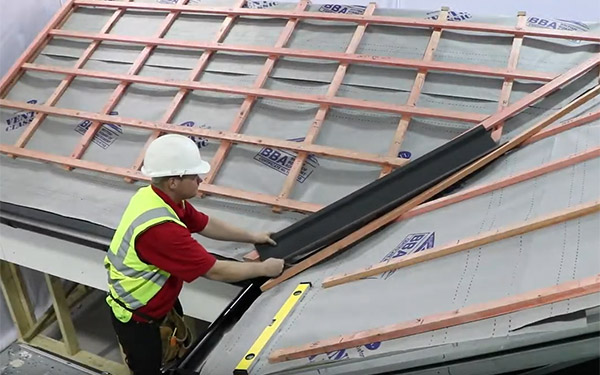
Britmet Slate 2000 is 1250mm(width) x 369mm(height). This lightweight roofing slate panel is designed to emulate natural slates and must be fixed with a broken bond finish, fixed in a right to left fashion.
To secure the 0.45mm Slate 2000, use 4 coloured 2.6mm x 50mm galvanised fixing nails per panel and drive through the downturned face of the slate panel; ensuring penetration through the batten is made.
For 0.9mm Slate 2000, a coloured TEK screw can be used (Part No. ASf2 - 00E55).
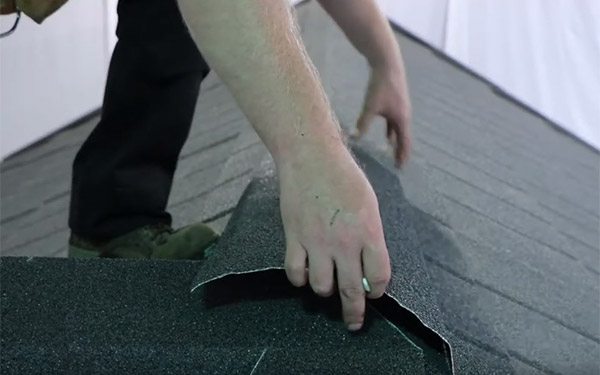
The second course of slate panels and each course thereafter should be laid with a broken bond to conform with the interlocking design of the slate.
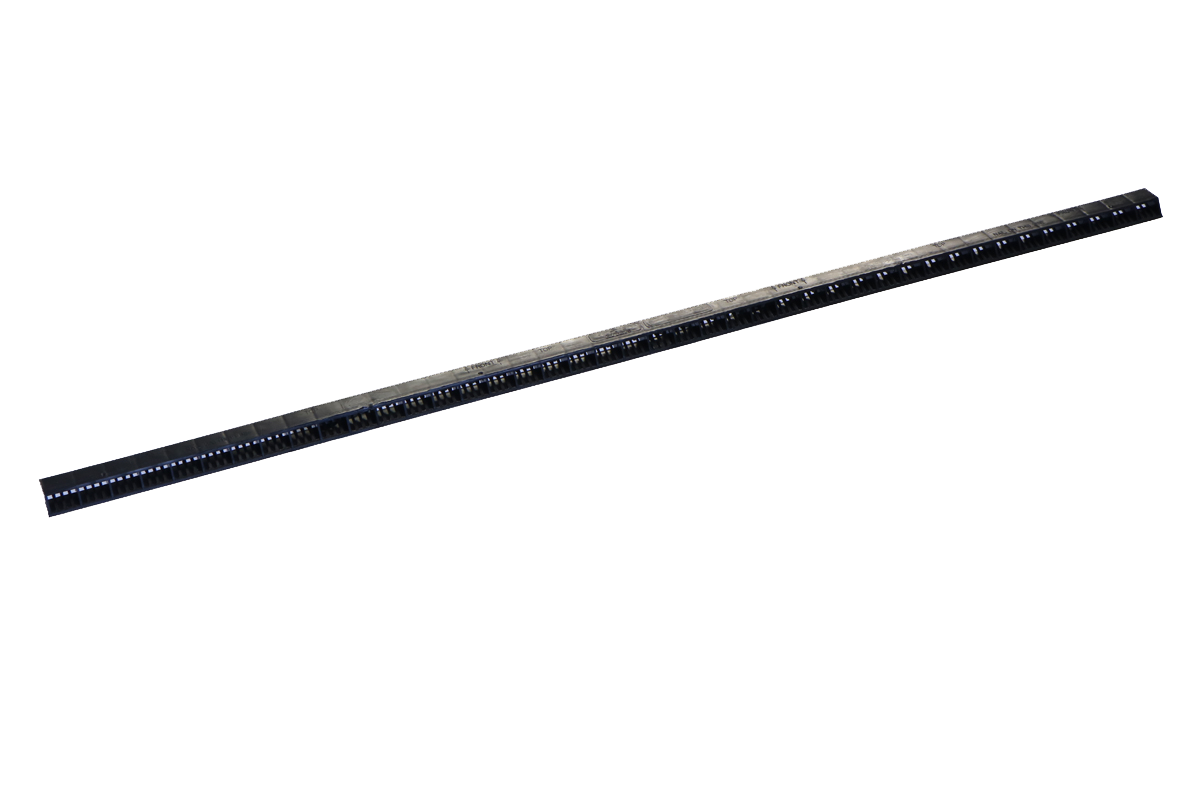
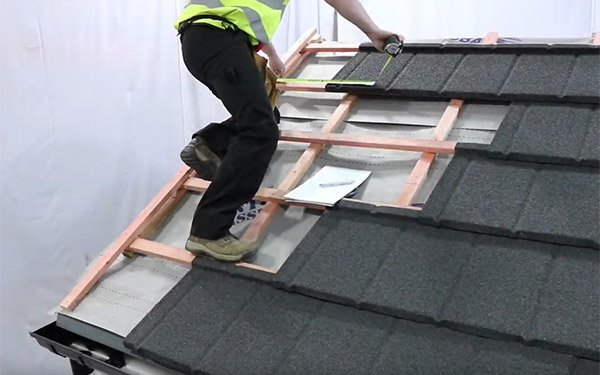
Battens:
For Slate 2000, they must be laid at 369mm centres, except the eaves batten (see eaves below), and secured to the rafters using galvanised nails, (or 367mm centres for 0.9mm).
Joints in battens are to meet halfway across top face of the rafters and staggered as per standard code of practice.
Please note: It is the responsibility of the installer to ensure correct batten usage.
Underlay / Breather Membrane:
Approved reinforced felt to BS747 (type 1F) must be laid over rafters and lapped in accordance with current regulations. Felt must be allowed to exceed into gutters and then secured to the rafters with galvanised clout nails.
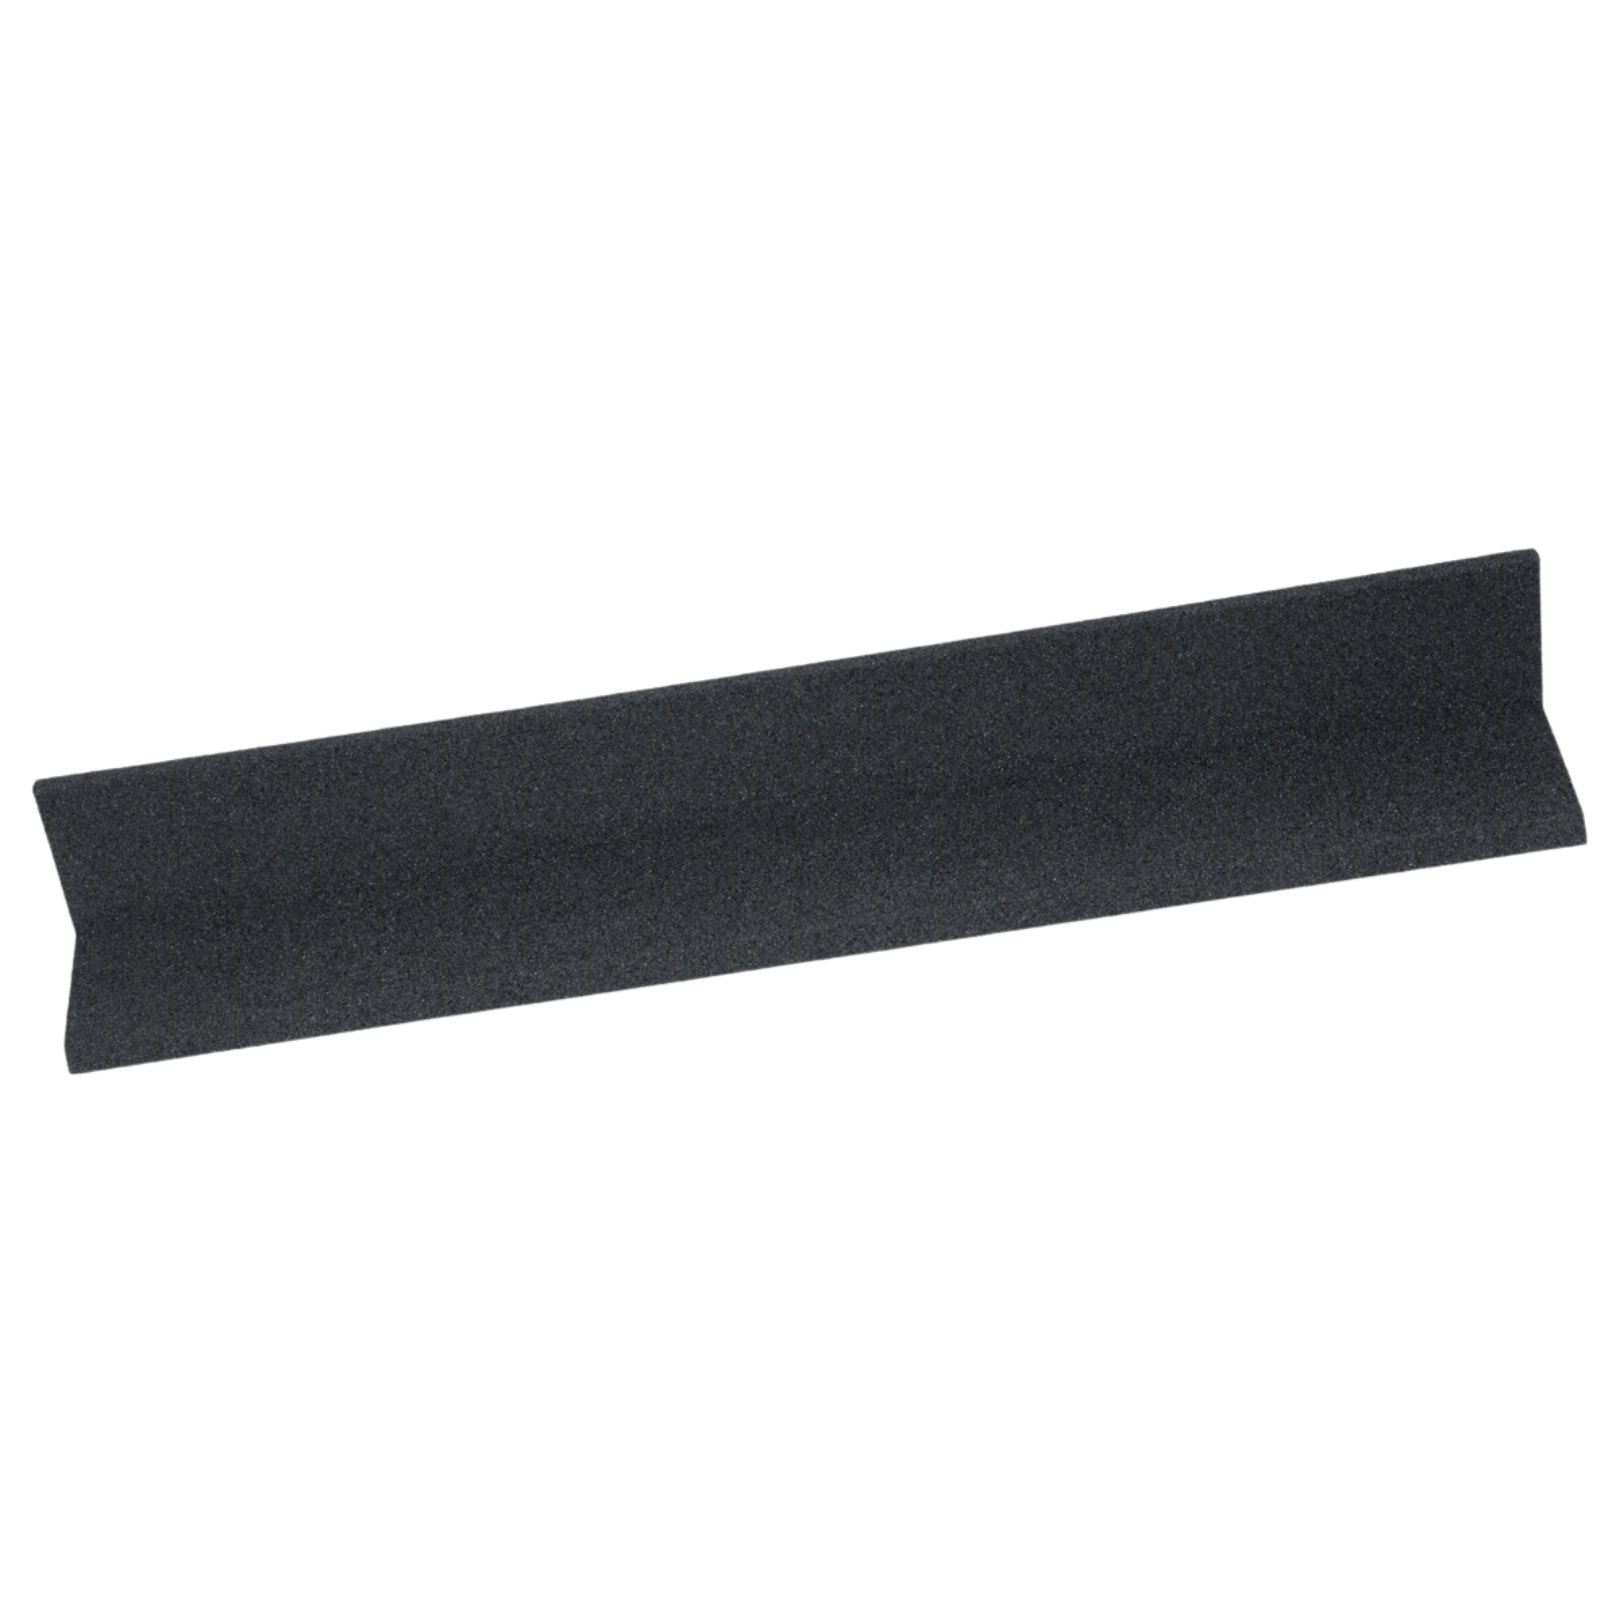
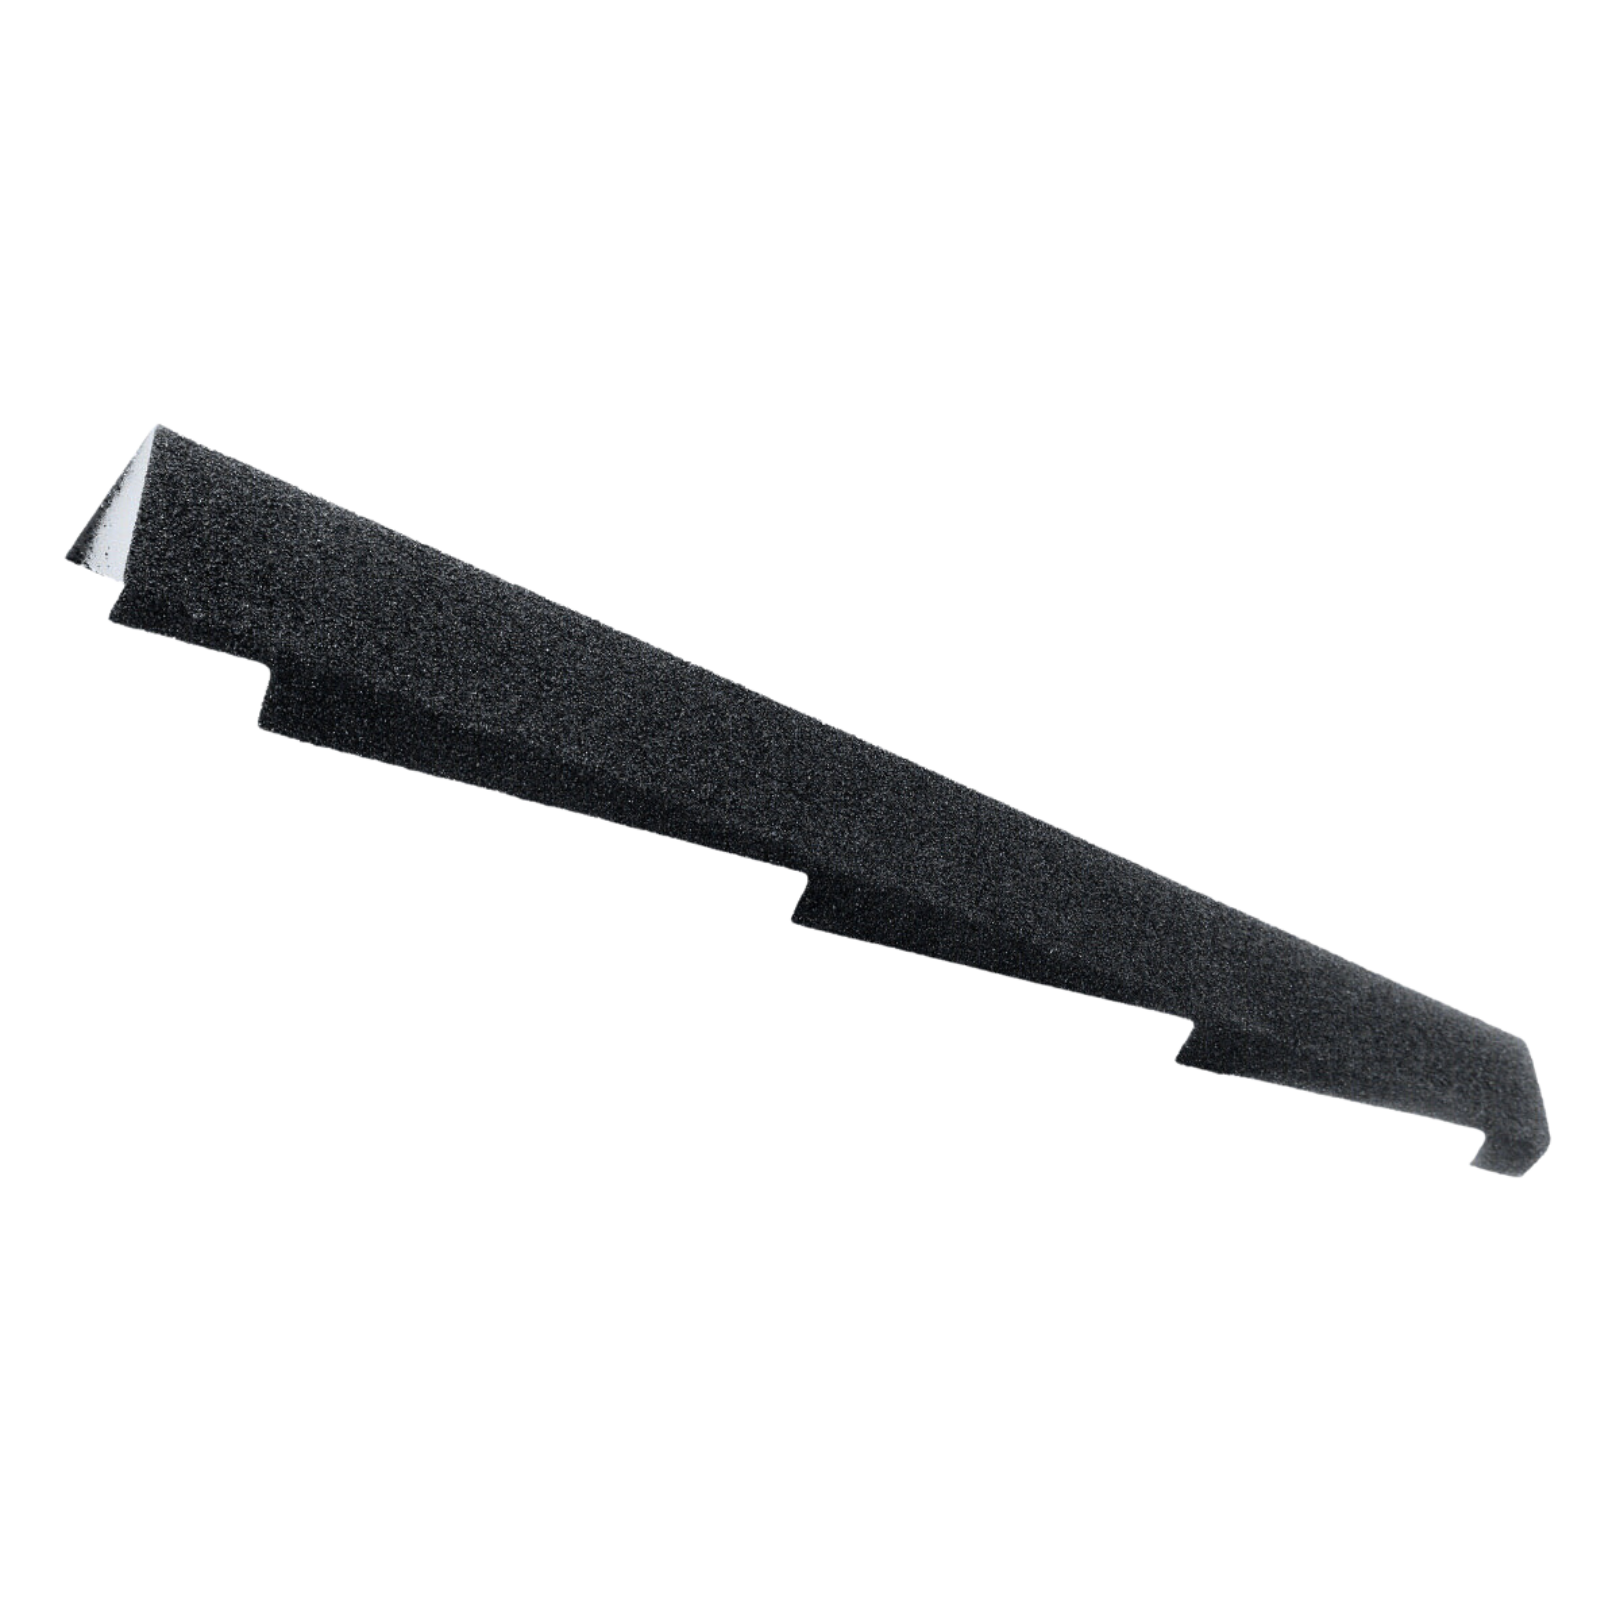
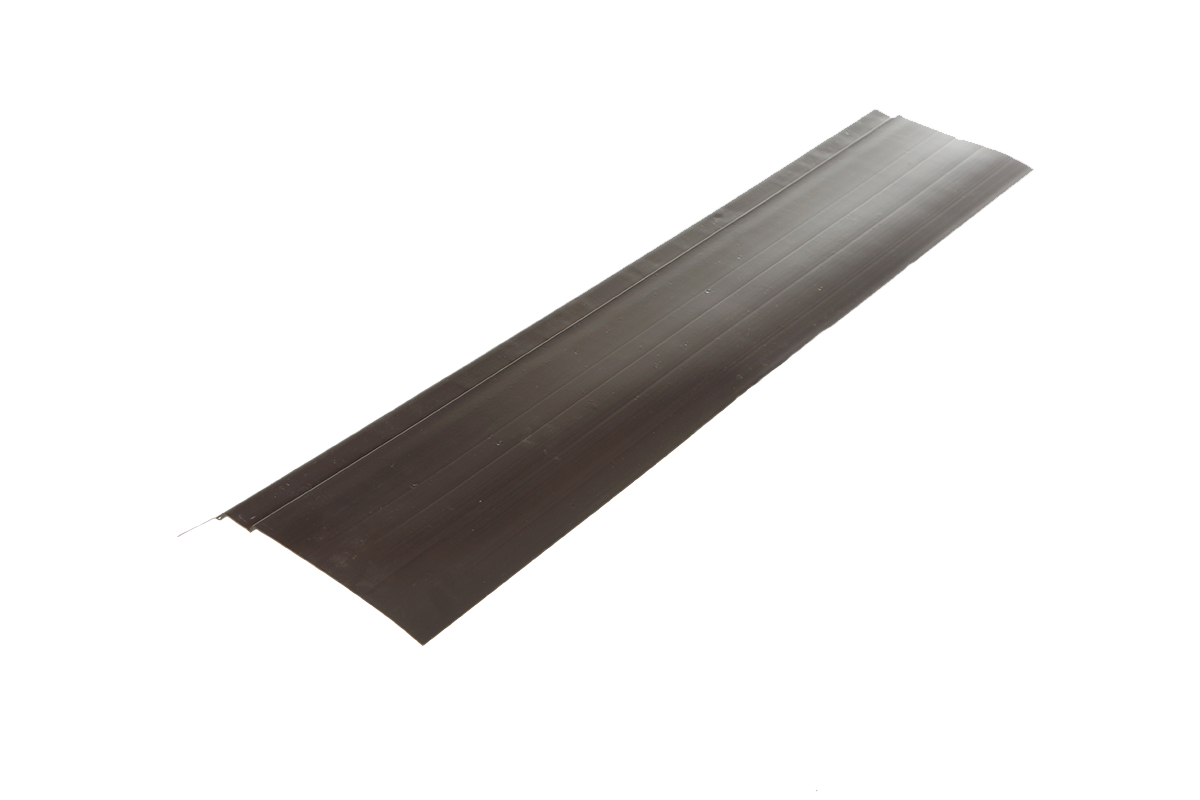
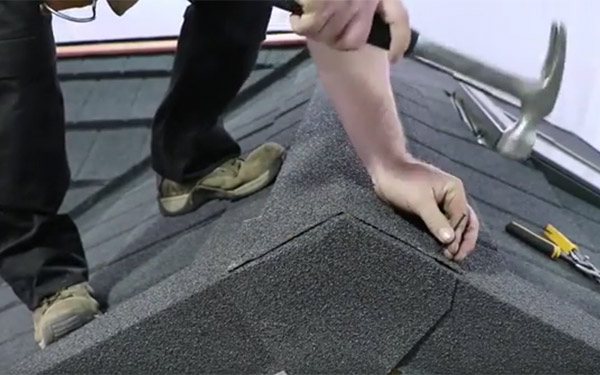
Angle ridge:
All Britmet flashings are manufactured and coated in identical material to main roof covering.
Two slate battens should be fitted side by side on both sides of the ridge using galvanised nails. An additional 38mm x 38mm ridge batten should be secured on top of the rearmost of the two slate battens in a position to suit the fitting of the angle ridge.
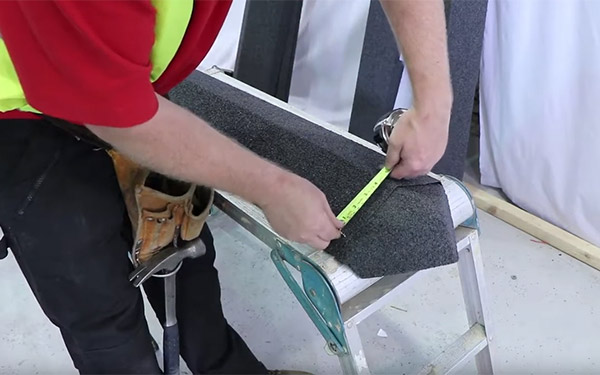
The top course of slate panels can be bent and cut if necessary, using a bender and guillotine (available to hire from Britmet). The back edge of the slate panel should be turned up to form a 25-38mm upstand against the top slate batten. Each slate panel must be secured using 4 nails that are driven through the downturn nose of the slate panel and into the battens. The ridge cap should then be fitted over the top batten and nailed through the downturn of the ridge cap, into the slate panel upstand and the face of the batten using 5 nails on each side.
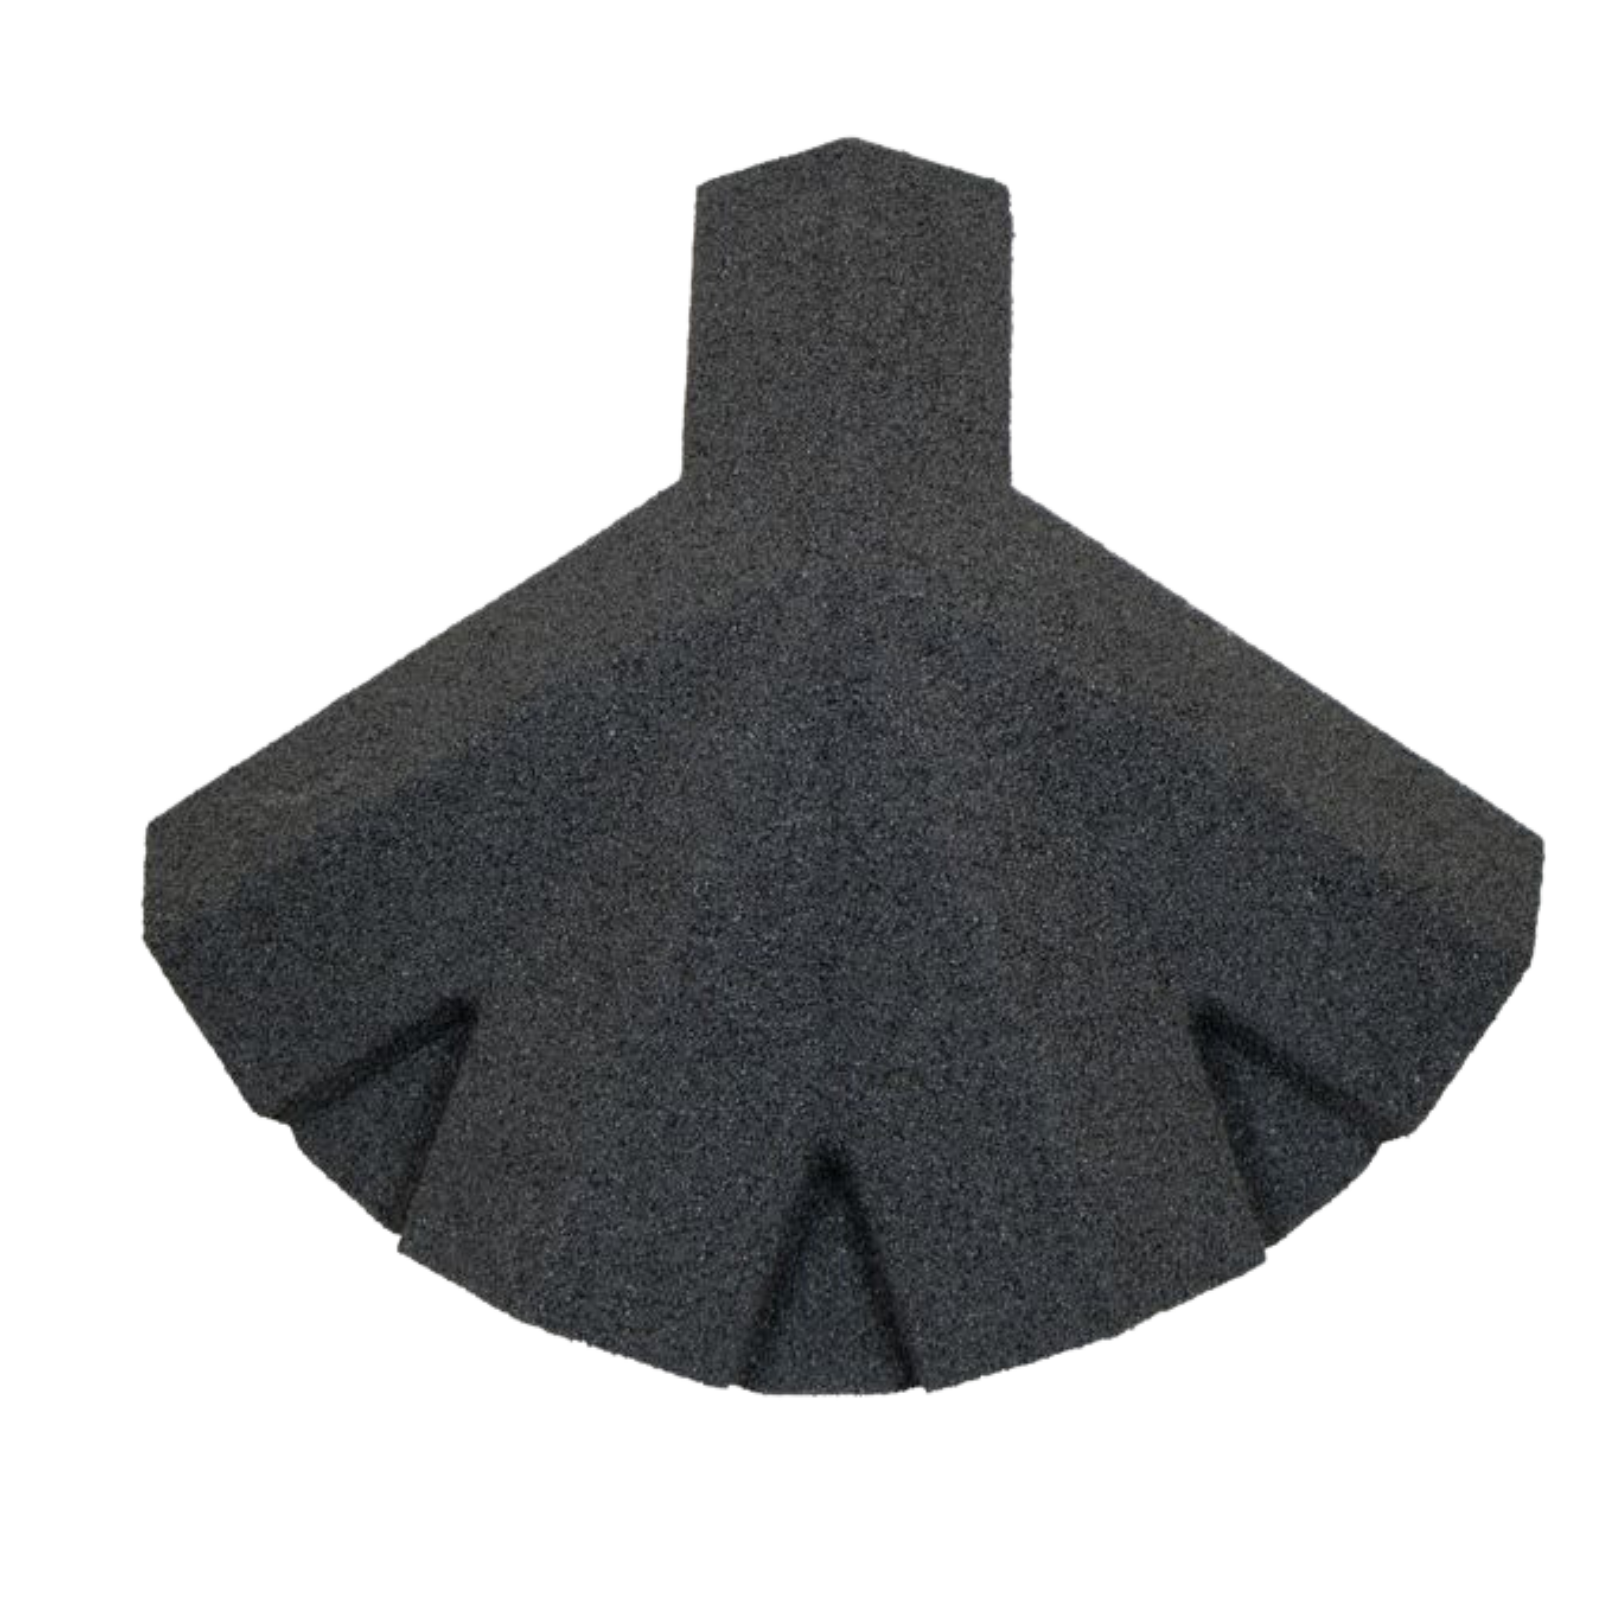
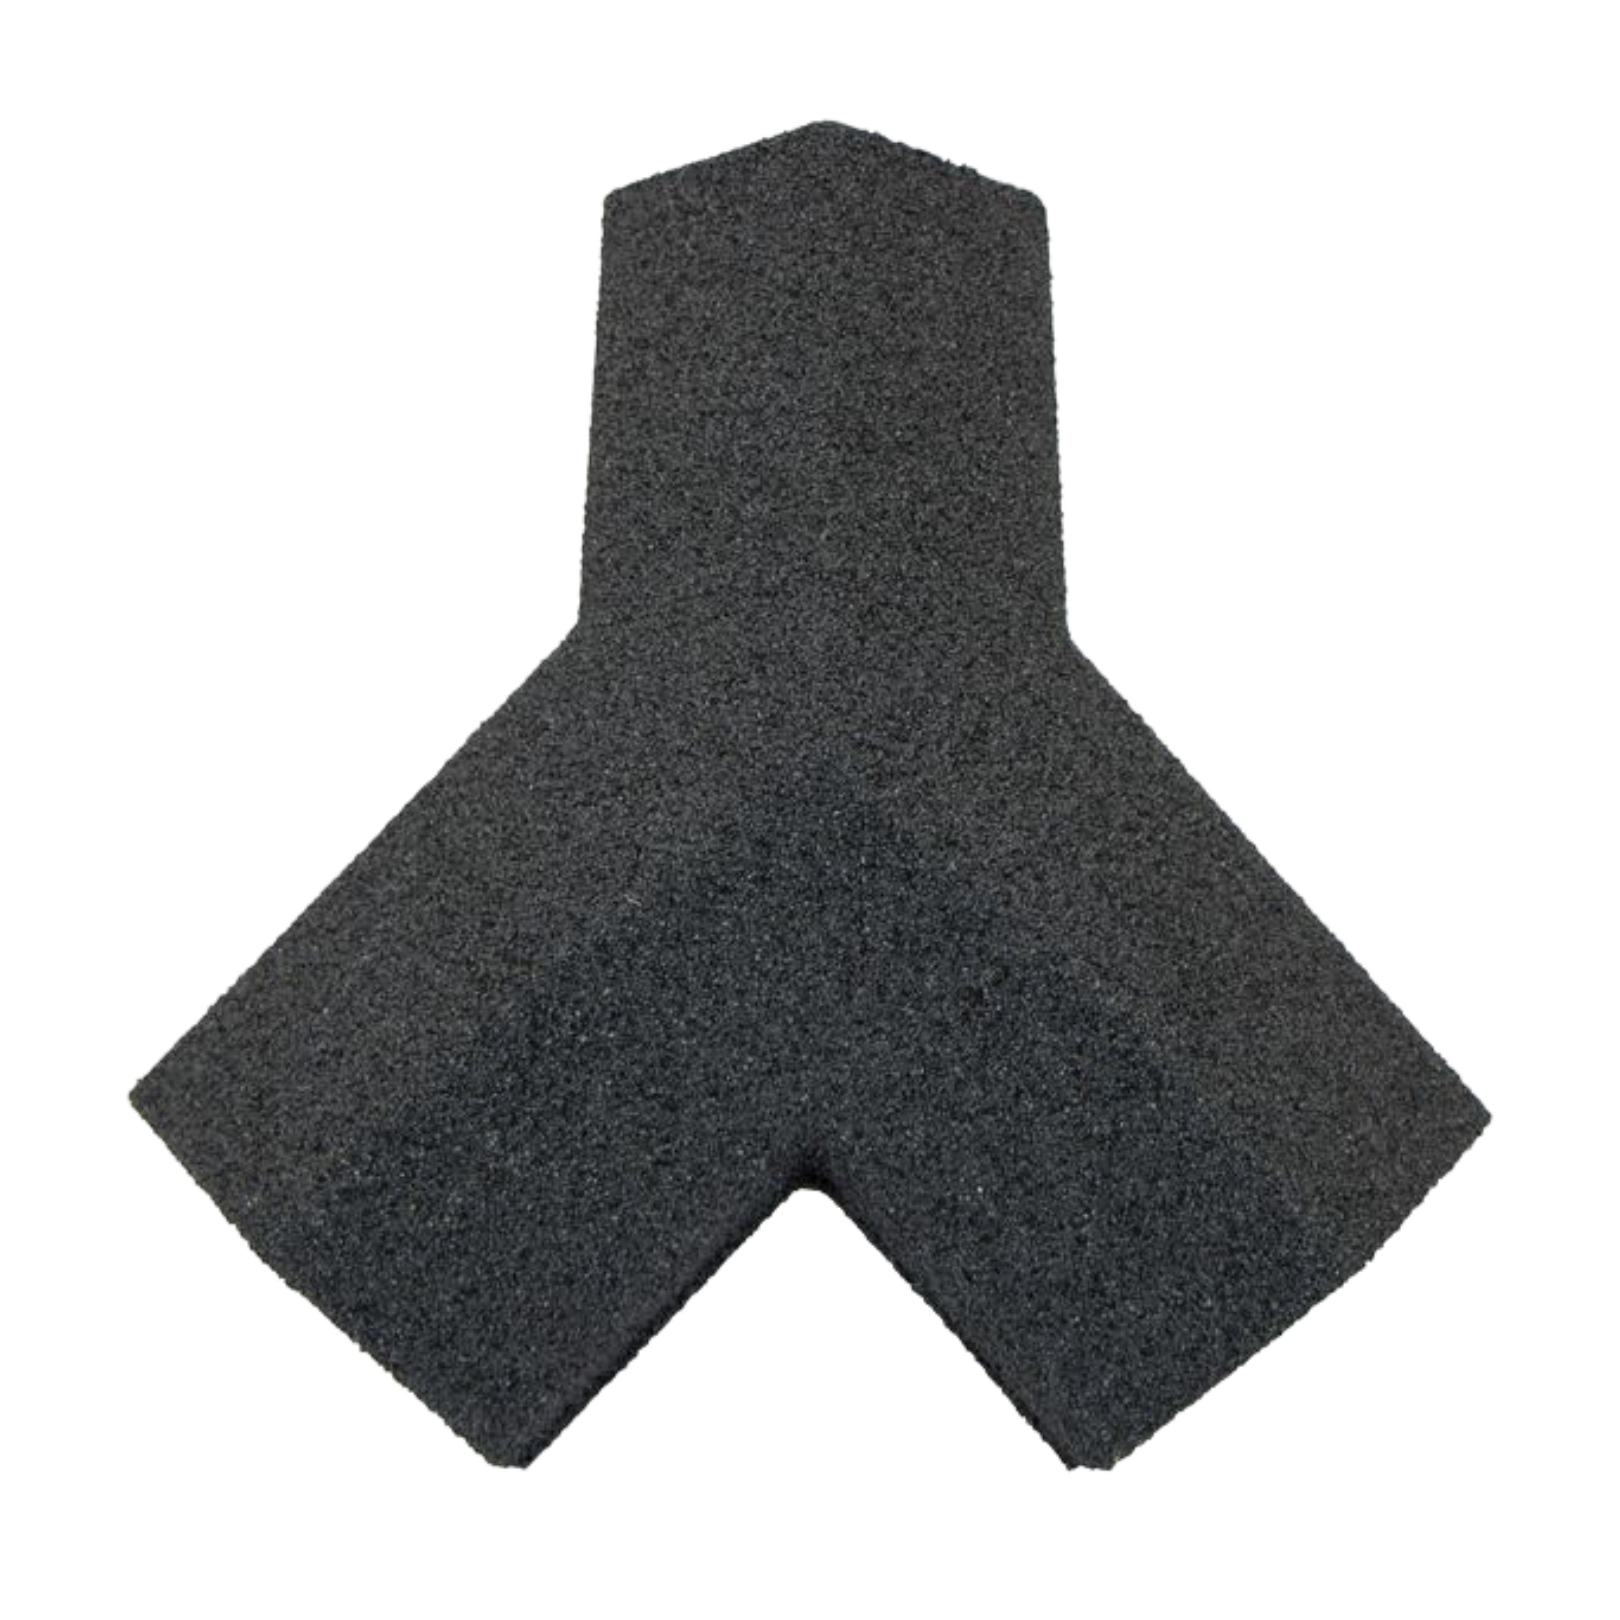
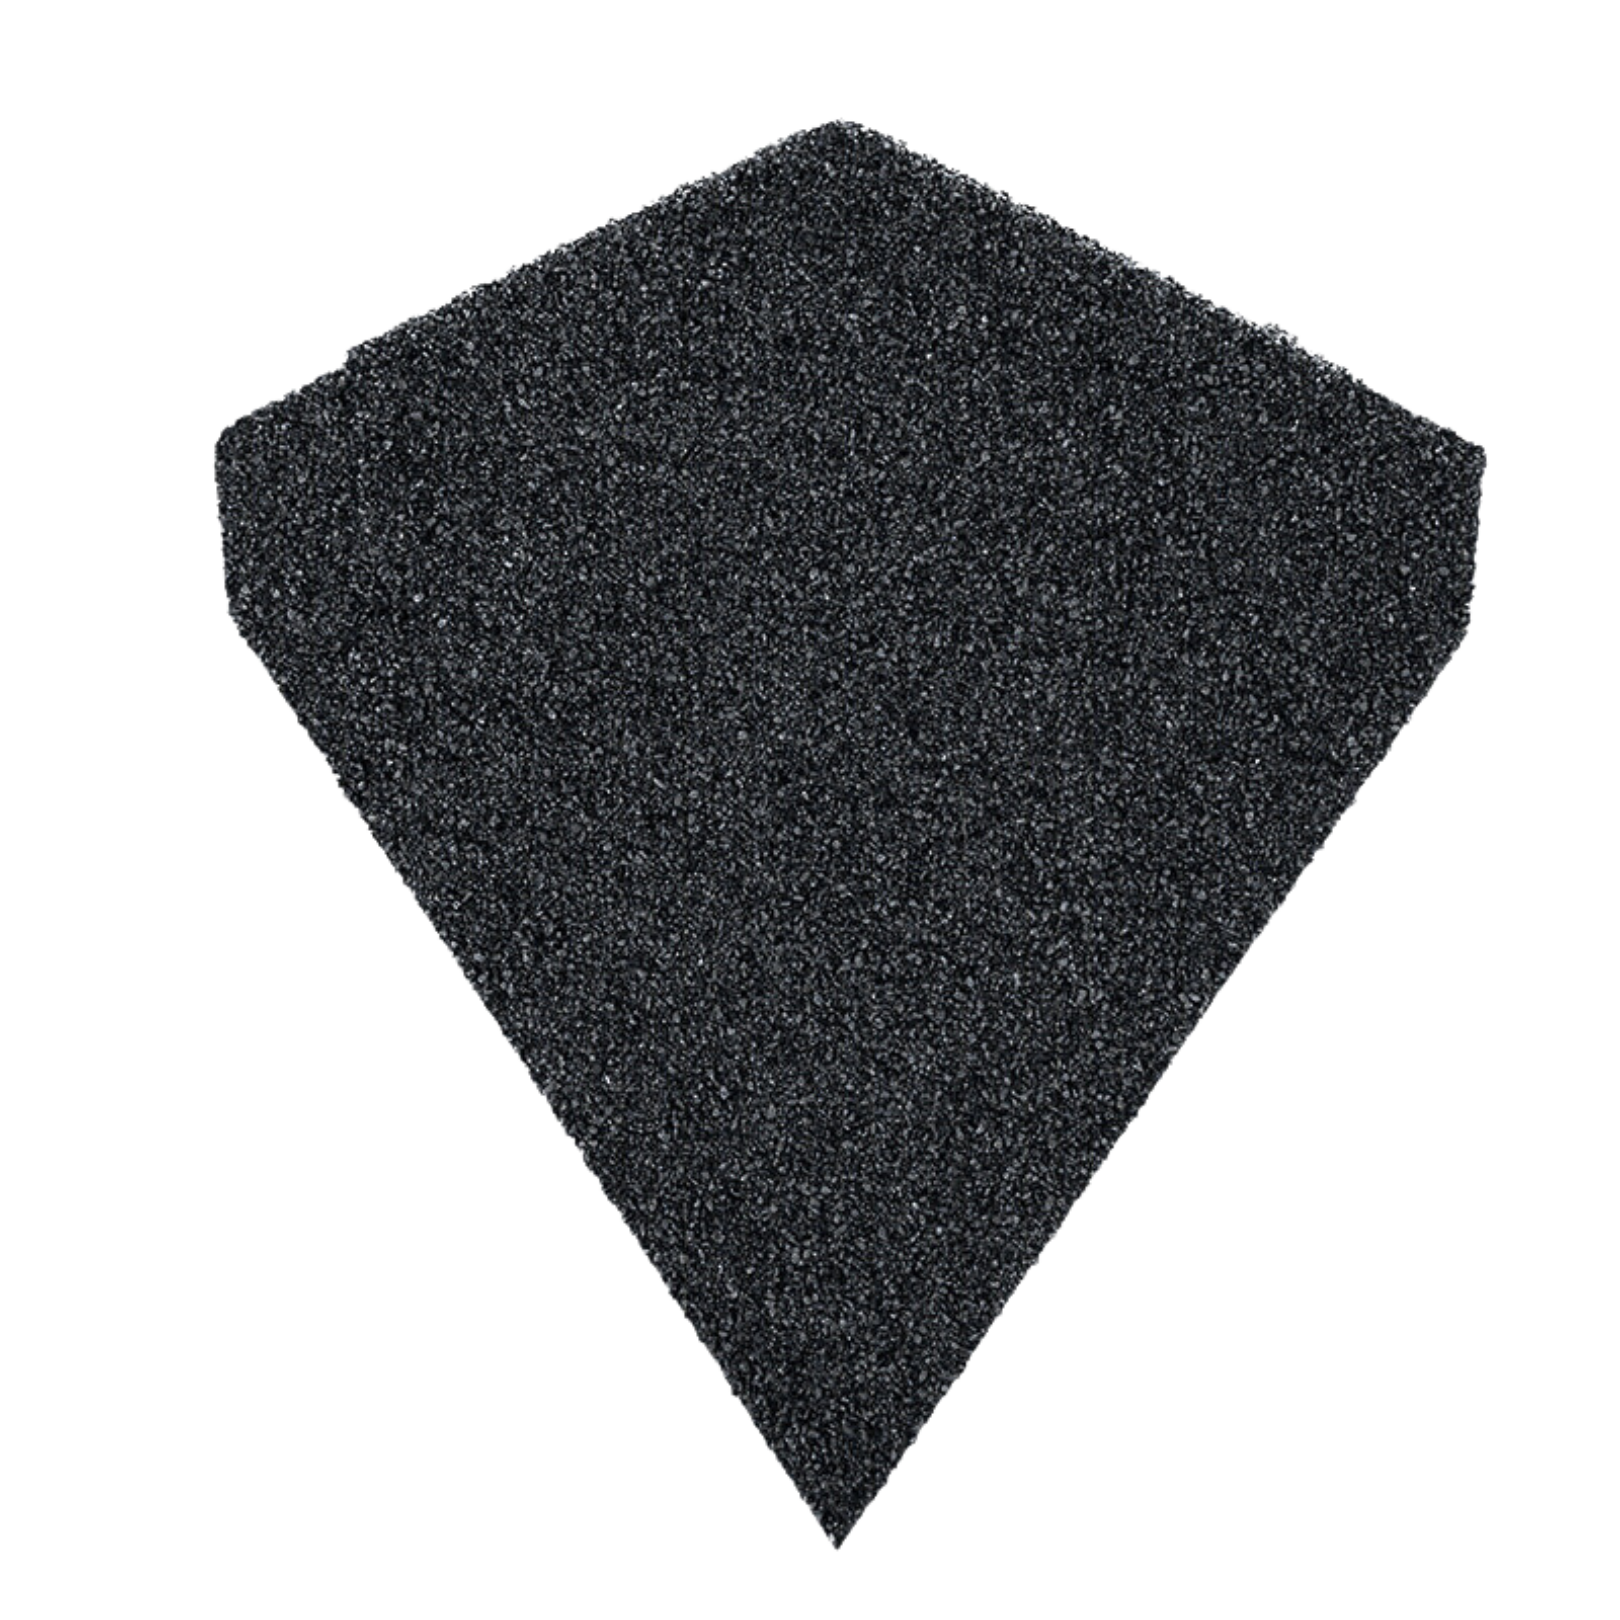
Angle ridge flashing:
A 38mm x 38mm batten should be nailed to the slate battens on each side of the hip using galvanised nails.
Slate panels can be cut and bent up against the battens, using a guillotine and bender (available to hire from Britmet). The hip caps should be fitted over the battens and nailed through the downturn into the face of the battens, using 5 nails on each side.
Angle ridge (ventilated)
roof pitches from 12° to 35°:
Felt underlay is to be cut back at the top edge allowing a continuous 12.5mm air gap on either side of the centre line of the ridge. The top course of slate panels to be bent and cut if necessary, using a bender and guillotine (available to hire from Britmet).
Each slate panel is to be secured using 4 fixing nails driven through the downturn nose of the slate panel into the battens. A batten, not exceeding 38mm x 38mm to be fitted on the universal vent filler (available to hire from Britmet) and secured through the slate 2000 panel into the battens on the underside, using 75mm galvanised nails. The ridge caps are to be fitted over the batten and nailed through the downturn, into the face of the batten using 5 nails on each side.
Eaves:
The bottom course of slate panels is to be secured with 4 coloured galvanised 2.6mm x 50mm nails driven vertically through the high point of the slate panel profile, into the fascia board, or through the eaves batten. The Eaves batten is to be placed approximately 20mm behind the fascia board if the Britmet eaves ventilation system is used.
The nail heads need to be sealed using Britmet touch-up kit. The top of the fascia board or eaves vent is used, to be in line with top of the battens. Fit lay board, or tilting fillet, at the eaves, if appropriate, to ensure any moisture on the underlay drains into gutter.
Eaves ventilation:
The top half of the fascia board is to be set 15mm below the top face of the eaves batten for the 10mm eaves vent pack. Britmet over fascia ventilators are to be fixed to the fascia board and Britmet over insulation airflow units are to be installed between rafters.
For a roof pitch below 15°:
The top of the fascia board should be fixed 25mm below the top face of the eaves batten allowing for Britmet 25mm eaves vent system.
Valley:
Valley can be formed from metal sheet (lead) or moulded glass fibre or similar approved lining, supported on valley boarding. Adjacent slate panels should be measured and cut, allowing a sufficient downturn, as detailed in the manufacturer’s instructions. Battens to project over valley to provide fixing for slate panels.
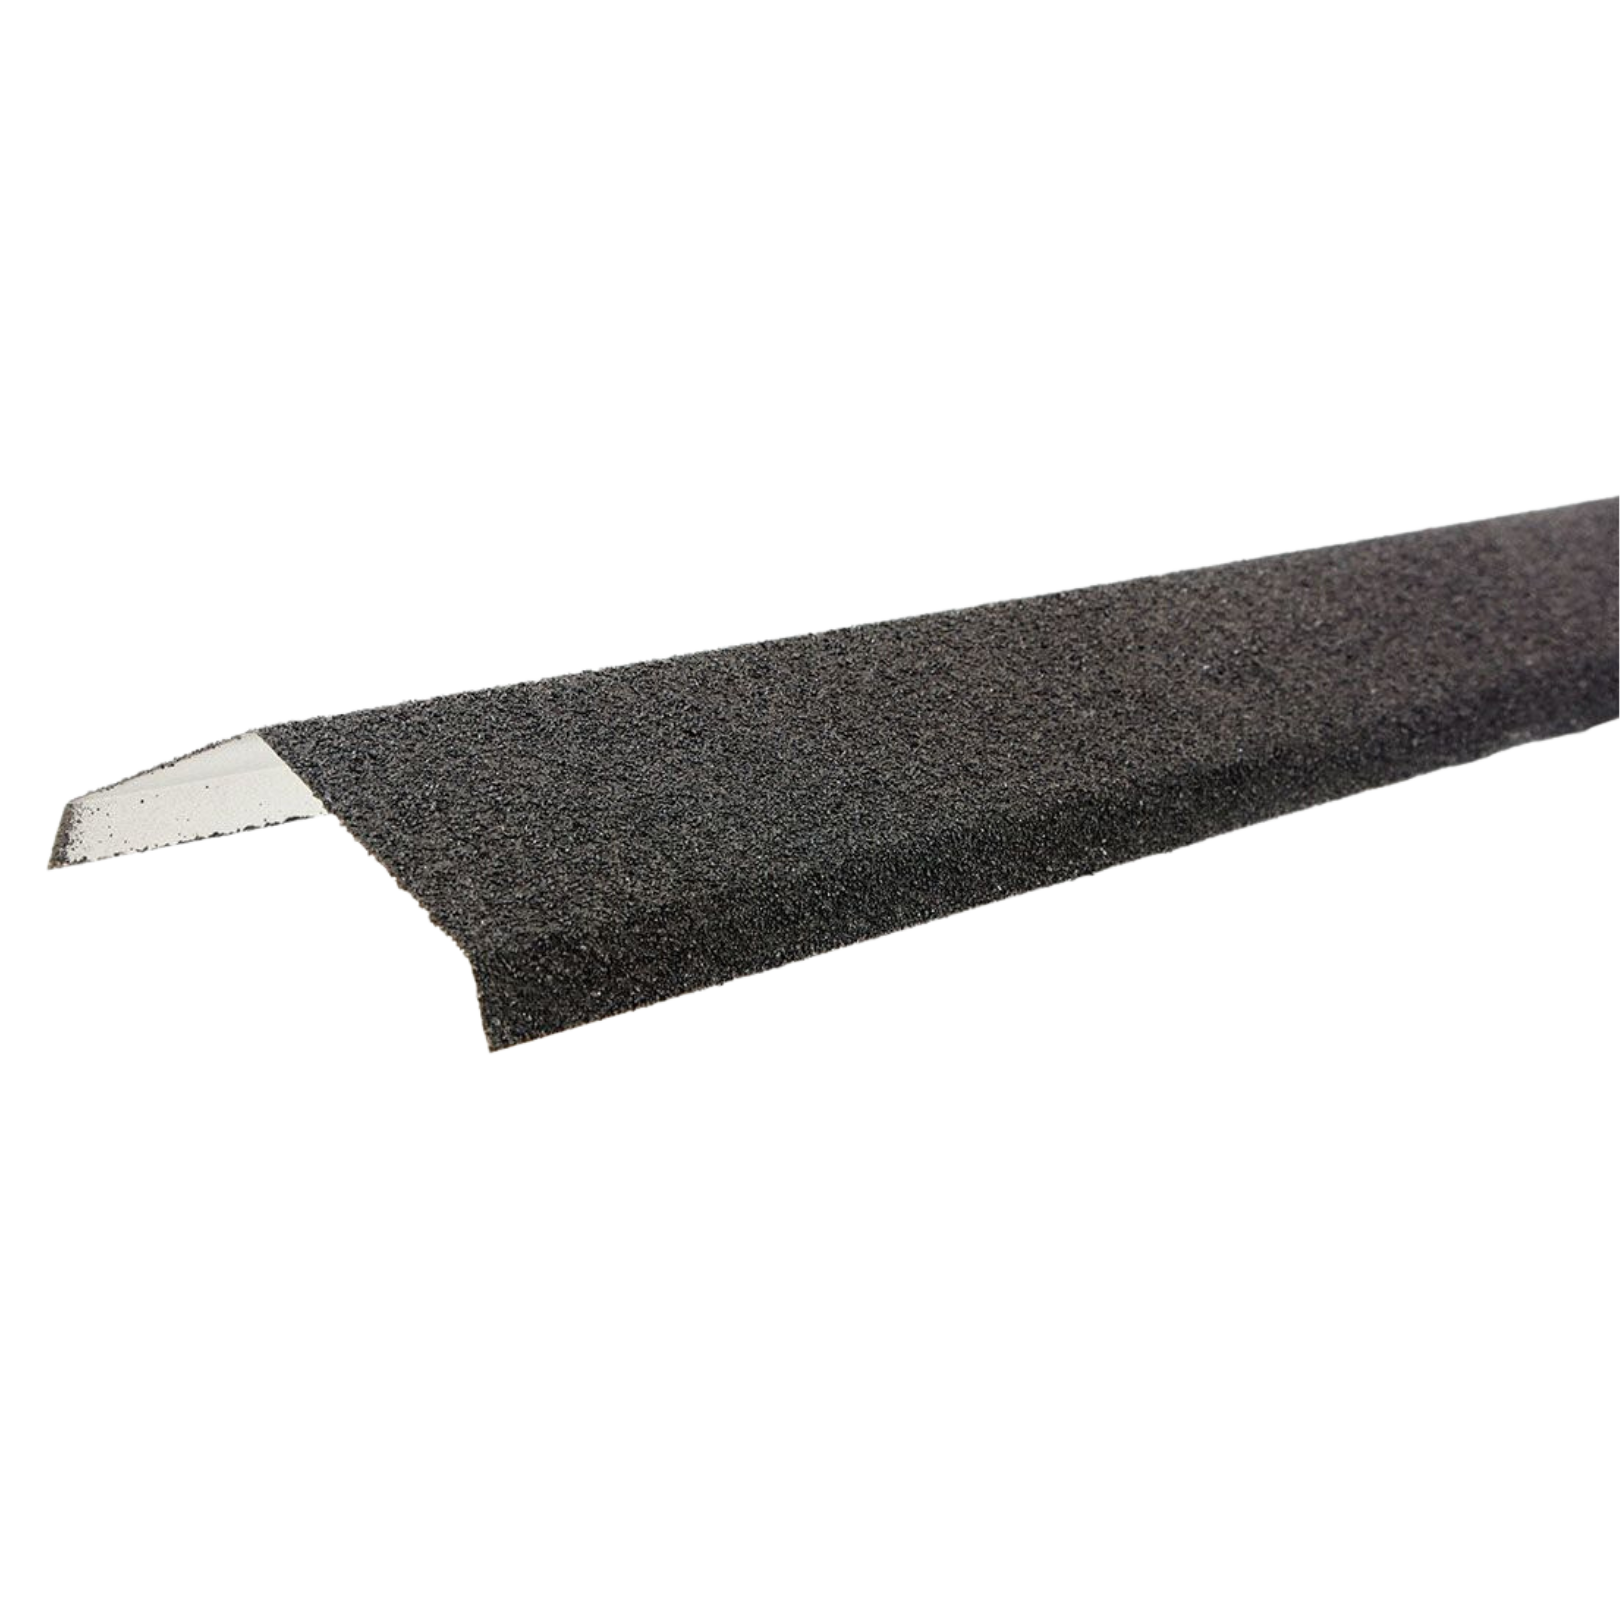
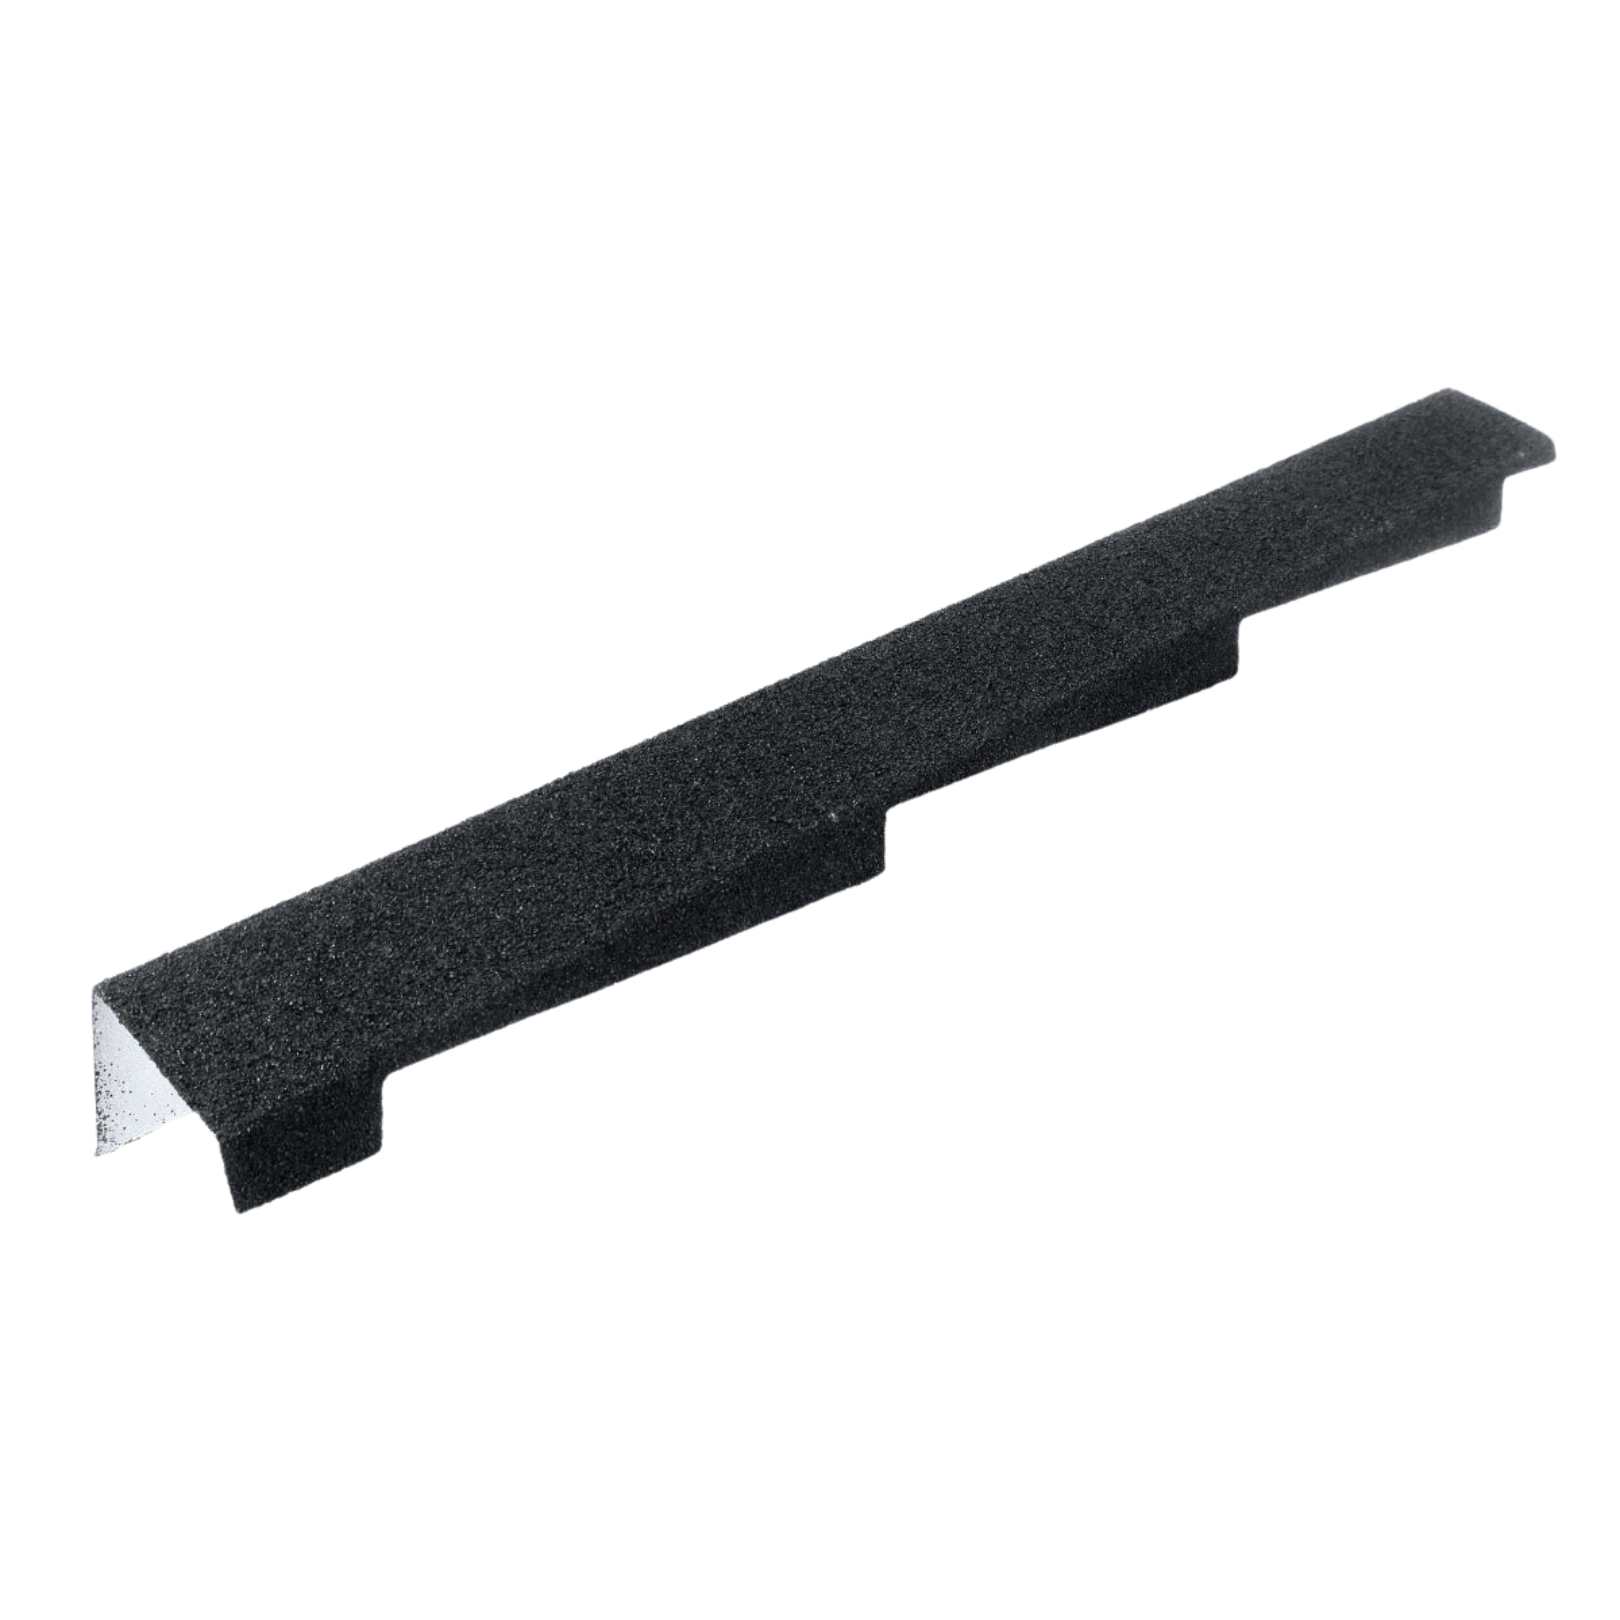
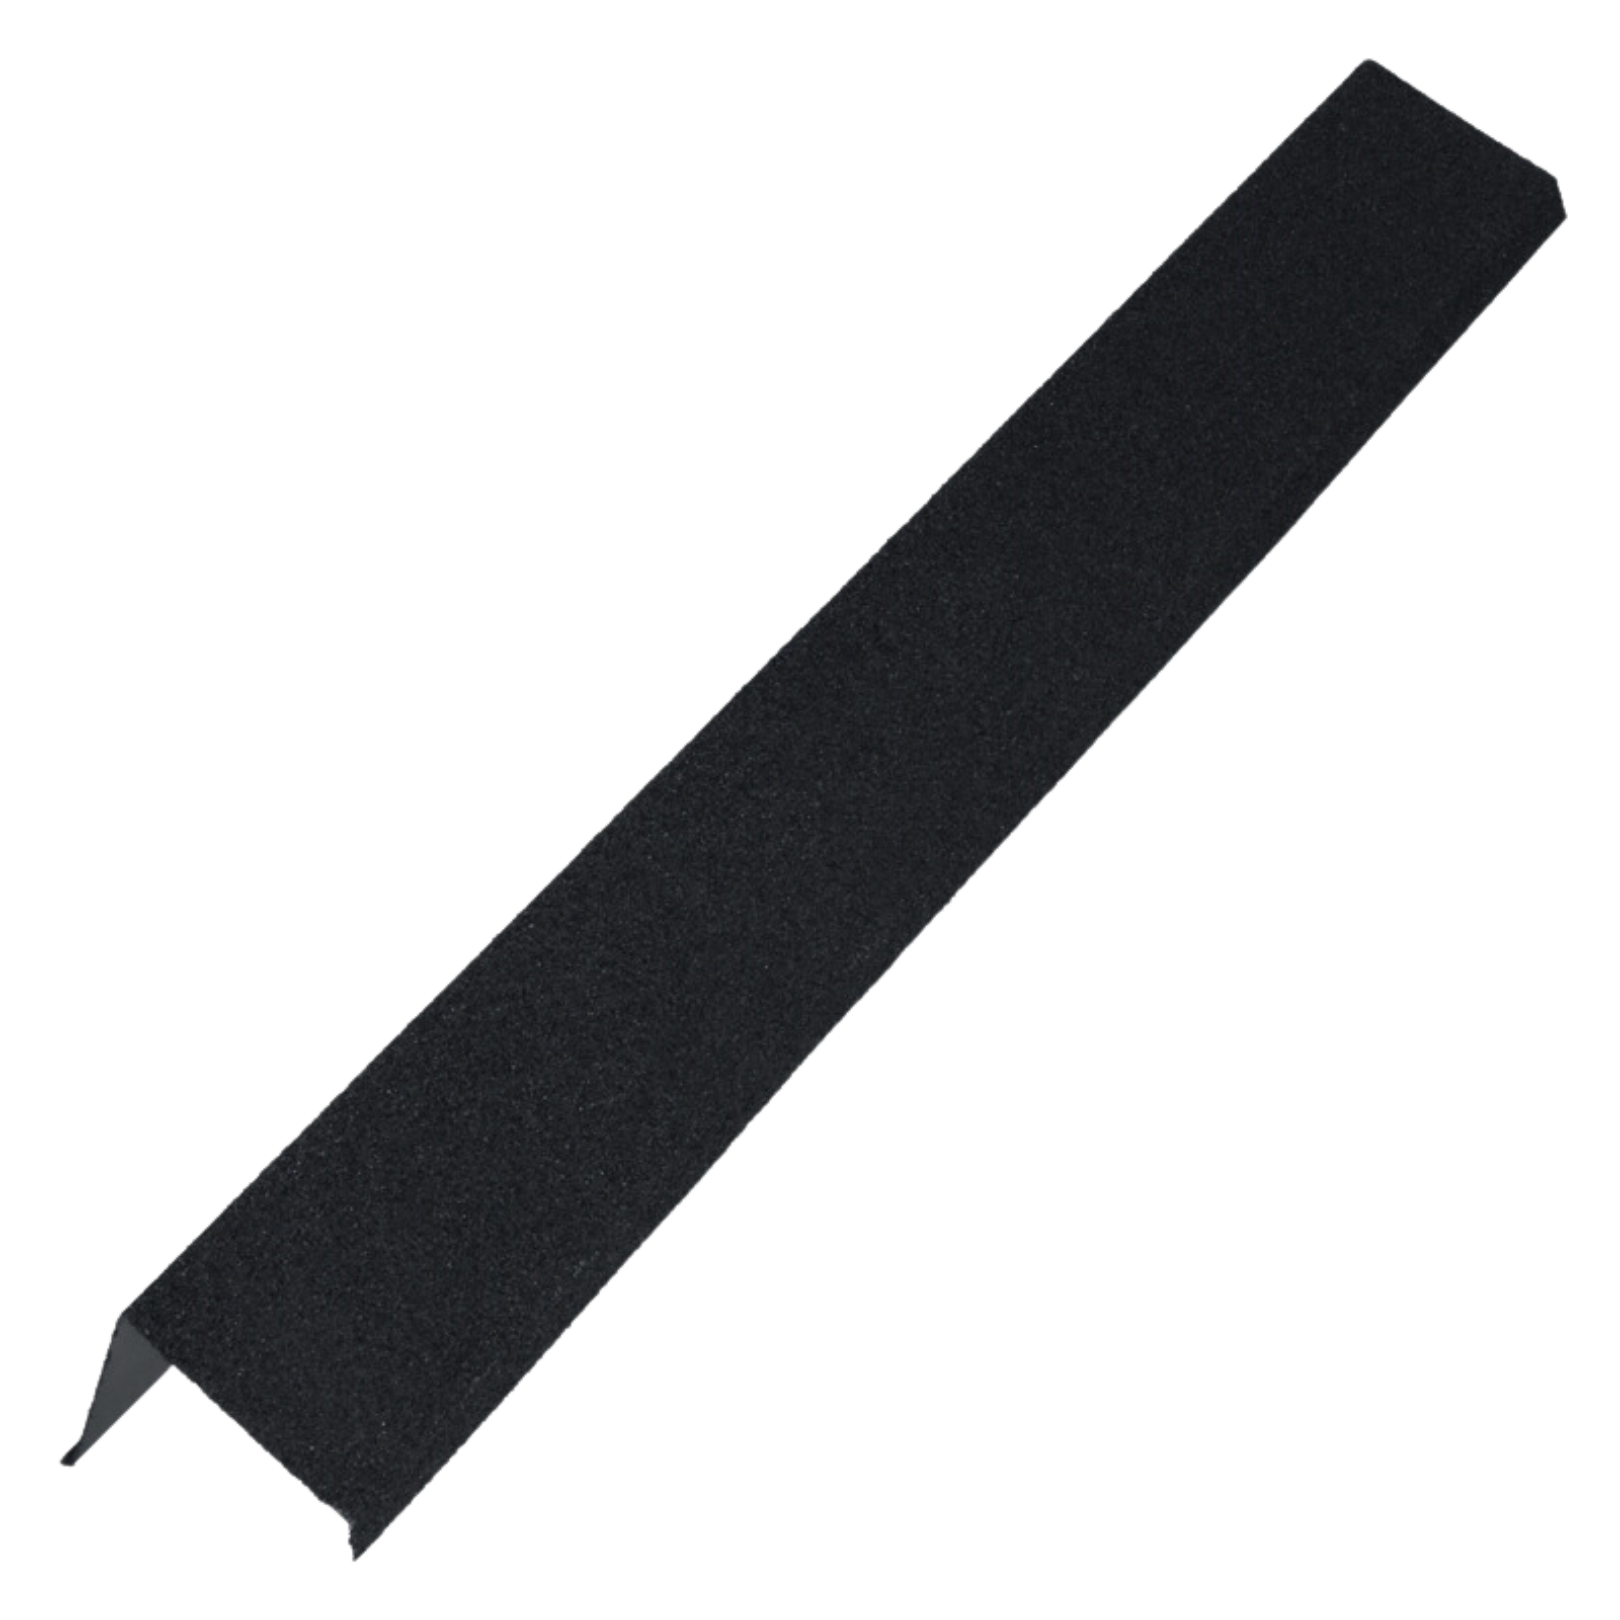
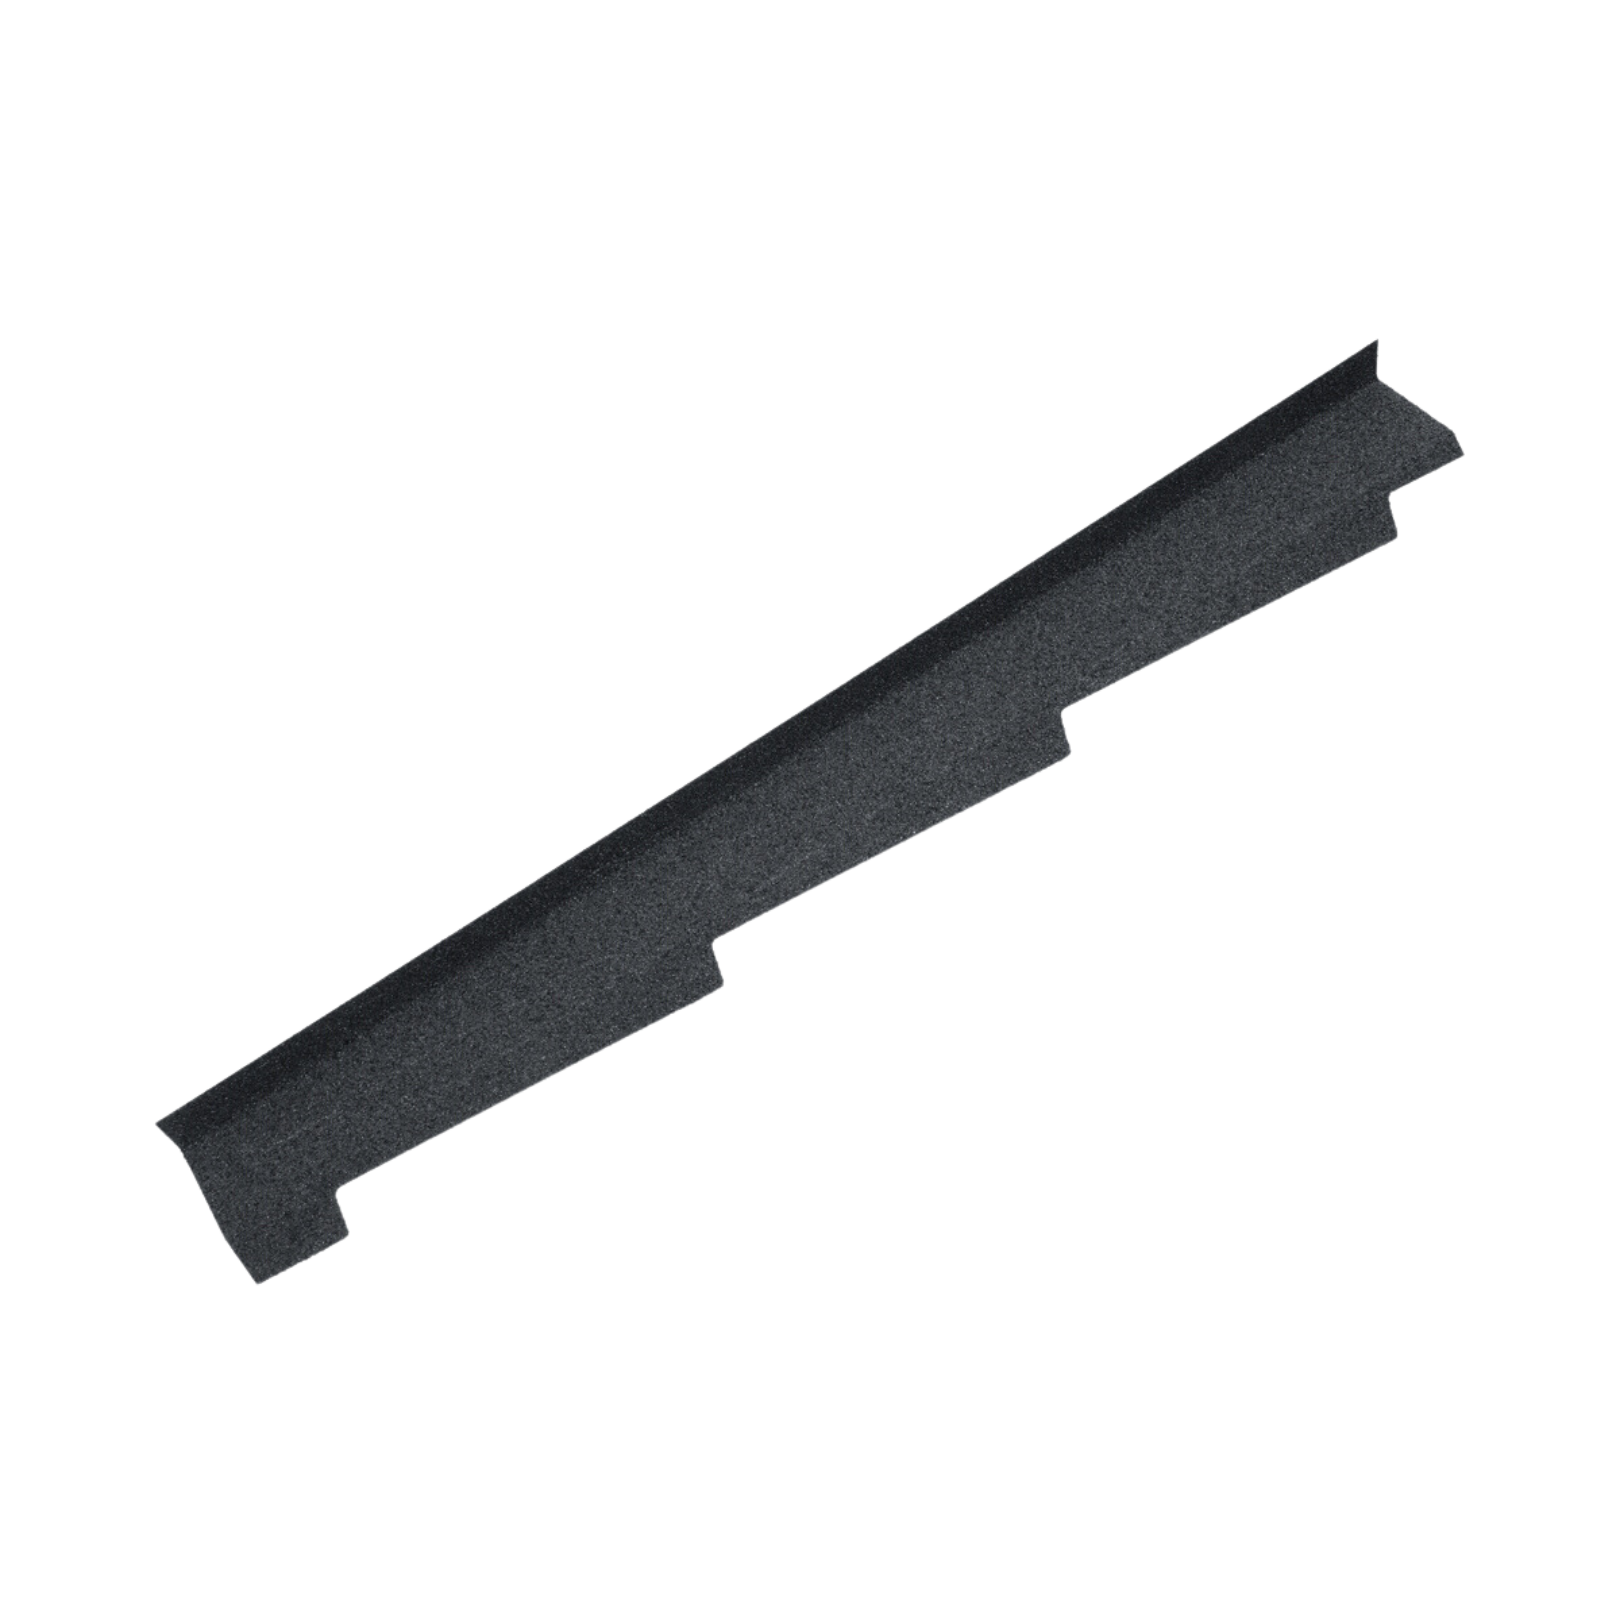
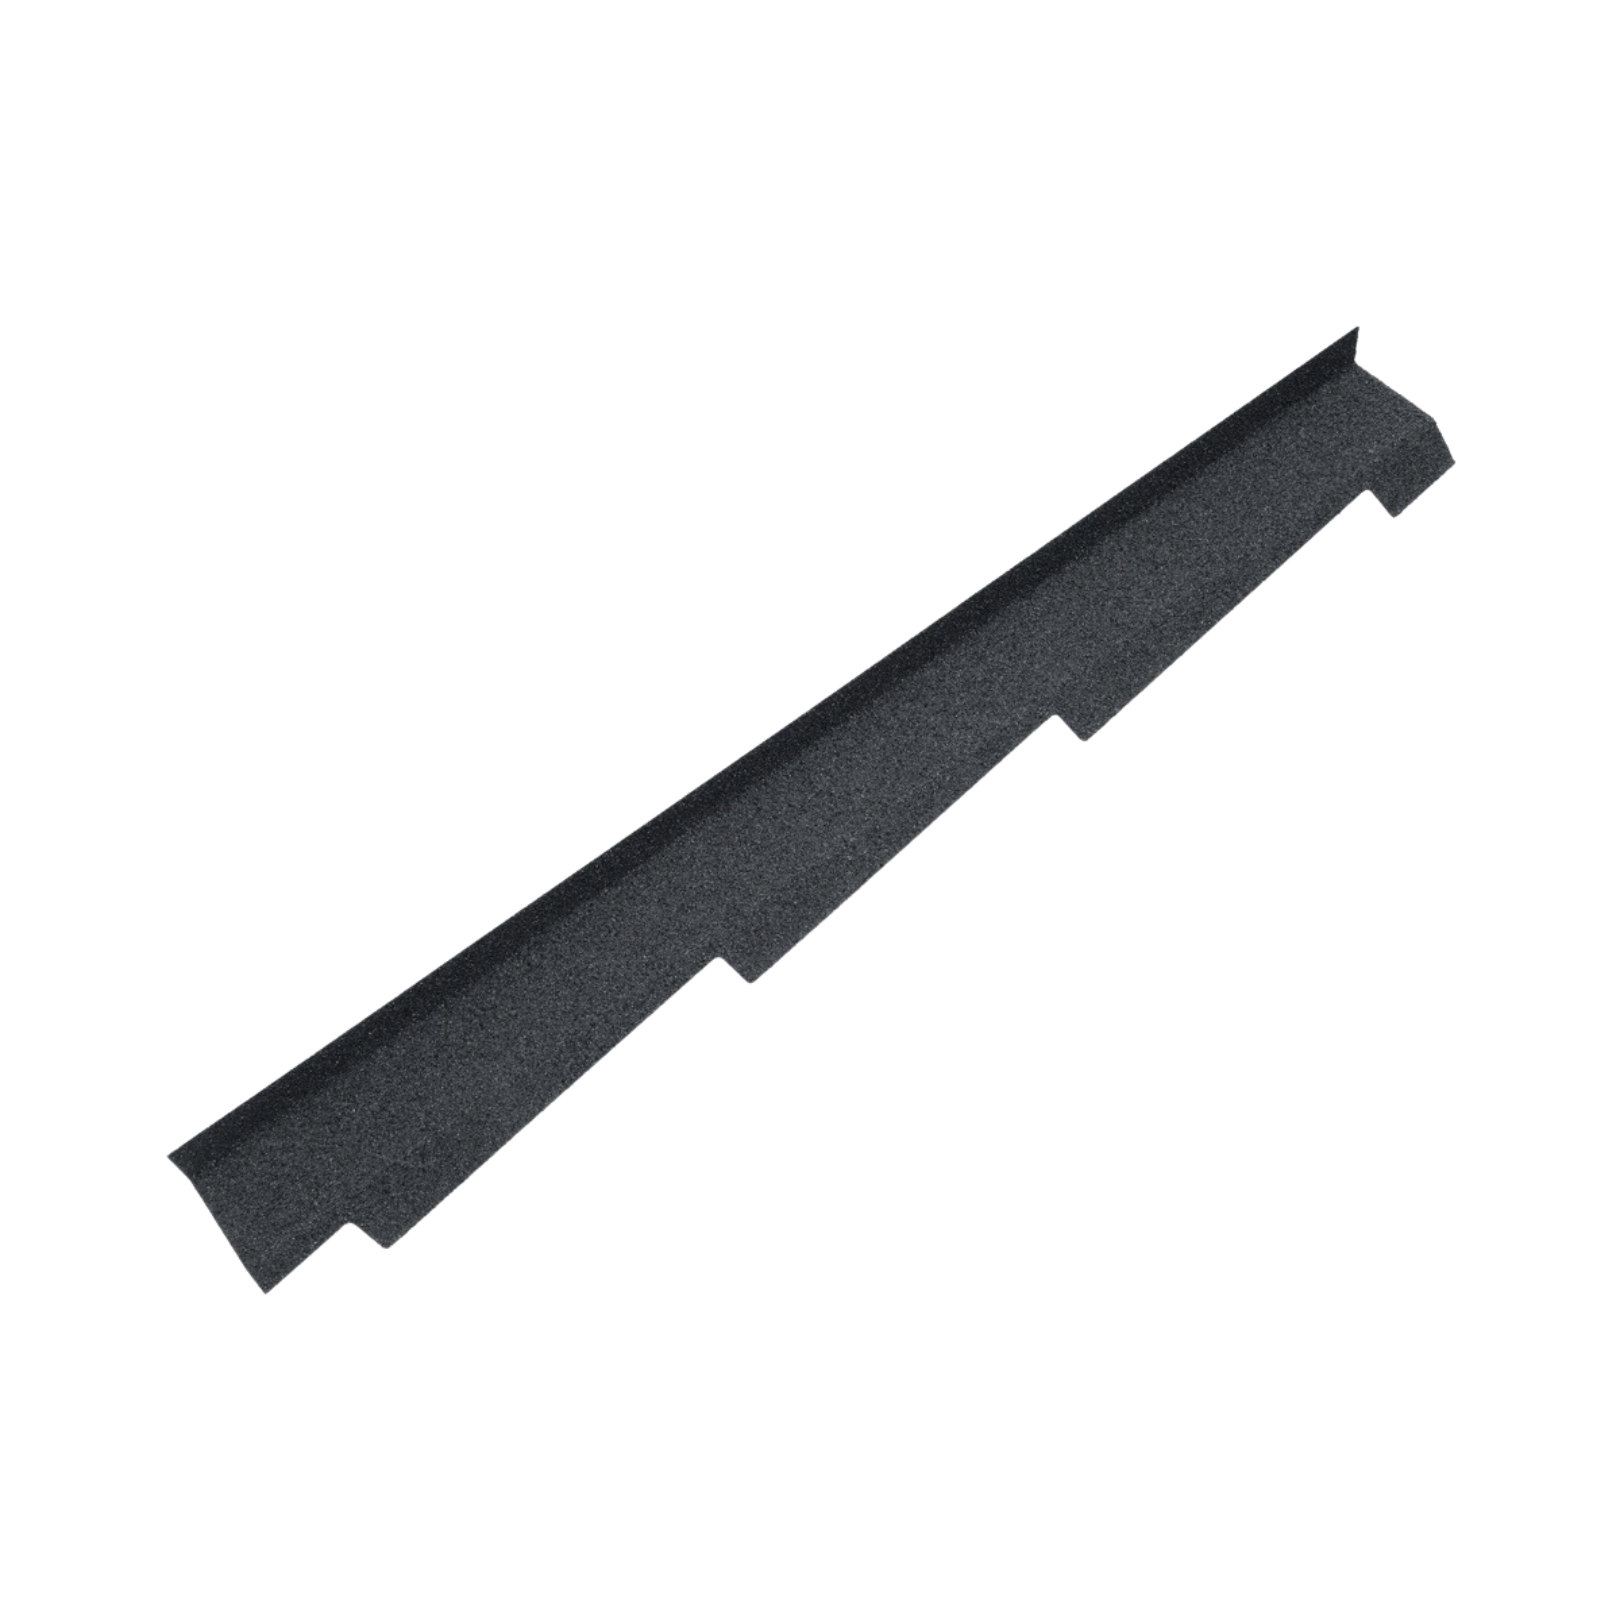
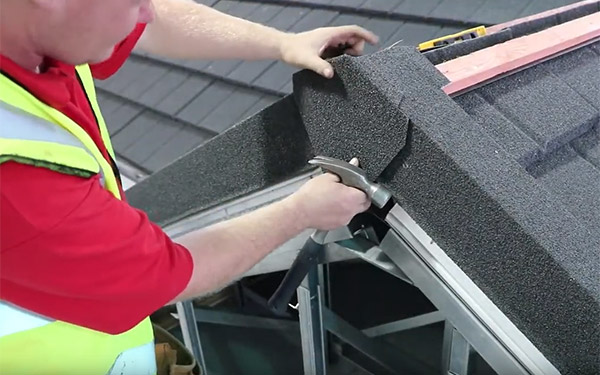
Barge board cover:
The timber barge board should project 25mm above the top of the slate battens. A 25mm x 38mm timber batten should run parallel to the fascia board.
Slate 2000 panels should be cut and bent up against the timber barge batten.
The Slate 2000 scribed barge board cover must be secured using 5 fixing nails driven through the downturned edge into the barge board and 5 nails should be driven vertically into the barge batten (the heads of the vertically fixed nails need to be sealed, using Slate 2000 touch-up kit).
Sidewall flashing:
Britmet sidewall flashing must be secured with fixing nails, one driven vertically into each batten (these nails need to be covered, using Britmet touch-up kit). Britmet cover flashing should be dressed over the edge of side flashing abutting the wall and let into the brickwork.
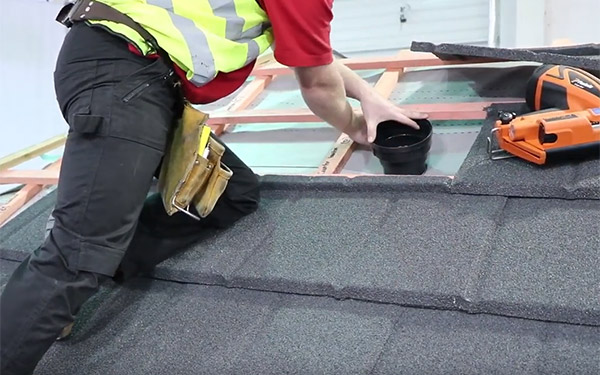
Slate 2000 inline soil and inline slate vent:
To provide additional ventilation, Britmet inline vents are available, providing an airflow of 7,500mm2. The slate underlay must be cut to allow the spigot of the slate vent to pass through and 100mm above this penetration point, an opening protector (included with slate vent) must be installed to provide full weather security.
The slate vent is secured by overlapping a Britmet Slate 2000 either side and nailing through the nose of the slate panel. Nails must not penetrate the vent slate.
The Britmet inline vent can also be used as a weather protected exit point for soil pipes or extractor fan ducts by means of a separately available flexi-hose and pipe adapter that connects the vent to 100mm stacks or duct work.
Slate 2000 gas flue ridge terminal:
Available to suit the angle ridge only. Type (R) adapter and extension piece supplied by others.
Please note: The information is to be used as a guide only. It assumes that the structure of the existing building is in accordance with the building practice. At your request a custom specification can be written for your individual project. Please contact our sales team to arrange this.
Slate 2000 NBS Spec
Slate 2000 Installer Guide
Slate 2000 Videos

Slate 2000 Technical Drawings
| Ref | Description | Files |
| BLHG | LH Barge | |
| COVG | Cover flashing | |
| P45-Barge-01-A | Tile panel 0.45 Typ. Barge detail | DWG | PDF |
| P45-Eave-01-A | Typ. Ventilated Eave detail | DWG | PDF |
| P45-Eave-02-A | Typ. Eave detail | DWG | PDF |
| P45-Hip-002-A | Tile panel 0.45 Typ. Hip detail | DWG | PDF |
| P45-Hip-01-A | Hip Detail 0.45 | DWG | PDF |
| P45-MRidge-01-A | Tile panel 0.45 Typ. Ventilated Mono ridge detail | DWG | PDF |
| P45-Ridge-01-A | Typ. Ventilated Ridge detail. | DWG | PDF |
| P45-Ridge-02-A | Typ. Ridge detail | DWG | PDF |
| P45-Swall-01-A | Tile panel 0.45 Typ. Sidewall detail | DWG | PDF |
| P45-TAbut-01-A | Tile panel 0.45 Typ. Ventilated Top abutment detail | DWG | PDF |
| P45-TAbut-02-A | Tile panel 0.45 Typ. Top abutment detail | DWG | PDF |
| P45-Tile-001-A | Tile panel 0.45 Typ. Tile vent detail | |
| P45-Vall-01-A | Tile panel 0.45- Typical valley detail | DWG | PDF |
| P90-Barge-01-A | Typical Barge Detail 0.9 | DWG | PDF |
| P90-Eave-001-A | Typical Eaves Detail 0.9 | DWG | PDF |
| P90-Eave-002-A | Non Ventilated Typical Eaves Detail 0.9 | DWG | PDF |
| P90-Hip-001-A | Typical Hip Roof 0.9 | DWG | PDF |
| P90-Hip-002-A | Non Ventilated Typical Hip Roof 0.9 | DWG | PDF |
| P90-MRidge-001-A | Mono Ridge Detail 0.9 | DWG | PDF |
| P90-Mridge-002-A | Non Ventilated Mono Ridge Detail 0.9 | DWG | PDF |
| P90-Ridge-001-A | Typical Ridge Detail 0.9 | DWG | PDF |
| P90-Ridge-002-A | Non Ventilated Typical Ridge Detail 0.9 | DWG | PDF |
| P90-Swall-01-A | Sidewall Detail 0.9 | DWG | PDF |
| P90-Tabut-001-A | Top Abutment Detail 0.9 | DWG | PDF |
| P90-Tabut-002-A | Non Ventilated Top Abutment Detail 0.9 | DWG | PDF |
| P90-Vall-01-A | Typical Valley Detail 0.9 | DWG | PDF |
| Slate 2000 | Slate 2000 | |
| SLHG | LH Side wall | |